Valentines Sprinkle Popcorn

VdayPop1

My new years resolution was to post more often so here I am. I haven’t made it a priority to make weekly posts but I’m going to try to!

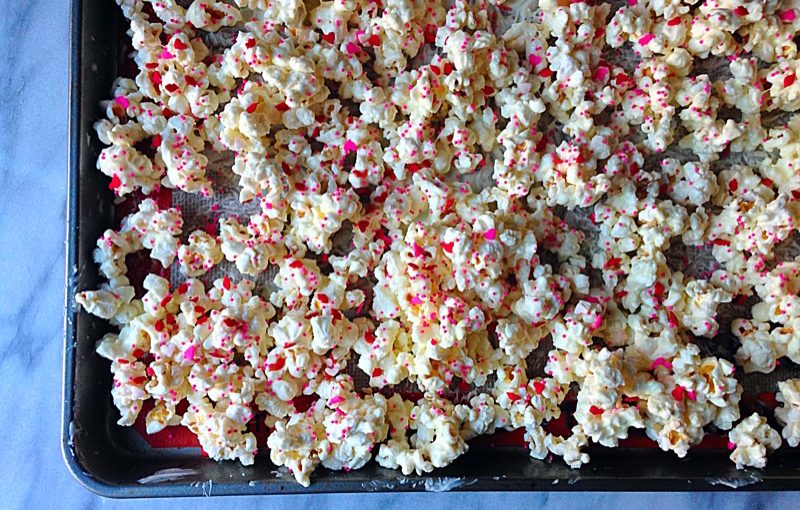
I’ve finally realized what I am, a healthy cook by day with a LARGE sweet tooth by night. I have had such a sweet tooth lately and I came across a recipe for sprinkles covered popcorn. It just looks so pretty and tasty, I had to try it!

A few weeks ago I hosted a little blogger party with Julie, From Prosecco To Plaid and Lindsey from Lindsey Steinberg Events. As we were coming up with the menu, this very popcorn recipe was pinned to our hidden group pinterest page. It looked a little intimidating so we figured we could purchase it at the specialty popcorn shop. As I read the recipe, I realized just how easy it was. There was absolutely no need to purchase when I can make it 🙂

With my pastry background, my first idea is to use quality white chocolate. After all of my training I’ve become such a purist and maybe a little snobby with my ingredients. I’m not super proud of it but secretly I am. When I make cakes I most definitely use the best possible ingredients.

In this instance, I took the easy way out (*ahem*, which is not always the best). If you’ve ever tempered chocolate, you know what I mean. It’s just annoying. I have much respect for chocolatiers and I enjoyed taking a chocolate class but I’m done with the days of tempering chocolate. If I had a tempering machine, that’s another story.

This time I used the infamous white bark coating. I say infamous because it has absolutely no trace of cocoa butter in it which is the main ingredient in real white chocolate. I use this product for complete ease of use. It’s no joke, so easy. All you do is pop a handful in a microwave safe bowl and heat for 30 second increments while stirring in between. By 1 min 30 sec it should be nice and smooth and ready to pour on the popped popcorn!

Be very meticulous and remove all of the unpopped kernels. No one wants to eat those. I suggest laying a silpat in the sheet pan or parchment paper. This will be for a super easy clean up.

I like using nonpareils for sprinkles. But for Valentines day, I use these.

Here are the steps:

Pop popcorn (plain, no salt and no butter) according to directions

Lay parchment or silpat in sheet pan

Empty popped corn onto sheet pan then remove kernels

Heat about 6 white bark coating bars in a microwave safe bowl. Do this in 30 second increments stirring in between. You will know it’s done when it’s smooth and not clumpy.

Vdaypop3

*I suggest using food safe gloves on this next step:

Pour the melted coating over the popped corn then mix quickly with hands. Be gentle not to crush the delicate popcorn then press into an even layer.

Once you’re done, sprinkle away! Do this kind of quickly before the coating melts.

VdayPop2

Now, step away and let it cool for at least 20 minutes then enjoy!

Vdaypop4

Chocolate Peanut Butter Truffles (Paleo)

Last week I was planning a meal for a new client who keeps kosher and is on the paleo diet. The couple wanted a sweet treat after their meal so I was on a mission to find the perfect dessert! I thought chocolate could be a good start. Let’s be honest, who doesn’t like chocolate?  I found a few recipes online using ingredients like coconut milk, coconut oil and chocolate. I had to add peanut butter because, selfishly, I think it makes a dessert and it adds protein ;).  The dessert is completely dairy free and tastes just like a regular decadent truffle. It’s perfect for diets such as kosher, paleo, and just trying to be healthy.

Truffles 5

Truffles

Portion out the above ingredients, microwaves in 1 minute increments, then mix.

Truffles

Freeze the above mixture until it’s solid.

IMG_6790

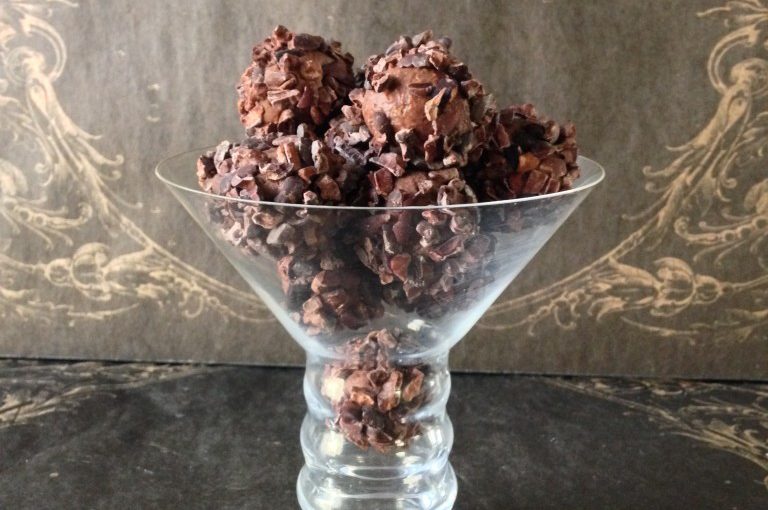
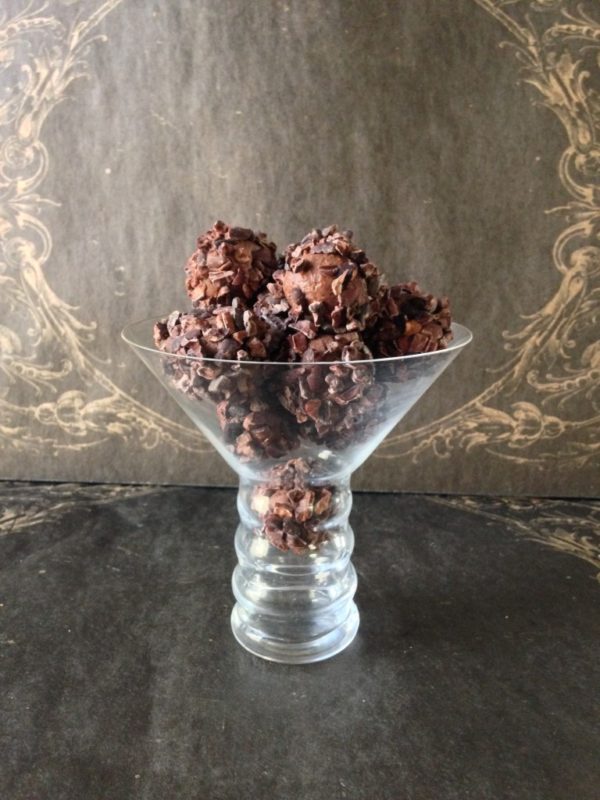
Scoop using a pastry scoop. I used a teaspoon size but you can use a bigger one if you want. After you scoop them all, roll into balls in your hand. After, cover the truffles in cocoa nibs.

Truffles 3

Truffles 3

Truffles 4


Print Recipe
Chocolate Peanut Butter Truffles (Paleo)
They are oh so good and taste just like regular truffles! No joke, these are legit and a must try!
Prep Time 15 minutes
Servings
9
Ingredients
Prep Time 15 minutes
Servings
9
Ingredients
Instructions
  1. Put all ingredients in bowl.
  2. Microwave until melted and mix with a spoon.
  3. Cover and freeze until solid.
  4. Spoon mixture onto cookie sheet then shape into balls.
  5. Roll in cocoa nibs.
  6. Make sure to use the thick milk part of the coconut milk and not the liquid.

Cinnamon Toast Cupcake

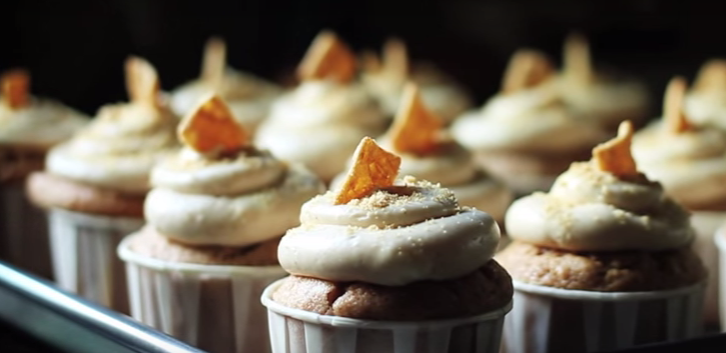
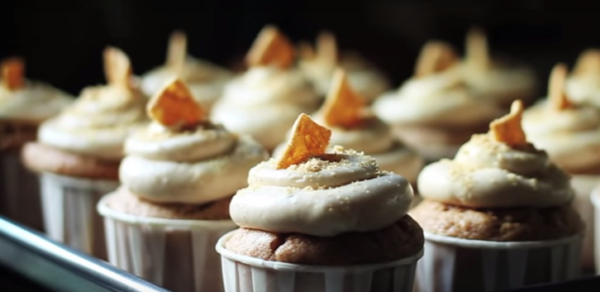
Hello foodies! I have such fond memories (i’m sure you do too) of  eating a huge bowl of cinnamon toast crunch cereal and enjoying the sweet milk that follows. I love the flavors { sugary, cinnamony, crunchy, sweet, and slightly salty. }  Combining this delicious cereal with a fluffy cupcake is the perfect combination.  I assure you, you will be very satisfied once you bite into one of these lovlies.


Hope you enjoyed the video!

Print Recipe
Cinnamon Toast Cupcake
Servings
12
Ingredients
Cream Cheese Icing
Servings
12
Ingredients
Cream Cheese Icing
Instructions
  1. Mix eggs and sugar in standing mixer.
  2. Add buttermilk, sour cream, oil, and vanilla.
  3. Then add dry ingredients sifted in: ap flour, baking powder, salt, and cinnamon
  4. For the icing: Mix cream cheese and butter then add sifted powdered sugar and cinnamon.
  5. Sprinkle crushed cereal on top.


{Blueberry Lemon Cardamom Donuts}

Donuts!

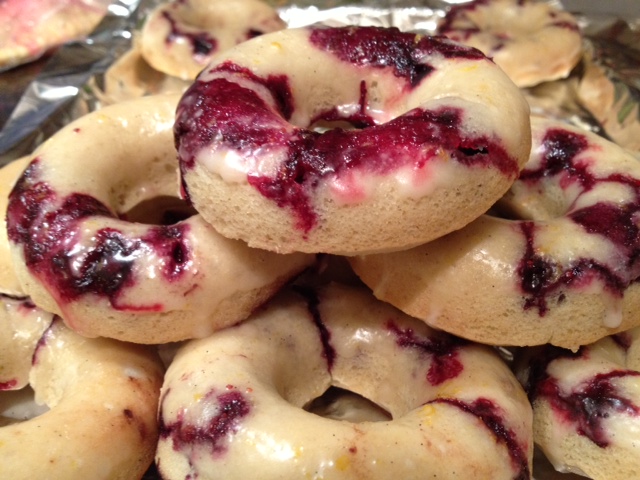
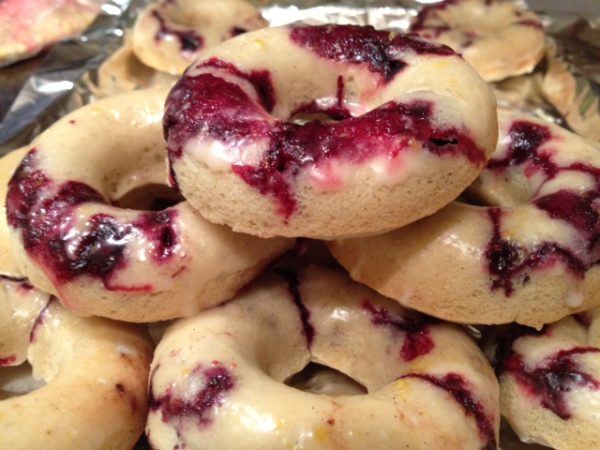
A friend joined me in making donuts for :: Valentines Day :: We landed on the lemon blueberry flavor with spicy cardamom because you always need something sweet in your life.  These aren’t your usual fried , crunch yet fluffy donuts.   They’re more like muffins in the shape of donuts.  The Meyer lemon glaze really balances out the sweetness of the  sugar.  I hope you enjoy something sweet in your life this Valentines Day!

image


Blueberry Lemon Donut


Print Recipe
{Blueberry Lemon Cardamom Donuts}
Servings
12
Ingredients
Doughnuts
Blueberry Jam
Glaze
Servings
12
Ingredients
Doughnuts
Blueberry Jam
Glaze
Instructions
  1. Preheat your oven to 425F.

  2. In small saucepan over medium high heat, add blueberries, sugar and lemon juice. Mash blueberries until only a few remain whole. Heat and stir until boiling. Remove from heat and allow to cool and thicken. Set aside.
  3. In a large bowl, whisk together flour, sugar, baking powder, and salt.
 Beat in greek yogurt, eggs, vanilla, milk and melted butter until fully incorporated.
  4. Spray doughnut pan with non-stick spray, filling each cavity with ¼-1/3 cup doughnut batter. Dollop two to three tsp of blueberry jam on top doughnut batter in each doughnut pan cavity. Using a knife swirl the jam into the doughnut batter. Bake in oven for 9 minutes, or until light golden brown.
  5. In small bowl, whisk together powdered sugar, lemon zest, milk and vanilla bean caviar until sugar is dissolved and mixture is runny.
 Dunk tops of doughnuts into glaze and turn right side up to set. Serve while still slightly warm.

Best Cinnamon Rolls Ever

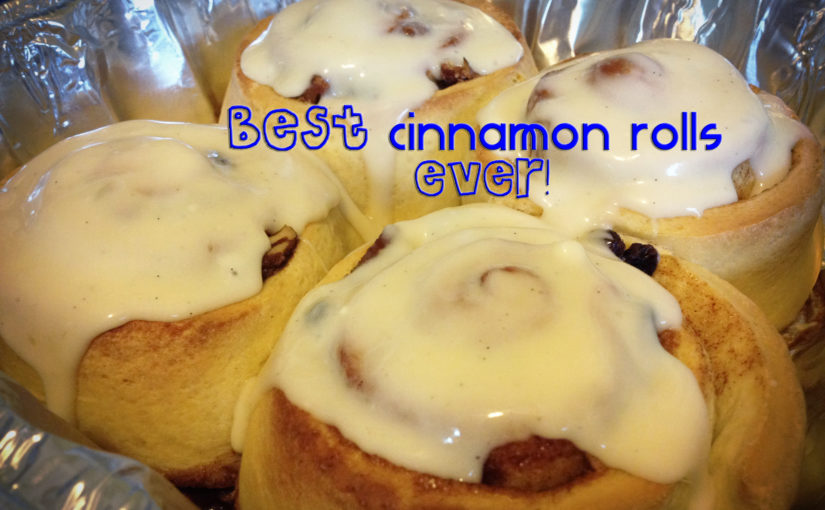
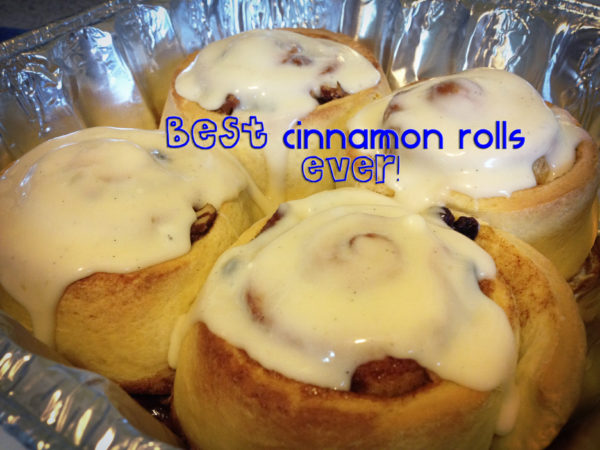
One day I was searching for the best cinnamon roll recipe. I could have easily bought the pillsbury stuff but that’s too easy. Homemade dough is always better. I searched through pinterest and found this great recipe that had a secret ingredient. This ingredient was the key  to the moist, fluffy, delicious texture and flavor. They were a hit at the brunch I went to. So if you want to wow your friends, I suggest you make these.


Print Recipe
Best Cinnamon Rolls Ever
Servings
4
Ingredients
Cream Cheese Icing
Servings
4
Ingredients
Cream Cheese Icing
Instructions
  1. Preheat over to 350.
  2. In a small bowl, combine water and yeast. Stir until dissolved, about 5 minutes.
  3. After, mix pudding according to the packaged instructions with milk.
  4. Then add sugar, 1/2 cup melted butter, egg, and salt. Mix well.
  5. Gradually add flour and mix with dough hook. After, knead by hand into a ball.
  6. Place the dough into a large greased bowl. Then cover and let rise in a warm place until it doubles in size.
  7. Punch down and let rise again for a second time.
  8. Roll dough on a very large floured surface.
  9. Dough should roll out to a long rectangle, about 34 x 21"
  10. Take 1 cup of melted butter and spread over entire dough surface using a pastry brush.
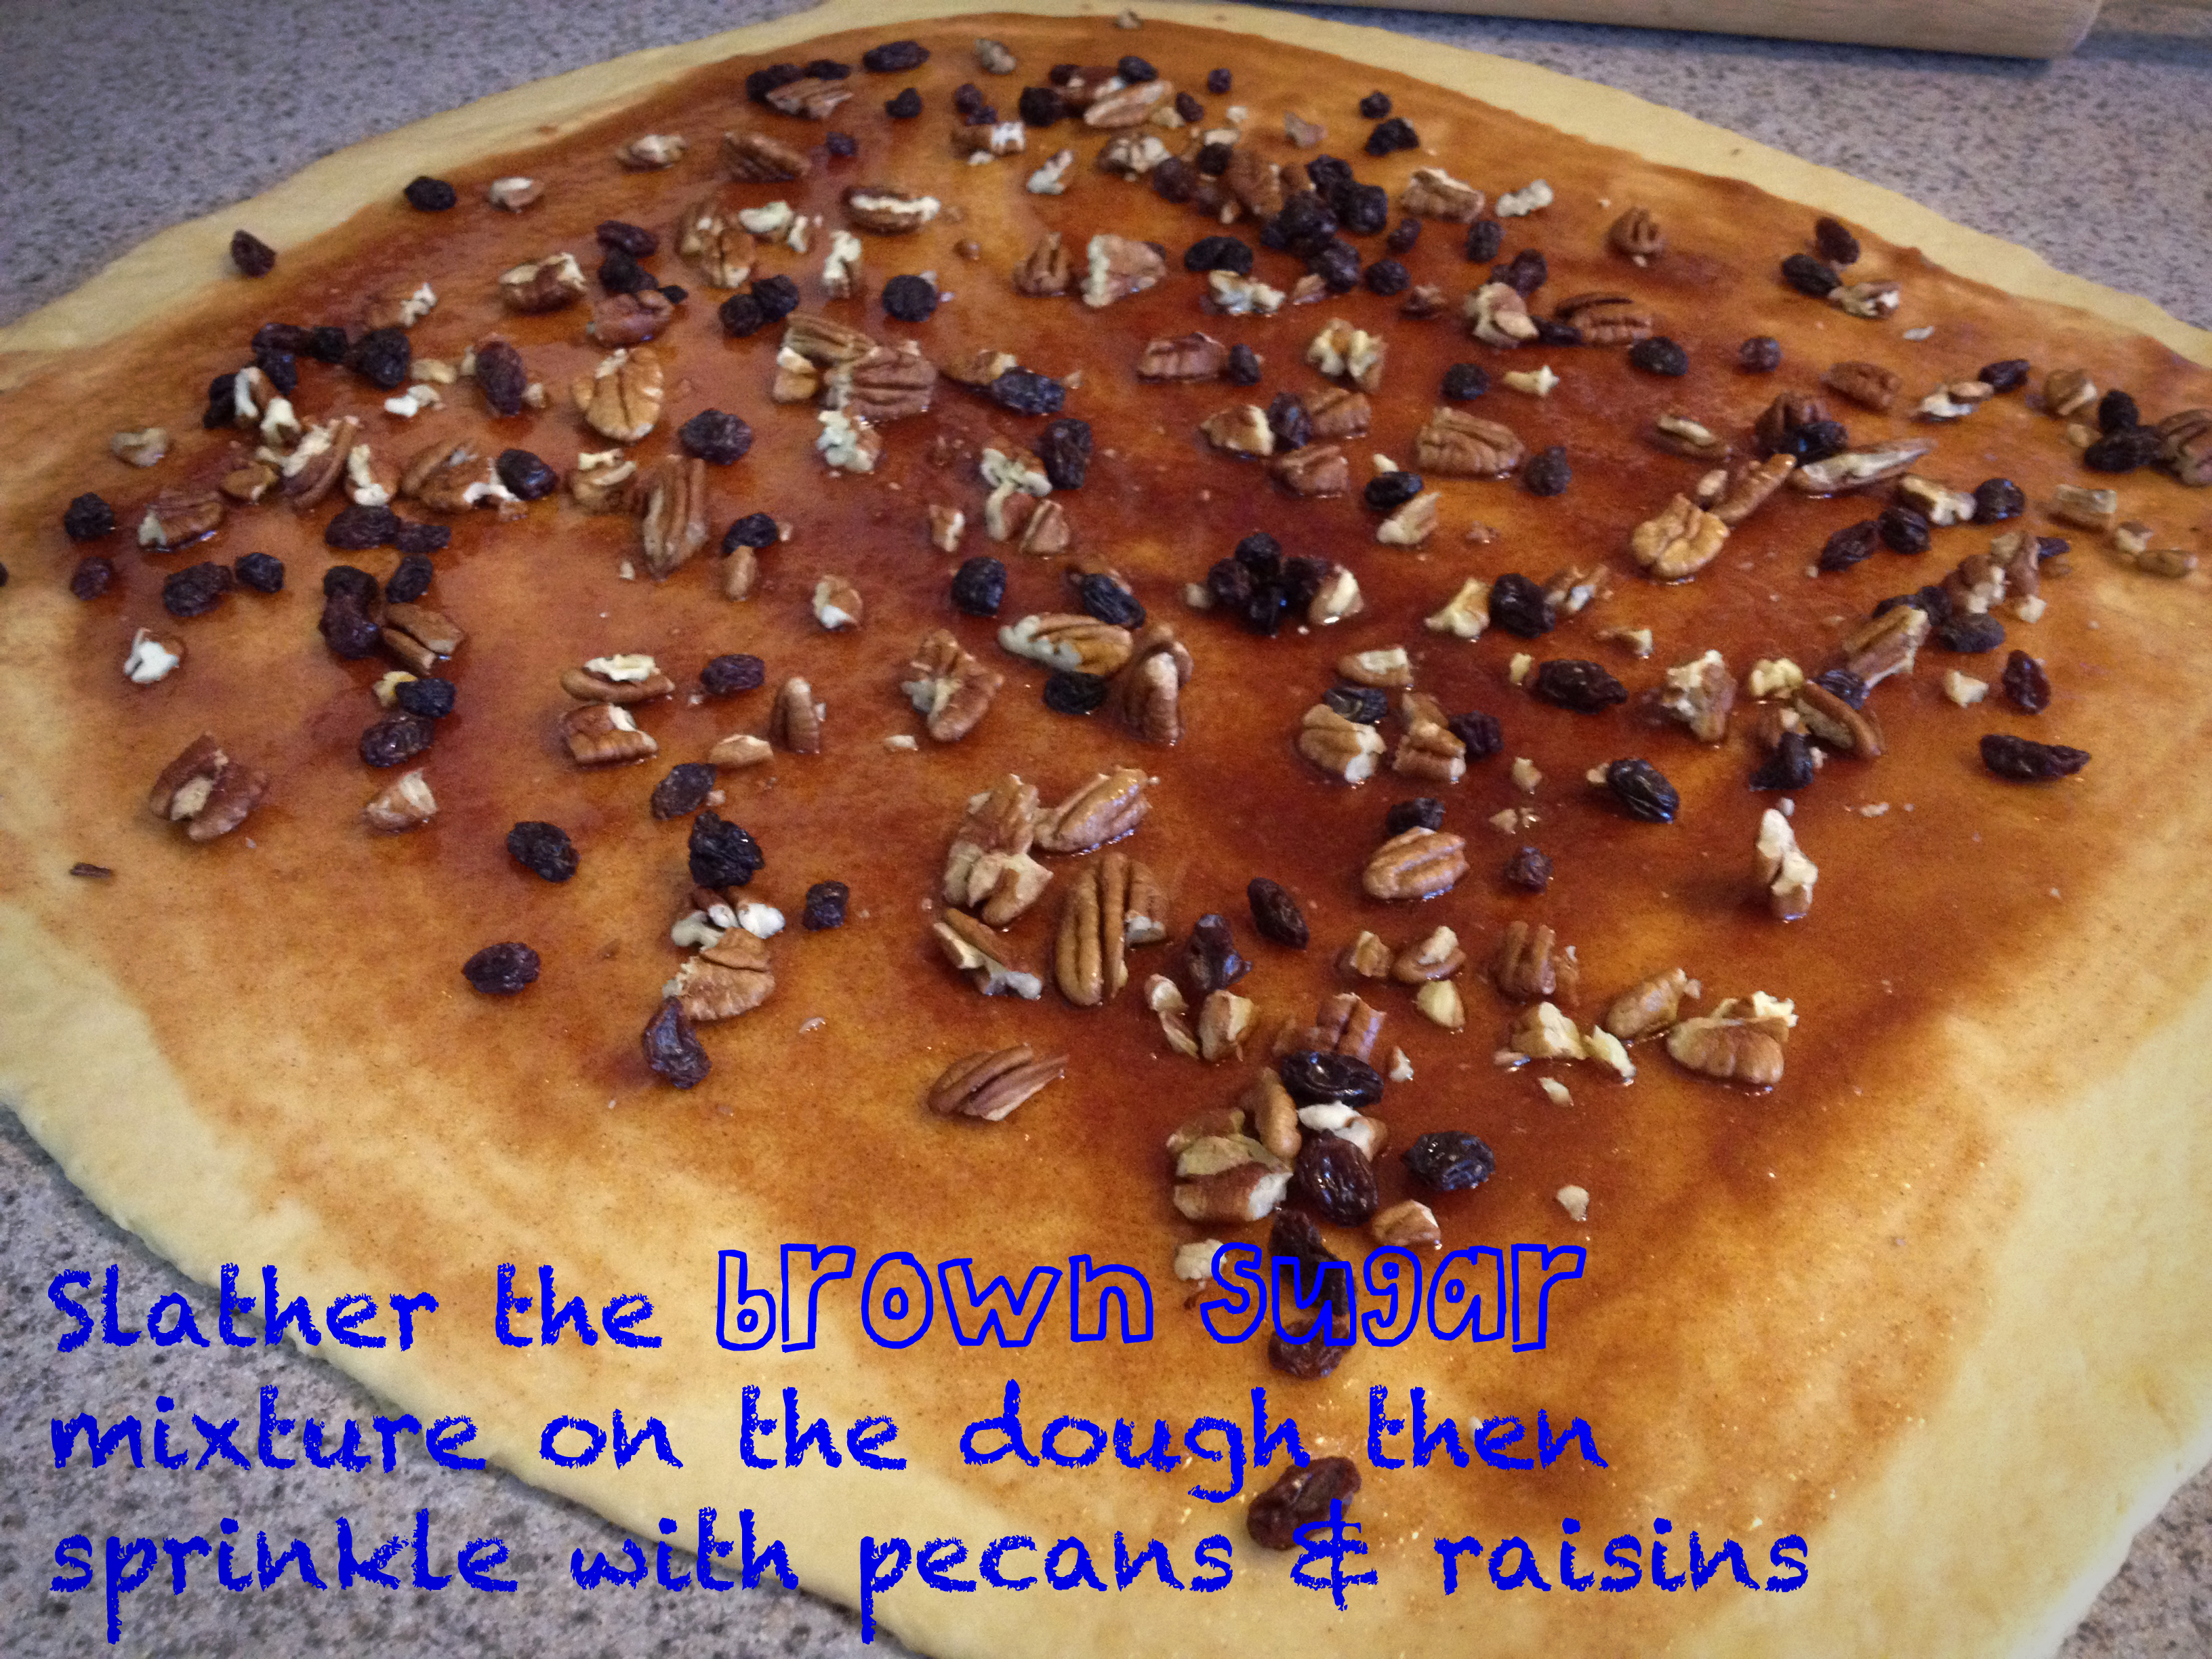
  11. In a small bowl, combine brown sugar, cinnamon, and raisins.
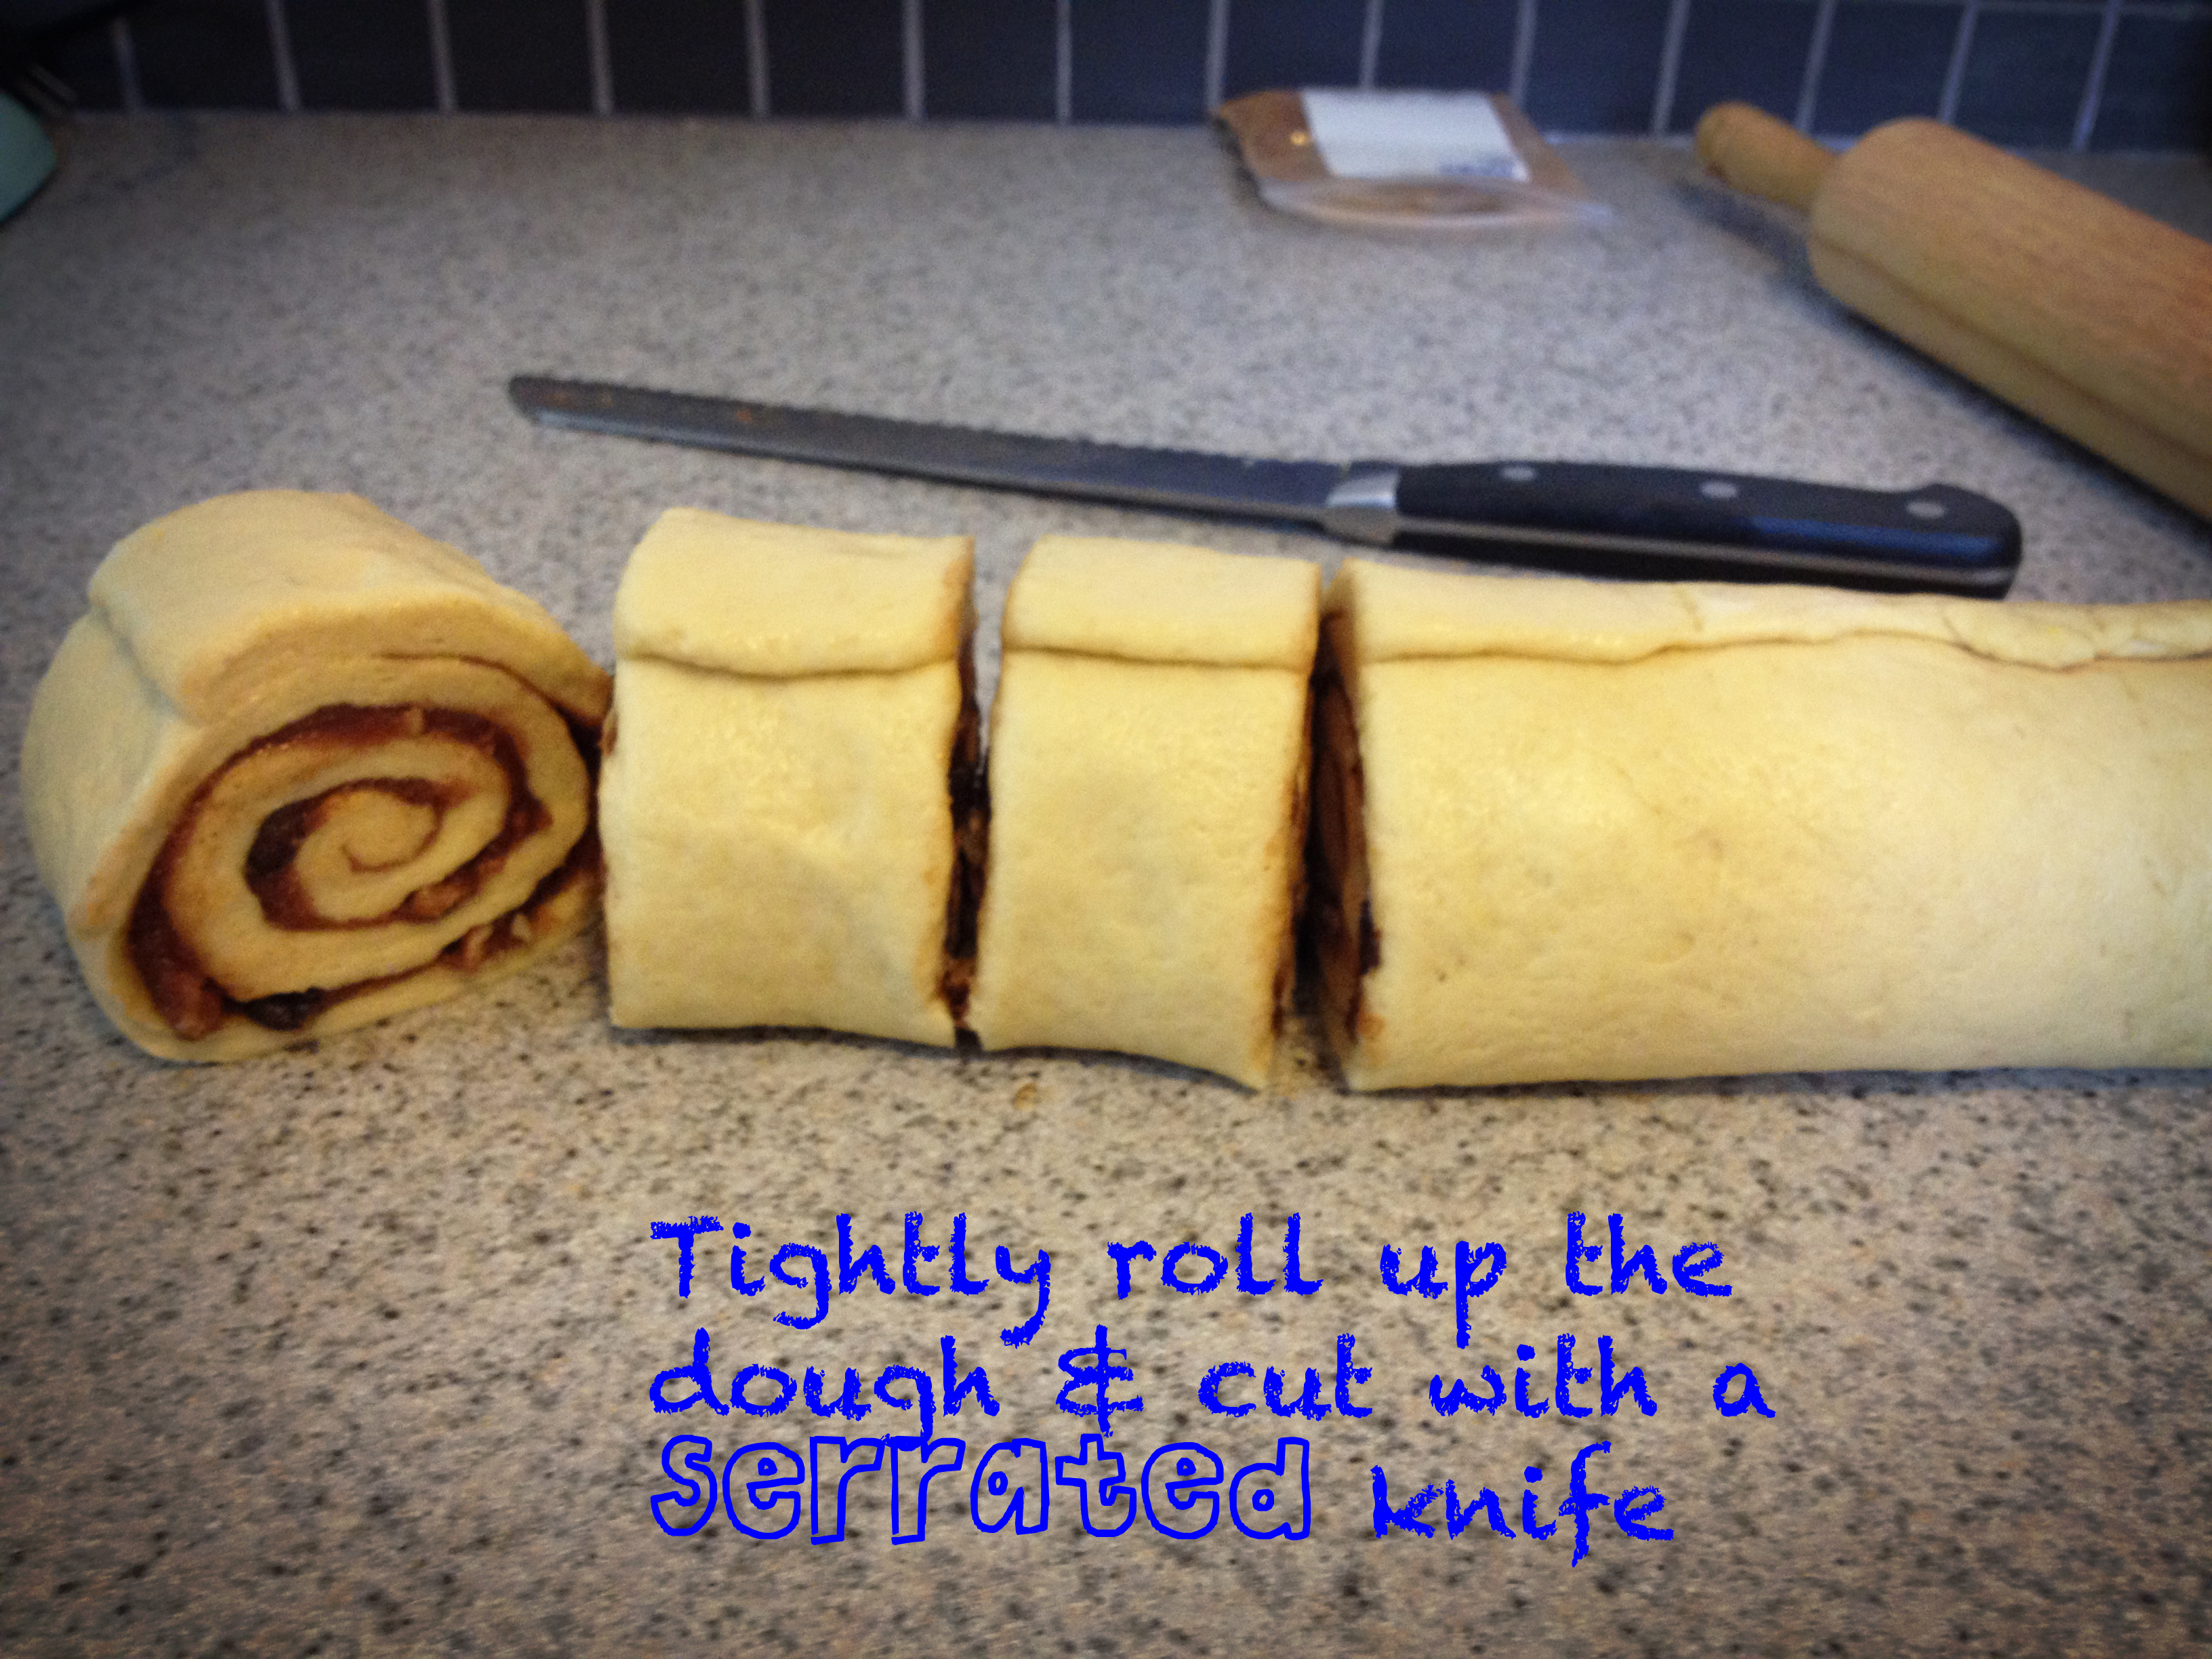
  12. Sprinkle mixture over top of buttered dough. Roll dough up like a jelly roll.
  13. Measure dough every 2 inches and cut with a knife.
  14. Place each roll in a buttered baking pan and allow to rise in a warm place for about 20 minutes.
  15. Bake in a preheated oven and bake until golden brown, about 15-20 minutes.
  16. Once out of the oven, slather the cream cheese mixture on top.
Recipe Notes
Enjoy these warm 🙂

Fleur de Sel Caramels

//Perfect for Holiday Gifts //

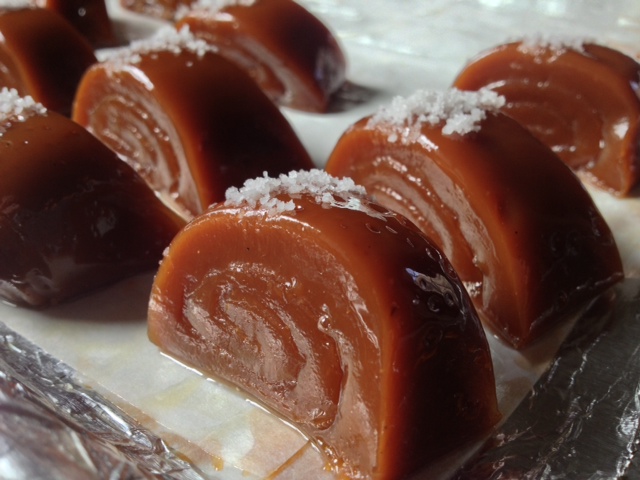
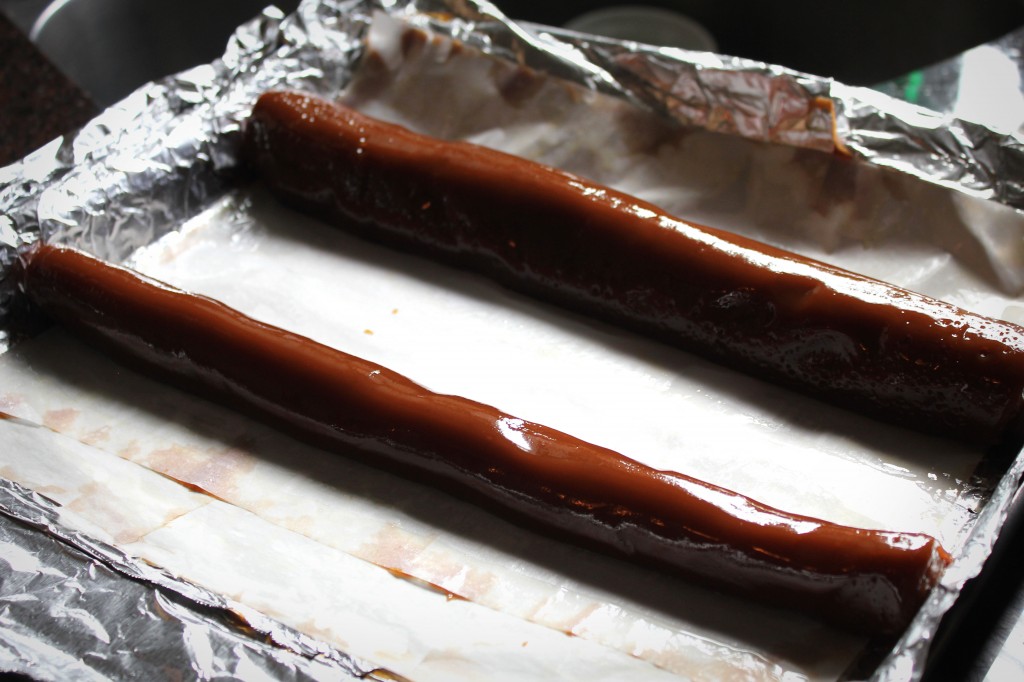
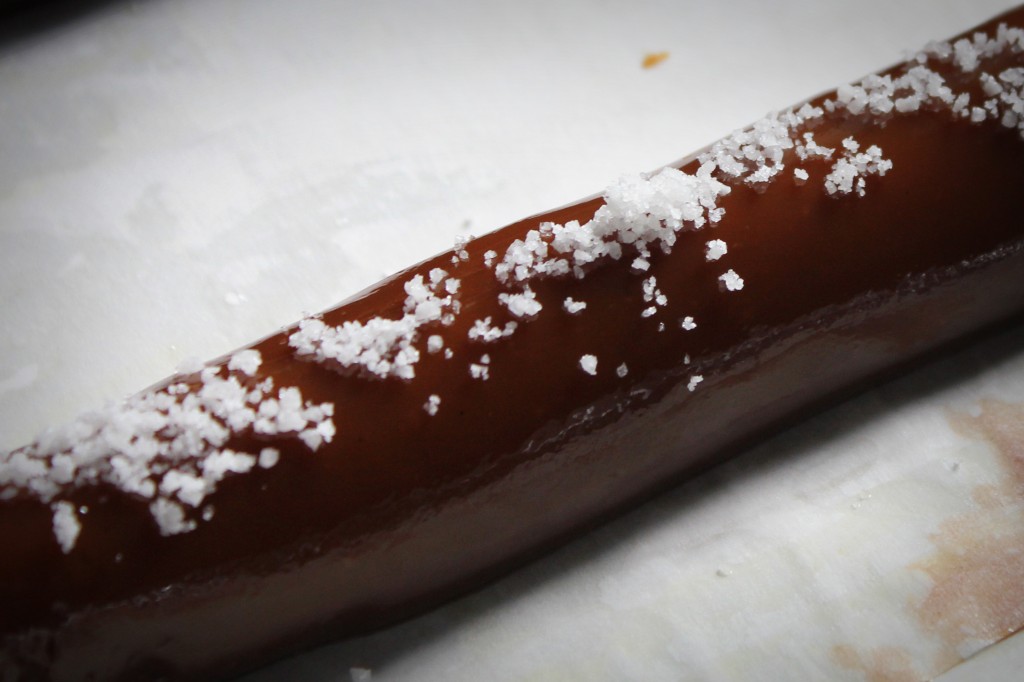
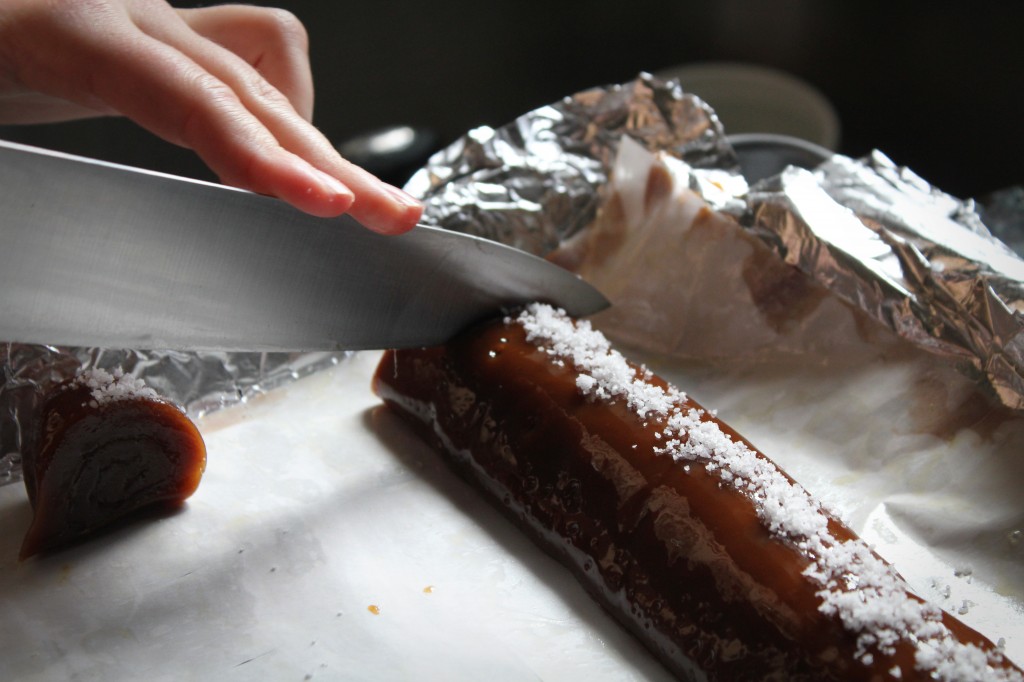
Chewy caramel is a nostalgic flavor for me ever since I tasted a milk dud.  I have many memories of my dad and myself devouring an entire box while watching movies. You can’t help but remember all of the clusters of sugar that get stuck in your teeth. It’s so worth it because they are just that delicious. This is by far the best caramel recipe I have tried. It’s definitely the perfect balance between salty and sweet. I have won many tastebuds over and you can too. Here’s a peak on how I made them.

Thanks for the guest photog, Amy Blose.


Say Hello to our new look!

// Welcome to our new look // Our much anticipated new design is finally up! We hope you enjoy it as much as we do! I want to give a special thanks to Rion Dooley deardooley for creating this extremely usable site. Thank you Daniel Good Pop for helping create the name and font of the logo, and Zach Cut To Create for making all of the awesome videos and being the official taste tester!

{ Happy Thanksgiving! }

Today happens to be one of the most glutenous days to be thankful for, Thanksgiving.  I’m sure everyone has lovely dreams of gorging themselves with traditional foods like sweet potato casserole, turkey, green beans, and pecan pie. I really enjoy this holiday surrounded by family and friends but hate feeling sleepy and immobile.  Unfortunately (maybe not), I have 2 turkey meals today. Those of you who are as lucky as me, I hope you have a good plan of action. As for me, I plan on the first meal being a taste of everything while the second is a plate full!

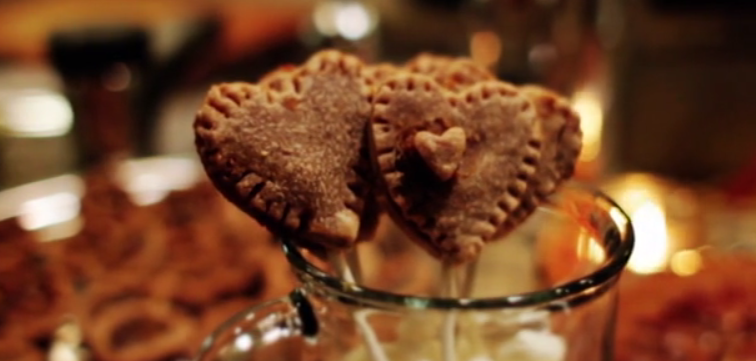
I’ve cooked a whole slew of things from pies to green beans. My favorite is of course the desserts. My partner in crime from Cut To Create and I made yet another video ** Pie Pops ** Enjoy!

The Foodie Chef Makes Pie Pops | Cut To Create from Cut to Create on Vimeo.

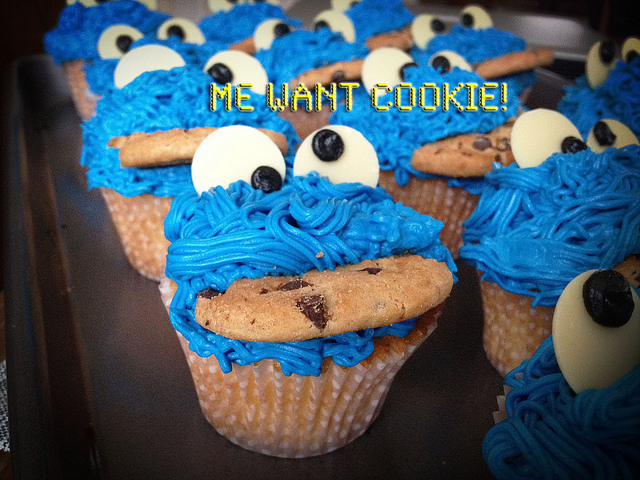
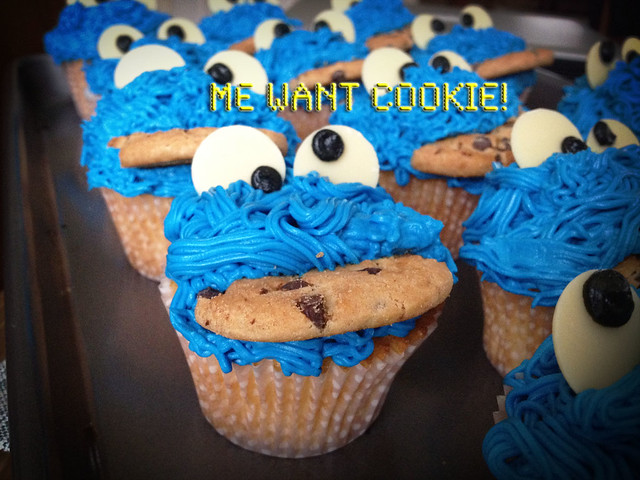
Cookie Monster Birthday Cupcakes!

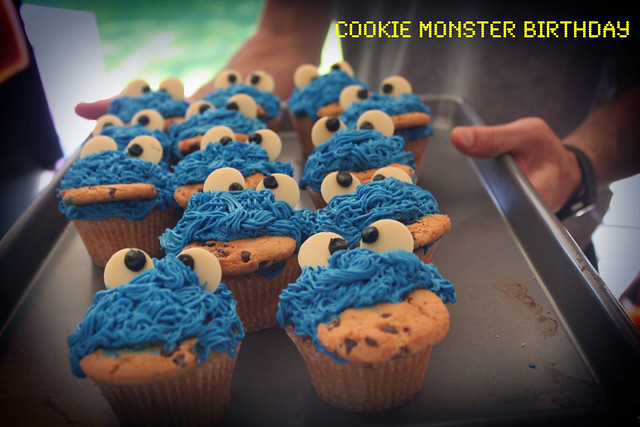
The inspiration of these adorable cupcakes came from nothing but several google images. My sister called me one day trying to plan her precious child’s birthday. She wanted sesame street themed cupcakes so we quickly agreed on cookie monster! I did use a few tricks that helped with both the timing and look of them. Read on for pointers to help make these delicious coooookie monster cupcakes in your own kitchen 🙂

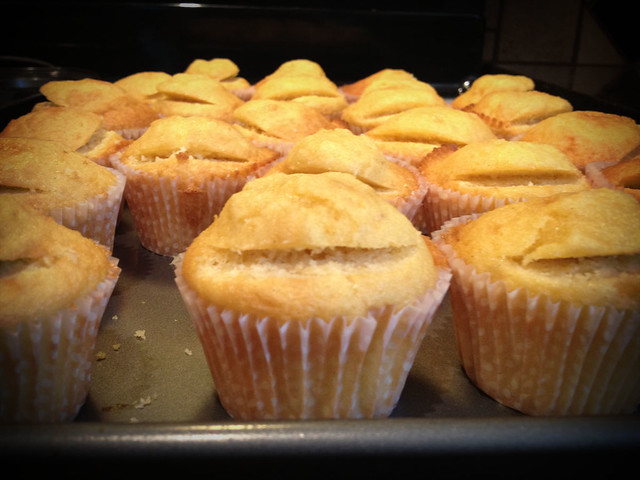
I started with (so embarrassed to say)a box of yellow cake mix, eek! The purist in me completely frowns upon this but it really does cut the time in half! It tastes just as good too. After baking, I used a pairing knife to cut a “v” shape to hold the cookie.

Then, I used a wilton #233 piping tip to pipe the delicious blue colored cream cheese icing.

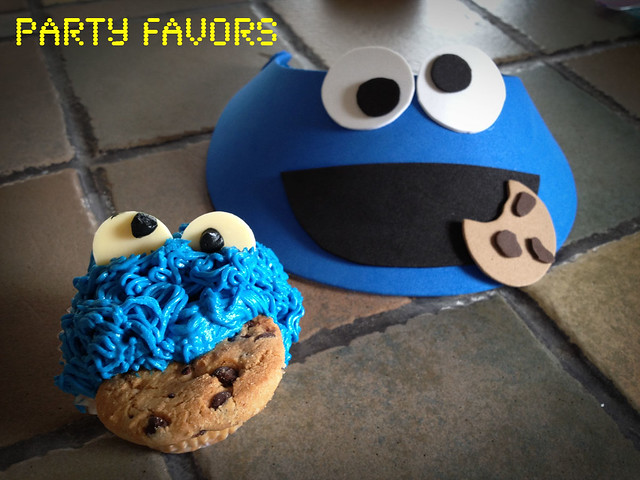
For the eyes, I used white chocolate disks.  Then, I colored a bit of the icing black and piped on the eyes.  My sister made the adorable visors for party favors, such a great idea!

The birthday girl 🙂

Don’t you just want to dig into one?

Follow my blog with Bloglovin

Banana Cream Pie

The foodie chef is back! I’m sorry for taking so long to post but I’ve been sinking into my newish job and learning photoshop! Thanks to my two great friends Amy and Kevin! They’ve really taught me some great stuff, I hope everyone enjoys the new style. Oh and of course a big huge thank you to the boyfriend for taking all of the great pics!

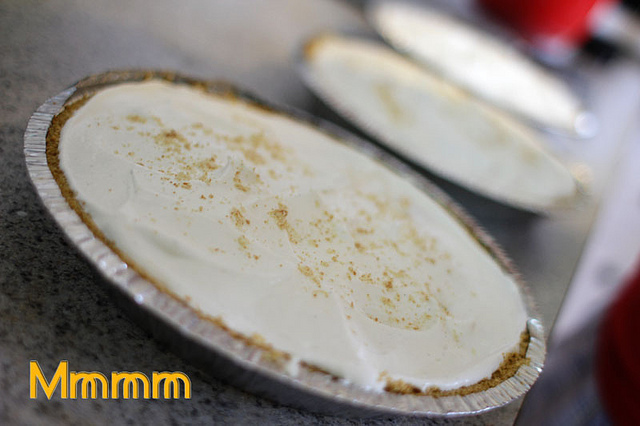
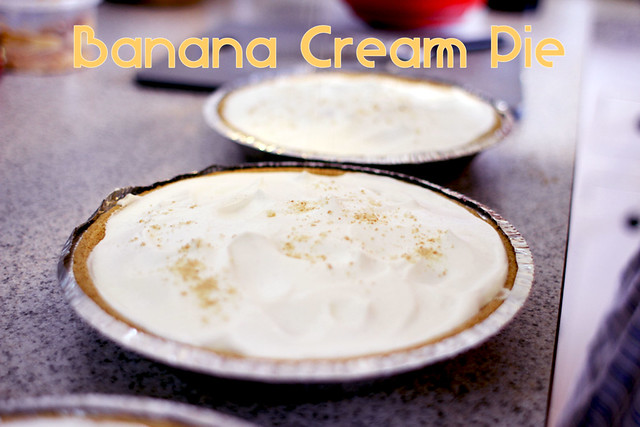
I made these pies during the holidays because they’re a comfort food. I hope they were loved by all!

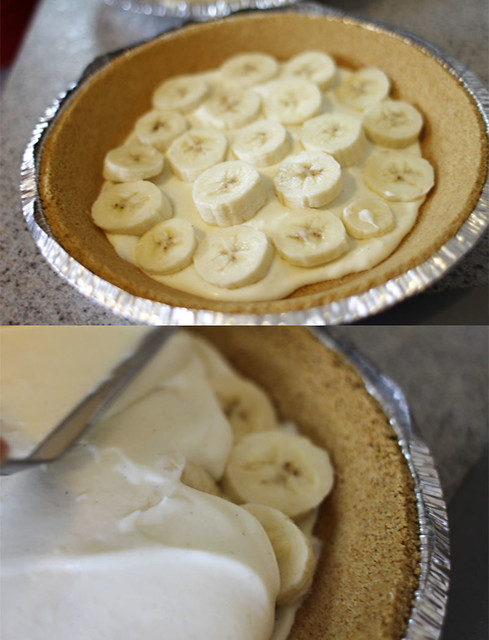
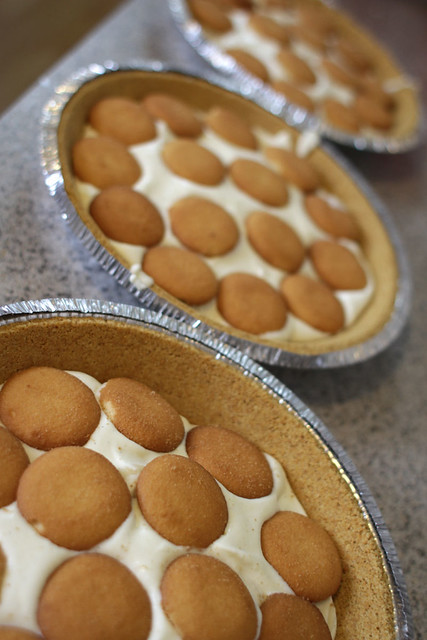
Layer some freshly whipped cream with a touch of vanilla bean paste on the bottom of the pie shell. Then place some bananas on top. Next, add another layer of whipped cream and the pastry cream! I folded half of the pastry cream with some whipped cream to lighten it up.

Add some nilla wafers

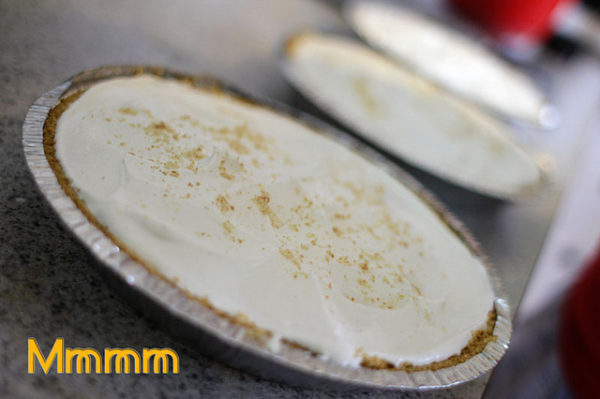
Top off with some more whipped cream and.. tah dah!

Print Recipe
Banana Cream Pie
Servings
Ingredients
Pastry Cream
Whipped Cream
Servings
Ingredients
Pastry Cream
Whipped Cream
Instructions
Pastry Cream
  1. Boil milk with vanilla bean (or paste). In a separate bowl, mix sugar and cornstarch to avoid lumps.
  2. Add eggs and salt to sugar mixture until combined. Once the milk has come to a boil, temper the milk into the egg sugar mixture.
  3. Then return all liquid to heat and whisk continuously, be sure not to scorch the bottom!
  4. The mixture will start to thicken. When the first bubble hits the top, strain the mixture into a container.
  5. Let cool slightly then add the cold butter and thoroughly mix.
  6. Put in fridge until it gets cold. This recipe can be made a day ahead.
Assembly
  1. A little whipped cream on the bottom
  2. Bananas
  3. pastry cream mixture
  4. Nilla wafers
  5. Whipped cream
  6. Crumbled nilla wafers

Chocolate Toasted Marshmallow Cake

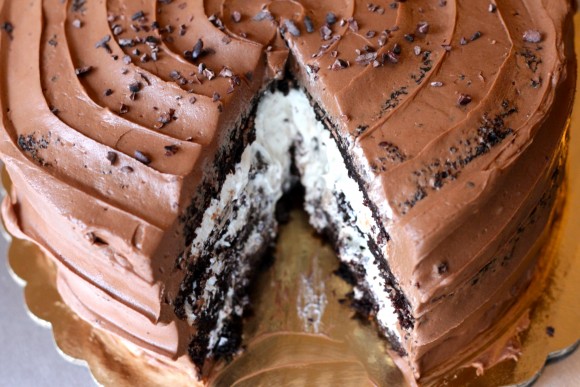
A few months ago I came across a great cake blog. The blogger made this amazing toasted marshmallow cake, I just had to make it!  My lovely boyfriend, owner of Cut to Create, filmed me making this extremely tasty cake. The chocolate cake part is by far the best recipe I’ve come across, it’s very moist and chocolatey.

Dutch processed Cocoa vs. regular Cocoa Powder? There’s an on going argument that dutch processed cocoa powder is better than regular cocoa powder.  In school, I learned that dutch processed cocoa is treated with an alkali to neutralize its acids. If your point is to get the darkest chocolate cake, add a little white vinegar to the mix. It’ll deepen the color to your liking.

Yes, I know I have small hands 🙂 In the video, I use two different sized marshmallows- you don’t need to follow that. I ran out of large ones and used what I had in the pantry. The small ones worked just as well.
IMG_2215


Print Recipe
Chocolate Toasted Marshmallow Cake
Servings
Ingredients
Servings
Ingredients
Instructions
Rich and Dark Chocolate Cake
  1. Preheat oven to 350 F. Prepare 3 x 8" cake pans with parchment paper. In bowl of standing mixer, sift all dry ingredients. Add all remaining ingredients to bowl with the dry ingredients and with paddle attachment on mixer, mix for 2 minutes on medium speed and pour into prepared pans. Batter will be liquidy. Bake for 20 minutes and rotate pans in oven (if not cooked in convection oven). Cakes are done when toothpick or skewer comes clean, approximately 35 minutes.
Toasted-Marshmallow Frosting
  1. Place marshmallows on cookie sheet lined with parchment paper. Place in the oven, and broil marshmallows until nice and brown. Keep an eye on them as they burn very quickly. Combine butter and icing sugar in standing mixer fitted with paddle attachment, on low until blended (about 1 minute). Add vanilla and mix on high for about 3 minutes. Add marshmallow cream and toasted marshmallows, and mix on lowest setting for about 1 minute.
Malted Belgian Chocolate Frosting
  1. In a bowl of a standing mixer fitted with paddle attachment, combine the powdered sugar and butter and beat on low speed for about 1 minute. Add vanilla and malt powder, and beat on low until well combined. Add the melted chocolate and beat on medium speed until smooth (about 2 minutes). Add whipping cream and beat on med-high speed for another minute. Best used right away. *The malted chocolate frosting isn't my favorite, It isn't bad though. I'm a lover of freshly made Swiss meringue or French butter cream, nothing compares to those two!