Mozzarella Chicken with Blistered Tomatoes

I really enjoy a good food challenge. I was asked to create a dish for a family of 4 for under $10. The only way I could do this was by shopping at ALDI. They have very affordable produce that allowed me to conquer this challenge. They also don’t provide shopping bags which is perfect because phew I always bring my own when I shop 🙂
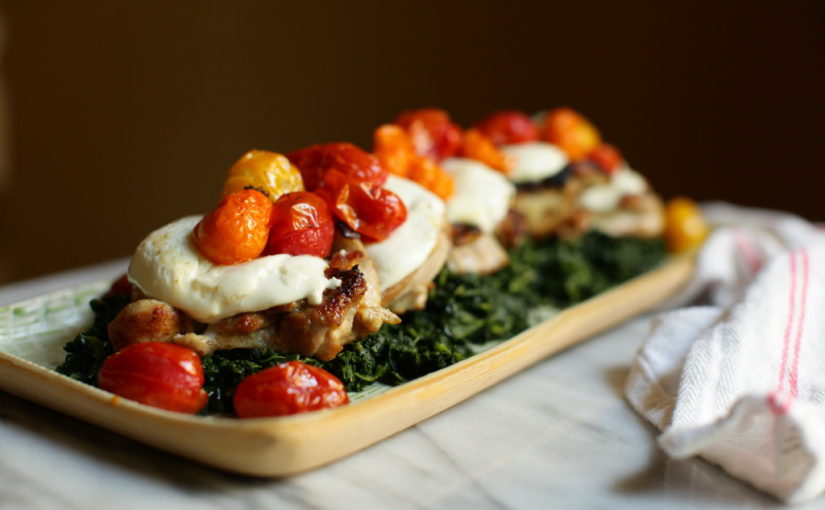
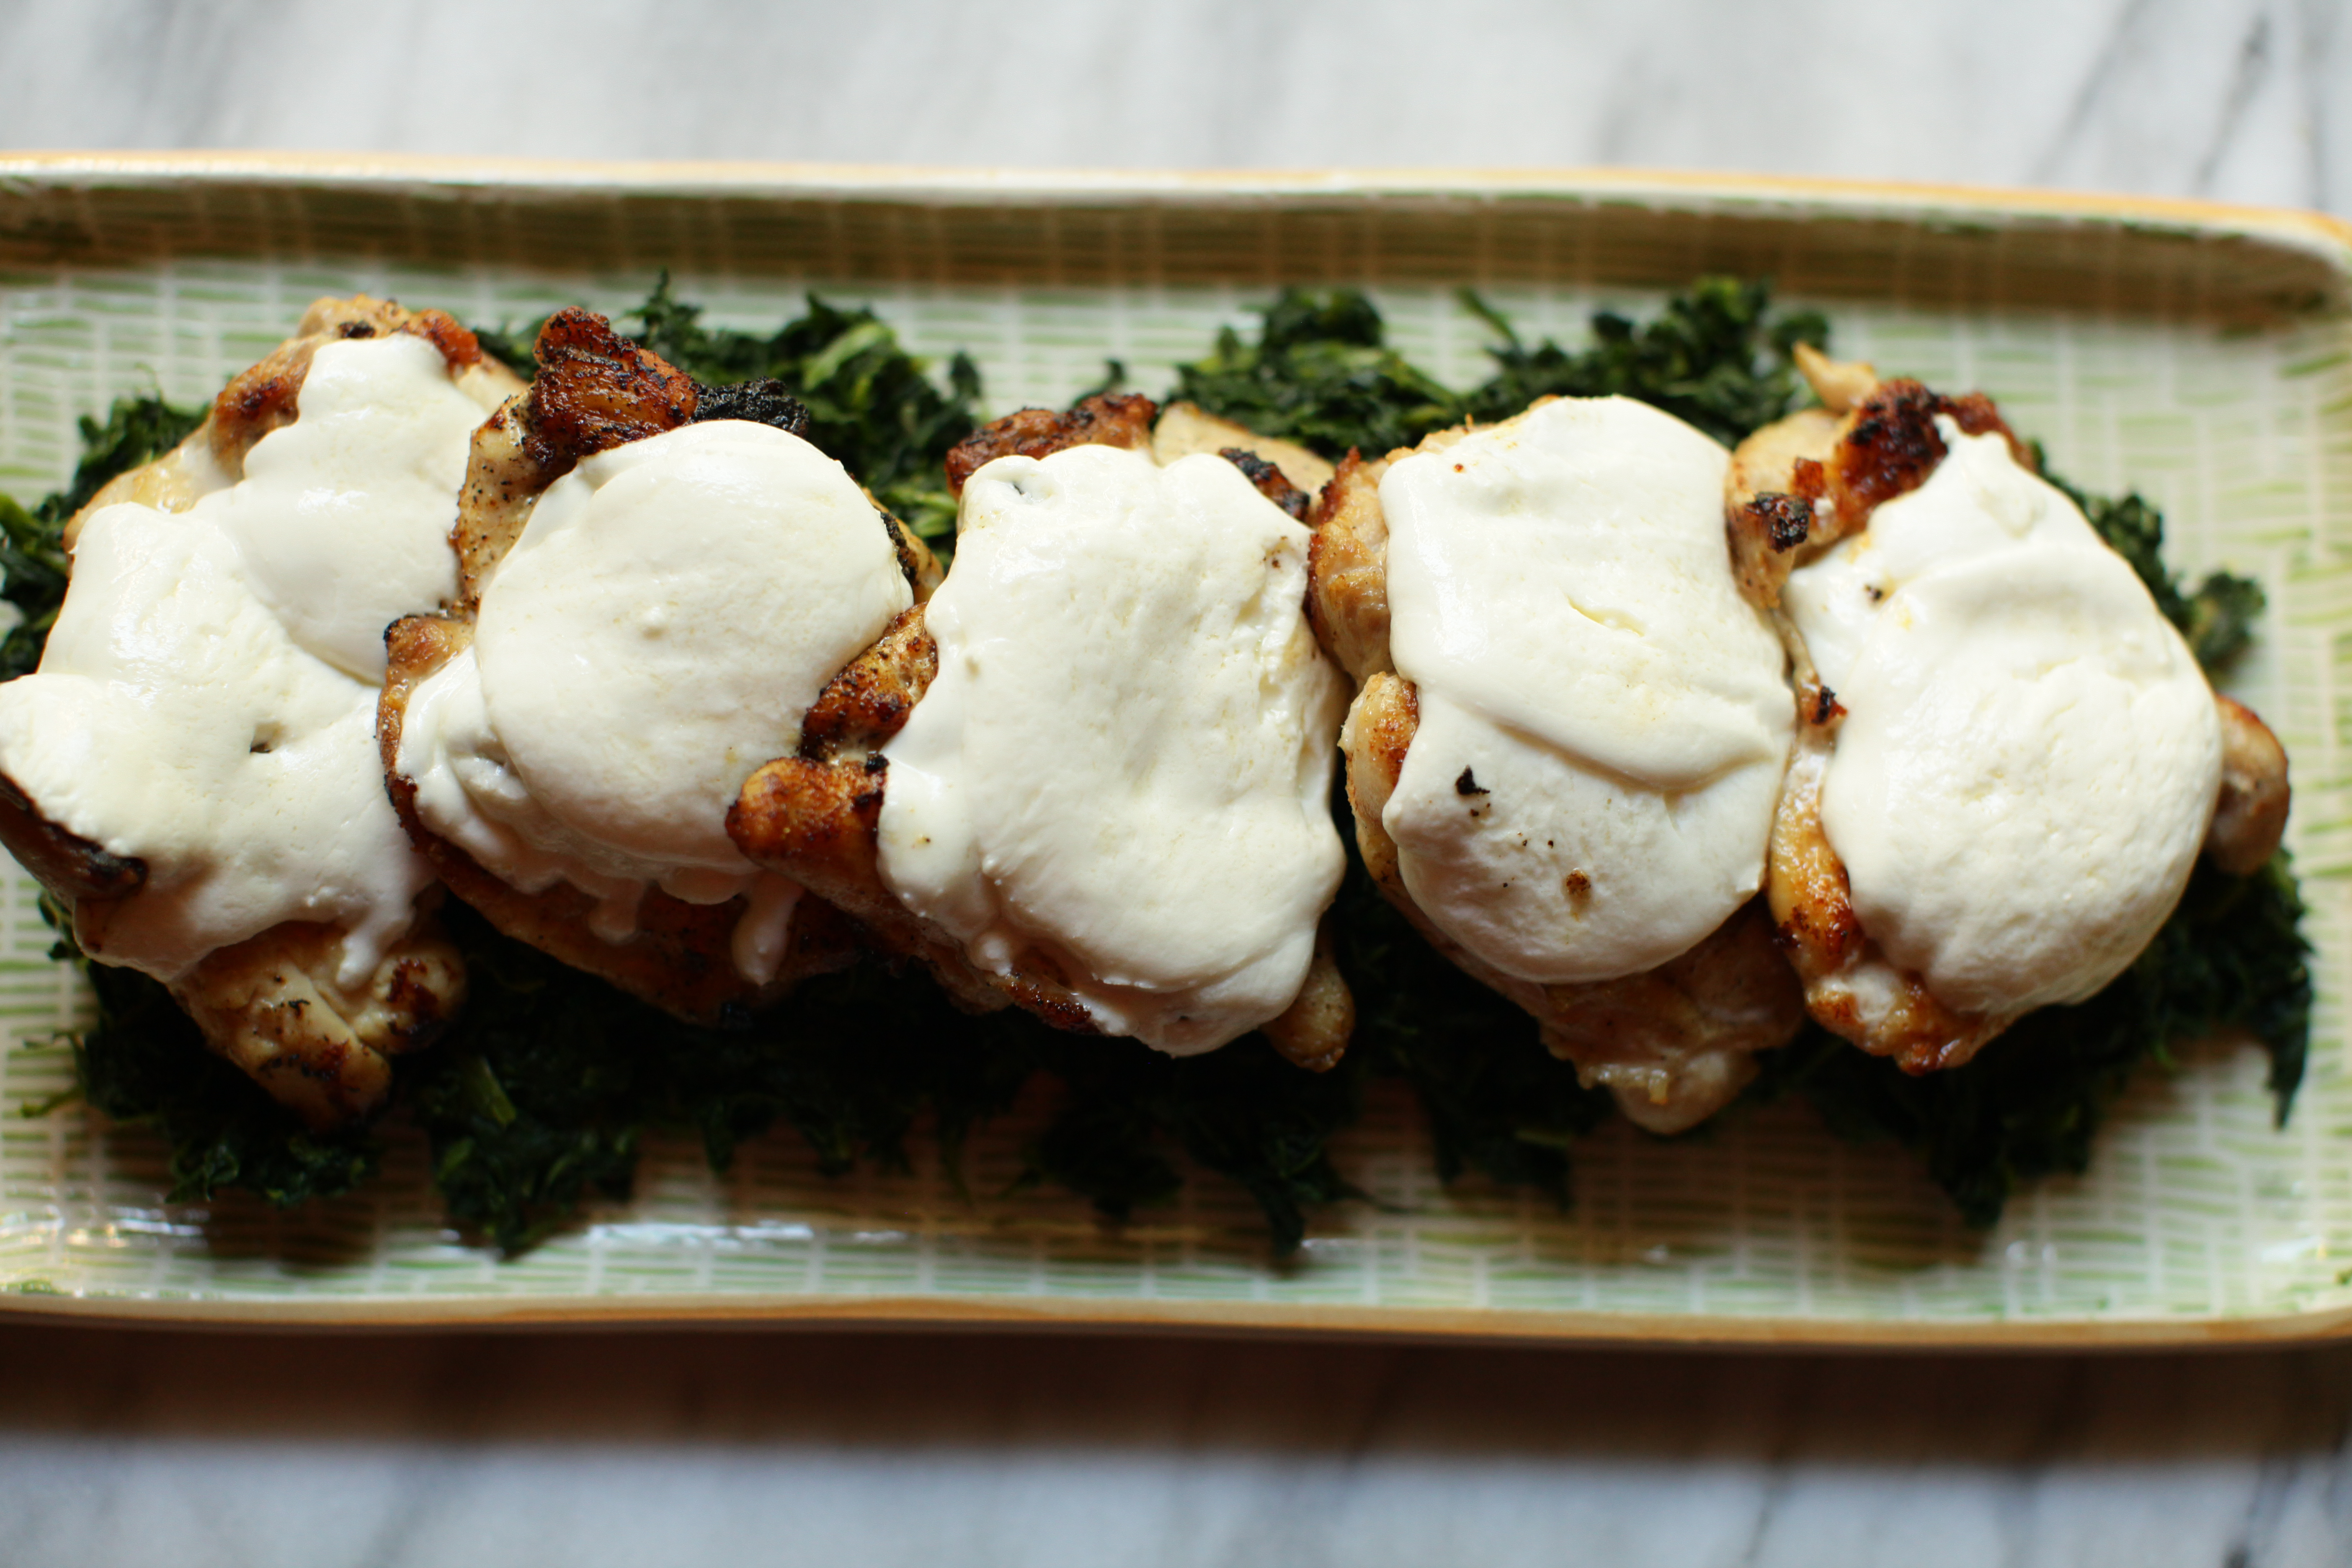
This recipe is my take on caprese chicken though if the challenge allowed for a few more dollars, I would have added a basil balsamic drizzle. I like making chicken thighs every once in a while since it has a higher fat content compared to chicken breast. The fat content allows for juicy meat though you can still achieve this with chicken breast when marinating or brining.
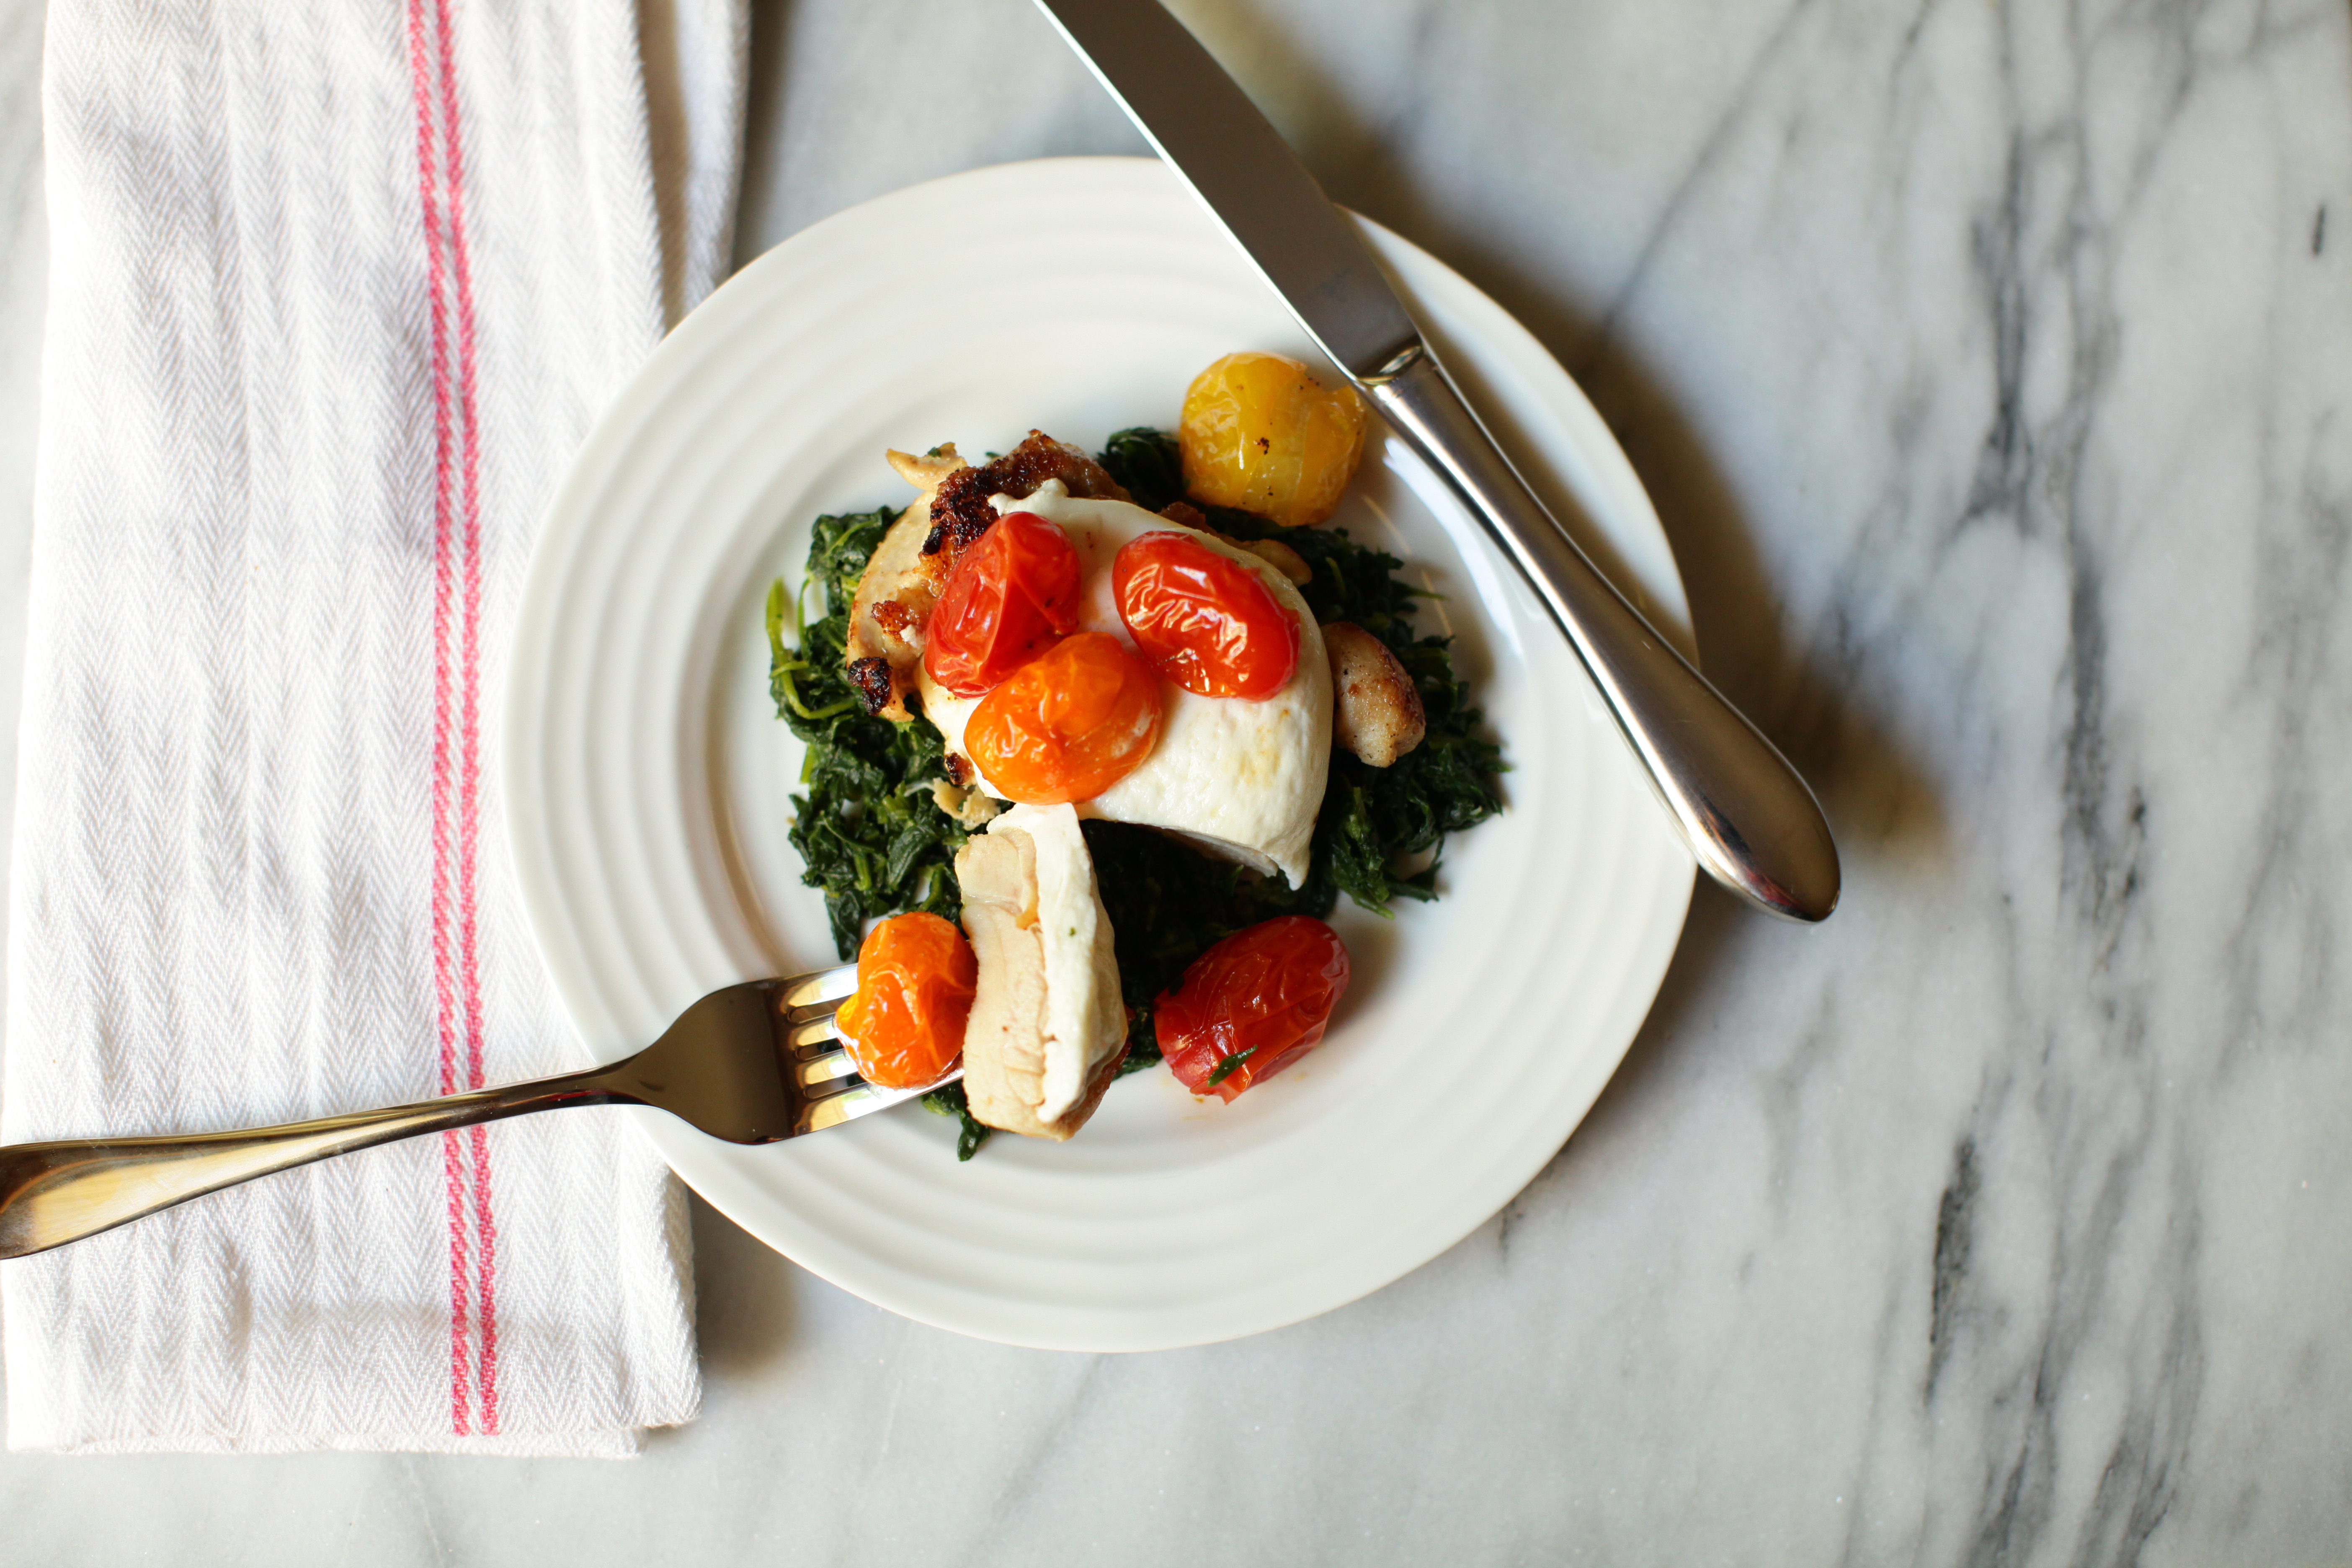
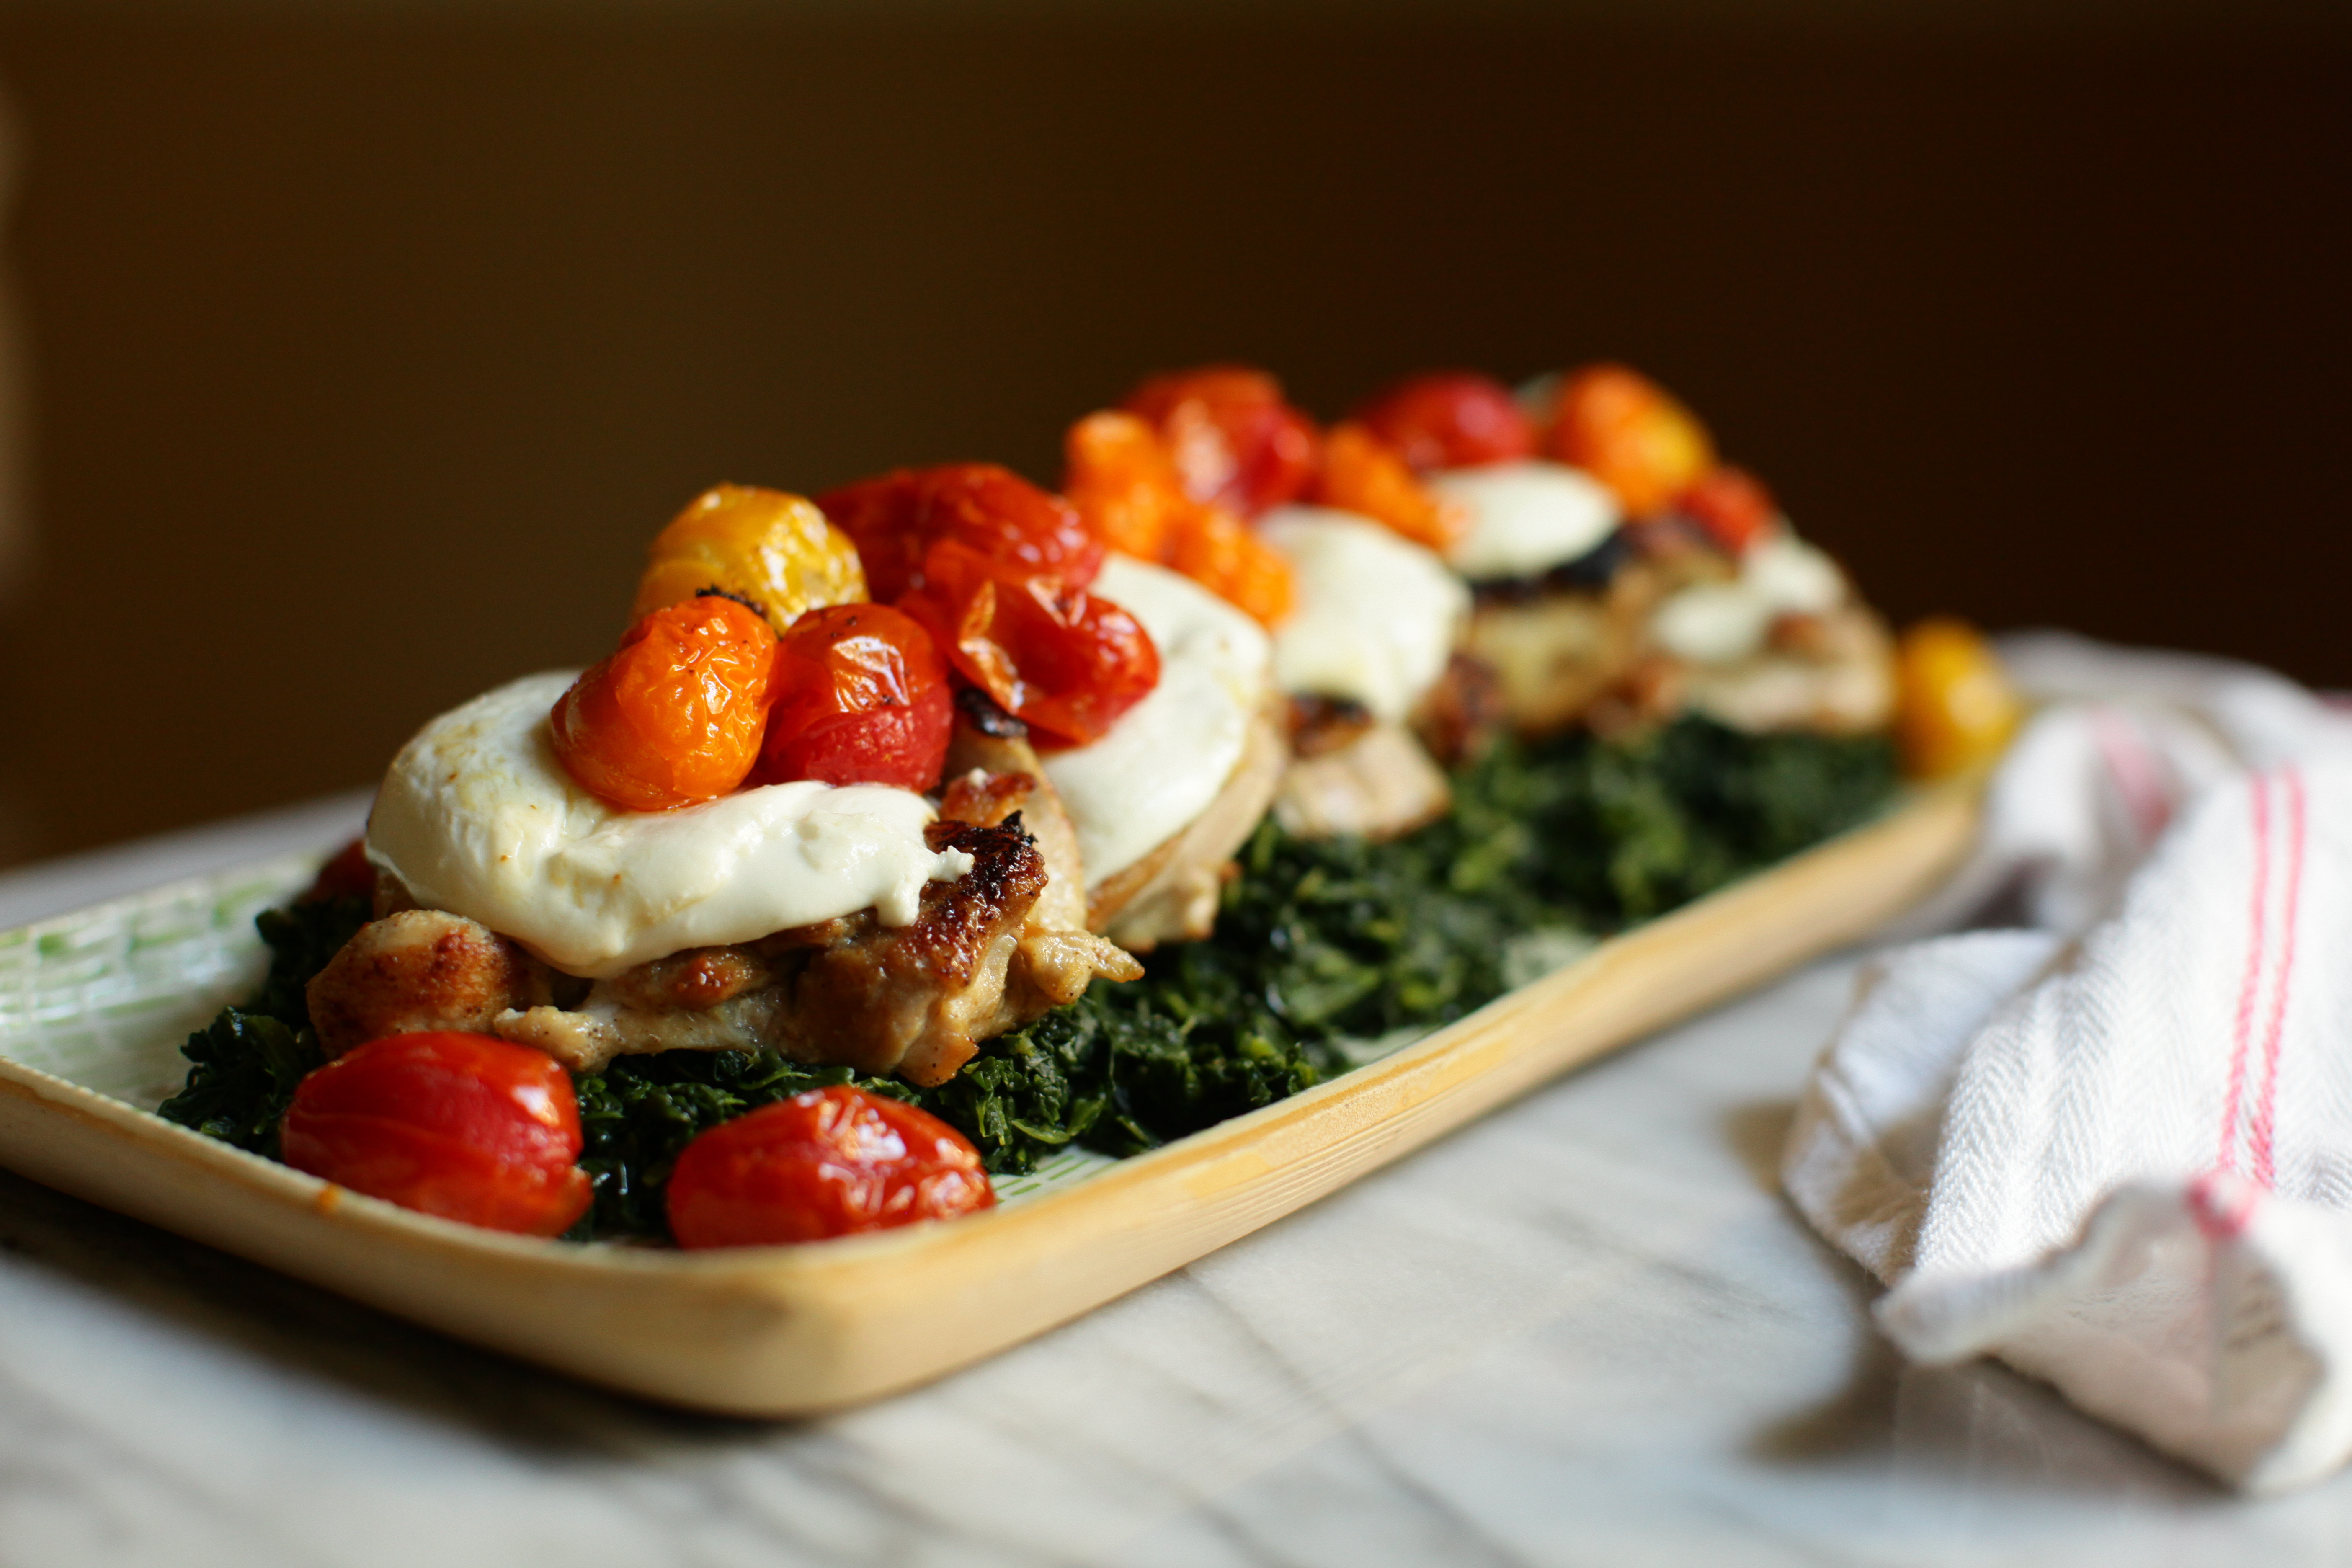
The combo of juicy meat, salty smooth mozzarella and tangy sweet tomatoes is the perfect mix. The spinach is the best green addition. I always try to add a green veggie to all of my meals for my customers and myself. I hope your family loves this dish as much as mine does!
TheFoodieChef Mozzarella Chicken2
TheFoodieChef Mozzarella Chicken3
TheFoodieChef Mozzarella Chicken4
TheFoodieChef Mozzarella Chicken5
 
Print Recipe
Mozzarella Chicken with Blistered Tomatoes with Garlic Spinach
The combo of juicy meat, salty smooth mozzarella and tangy sweet tomatoes is the perfect mix.
Prep Time 10 minutes
Cook Time 40 minutes
Servings
4 people
Prep Time 10 minutes
Cook Time 40 minutes
Servings
4 people
Instructions
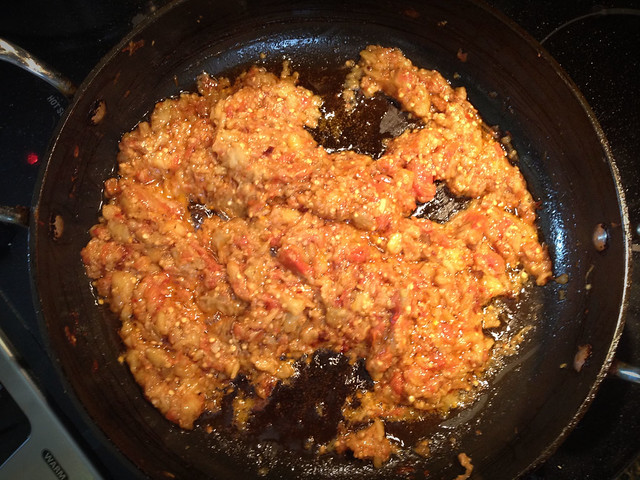
  1. Preheat oven to 350. Empty washed cherry tomatoes onto a foil lined sheet pan.
  2. Toss with 2T oil, salt and pepper. Bake for 15 minutes or until blistered.
  3. Place chicken thighs onto foil lined baking sheet, toss with oil, salt, pepper, and garlic powder. Bake 15-20 or until instant thermometer reads 165.
  4. Thaw spinach according to packaging. Squeeze out remaining water and transfer to a skillet with 1T oil. Add salt, pepper, and garlic powder to taste. Squeeze half of a lemon on top, set aside.
  5. Slice thin pieces of mozzarella. Place 1 piece on each chicken thigh. Bake for 4 minutes or until cheese is melted.
  6. Arrange a bed of spinach on a platter then add the chicken cascading onto the next piece. Then sprinkle the blistered tomatoes on top. Viola! You have dinner for 4 under $10!

Easy Tostadas

Tostadas

Happy Cinco de Mayo!! In honor of this fab holiday, I’m sharing one of my super quick go to meals. My tostadas are kind of like one big nacho.

This healthy recipe is easily Gluten Free, Kosher, Vegan and Vegetarian (I have no cheese on it but it can be added 🙂 ) Check out my super cool gif below. It’s my first time making one so don’t judge 😛

Tostada Gif
Print Recipe
Easy Tostadas
This healthy recipe is easily Gluten Free, Kosher, Vegan and Vegetarian.
Instructions
  1. Preheat oven to 350. Spray each side of the corn tortillas with cooking spray then sprinkle chili powder on them. Lay them flat on a sheet pan and bake for 7 minutes until hard. Once finished, spread in this order: black beans, black olives, guacamole, and pico. They're ready to eat!


Super Cereal Smoothie Bowl

Super Cereal Smoothie Bowl

I spend a good amount of time researching to get inspired with new recipes and ideas. I came across a grainy, seedy all natural breakfast cereal recipe and had to try it. Surprisingly, it keeps me full for hours until lunch time!

Every morning I make some kind of berry variation smoothie. It never fills me up and I’m hungry in an hour. So this morning, I put the cooked super cereal in the bowl and tilted it then poured in my morning smoothie= morning super cereal smoothie bowl! The hot cereal mixed with the cold smoothie was just perfect, I highly recommend making these 2 recipes for your next breakfast.

Print Recipe
Super Cereal Smoothie Bowl
Berry Banana Soothie
Prep Time 5 minutes
Servings
1
Ingredients
Prep Time 5 minutes
Servings
1
Ingredients
Instructions
  1. Blend until smooth

Cooking Class in Bologna, Italy

Cooking Class Apartmen

After a year long engagement, my fiance and I finally tied the knot! It was a magical evening and everything we could have asked for surrounded by family and friends. A few days later, we embarked on our Italian honeymoon, #jankcation as we call it.

Our first stop was in Venice, the most romantic place possible. Unfortunately, George Clooney was getting married at that time and it was oh so busy in Venice. It was uncomfortably packed in this city 🙁 We made the best of it and wandered through the town peering out on canals.

Next, we rented a car and drove to Monte San Pietro, Emilia-Romagna which is about 15-20 minutes outside of Bologna. This was was absolutely breathetaking! The area was filled with Fattoria’s (agrotourismo) and unpretentious vineyards. We stayed at an airbnb that was decorated 70’s style named Cool Cat that looked out to other hill towns.

We arranged a market tour and cooking class for beginners (husband) and experienced (me). We started out by finding the teacher at a specific coffee shop. It was interesting finding it in a city we had never been to nor do we speak the language. After asking a few people and staring at our map, we found her!

She then took us to this amazing market that’s only held on weekends. Everything is grown locally and looked so fresh and beautiful. The market was surrounded by bakeries, meat stores, small grocery shops, convenience stores, and specialty stores. I was in heaven. After we gathered all of our ingredients and got all of my questions answered, we went to the teachers apartment to start cooking!

fresh produce Fresh produce

We started out making fresh pasta. The eggs that we used had bright fresh orange yolks.  If only I raised chickens in my backyard… I learned in school to make it by hand then roll it through a pasta machine. This time, we did it all by hand which took a bit of time but was worth it.

pasta we made M&Z with pasta

We then stuffed squash blossoms with ricotta and parsley.

Stuffed Squash Blossoms

Now it was time to get all of the sauces together: Bolognese, porcini marsala, and butter. Everything we made was very simple with simple ingredients but all were very fresh. The tomatoes, tasted like actual sweet and delicate tomatoes!  I feel like the tomatoes we get here in US are bland, picked before ripe and just have no taste.  This is really unfortunate.

We cooked up our pumpkin tortellini then sauteed it in butter then it got a fab drizzle of 25 year aged balsamic vinegar. Next, our over an hour simmering bolognese sauce was topped on our freshly made tagliatelle. Then of course we grated fresh parmesan from Parma.

pumpkin tortellini Bolognese

I’m pretty sure my husband and I agree on this, our cooking class in Bologna was by far the best meal we shared together in Italy. It’s no joke that Bologna is the food capital of Italy, it is the real deal.


Cantaloupe Gazpacho

Cantaloupe Gazpacho

In honor of summer and our new look 🙂 I’m sharing one of my favorite recipes and memories that I’ve held onto for a few years.  I learned to make this soup at my very first internship in a kitchen. When I tasted it, I never forgot the delicious sweet yet complex taste it had. Summer always deserves a delicious cold soup, especially when it’s 100+ degrees out.

Thinking back, I was helping the Chef de Cuisine prepare this soup for his appearance on the Deborah Duncan Show. We went back stage, he got a little make up and hair action and I waited patiently as his assistant. Once he was on, I anxiously waited backstage, watching on the small tv to see the hosts reaction. She loved it! I felt honored to be invited to be his assistant as I was just the novice intern in his tiny kitchen.

Anyone can make it, it’s really simple. This soup is indeed raw so watch out all of you special dieters. This is an extremely healthy soup chalk full of veggies!  If you want to add a protein, shredded chicken is the perfect match. You can see how I made it below!

Print Recipe
Cantaloupe Gazpacho
Inspired by Chef Jose Vela
Instructions
  1. Cut up all ingredients into small pieces, a rough chop
  2. Pulse all fruit and veggies in a food processor. I suppose a vitamix would work well too.
  3. While blending, slowly pour the olive oil and sherry until blended well.
  4. Add salt and pepper to taste.
  5. Once finished, taste to double check the flavor. It may need a bit more sherry vinegar.
  6. Bon Appetit!
Recipe Notes

*Feel free to take out a veggie if you're sensitive to it. I tend to go light on the red pepper.

Preserved Meyer Lemons

Meyer Lemon

We have an amazing meyer lemon tree in our front yard. When we first moved in, it was summer time and I thought they were limes. I got so excited that I pulled one fruit off the tree, anxiously cut it open and tasted it. It was sour but slightly sweet yet didn’t taste anything like a lime. I thought, how can a green colored fruit that looks like lime taste like a sweet lemon? After doing alittle research online, I figured out it was a meyer lemon tree! How lucky are we!! If you haven’t tried one before, they are absolutely amazing. I introduced them to a friend the other day and she can’t stop squeezing them in her water. They do make the best lemonade. Not to mention their zest is pretty tasty too. Ahhem- lemon zest cookies! Now that I had a plethora of fruit, I had to preserve them in some way. Once again, I researched and found an easy recipe for preserved lemons. I recommend waiting for the fruit to ripen in the winter, don’t preserve these gems in the summer time. I could have waited a few more months but I couldn’t wait any longer!

Preserved Lemon


Meyer Lemon


Preserved Lemon


You can also slice them too

Meyer Lemon

Preserved Lemon

These cute mason jars filled with delicious lemon goodness are great as gifts for the holidays.

Once opened, they are great cut up on top of fish, in a salad, fish tacos, in cous cous- the options are endless and so flavorful. Don’t forget to wash the preserved lemon under cold water before cutting and serving- they can be very salty.

Recipe from Martha Stewart

Place salt in a large bowl; set aside. Stand lemon on its stem end on a cutting board; cut down the center as though you were going to cut in half, but stop about 1/2 inch above the stem. Make a perpendicular cut, stopping about 1/2 inch above the stem, so the lemon is quartered but still in tact.

Holding lemon over bowl of salt, spread four quarters open and pack as much salt as you can, allowing excess to fall back into bowl. You should be able to pack about 2 tablespoons into lemon. Place lemon, cut side up, in a 1-quart sterile, dry glass jar, preferably with a neck that is narrower than the jar, with a lid or a clamp closure. Repeat process with as many lemons as the jar will hold (you may have to add some the next day when lemons are softer). Cover and let stand overnight.

Push lemons down with a clean spoon, add remaining lemons, if necessary, keeping in mind you may only be able to add another half or quarter. Add enough lemon juice to jar to completely submerge lemons. Cover with lid until just finger-tight or clamp closed. Place jar in a dark spot, but not the refrigerator.

Everyday, for the next week, turn and shake jar once a day to redistribute salt. Add more lemon juice if lemons are no longer submerged. Let lemons stand for 1 month before using.

Cajun Seasoned Kale Chips

I’m always looking for a healthy snack and these kale chips are just it! They have a hint of spice and are good enough for the carnivorous fiance to approve of. These were all of the hype about a year ago but i’m bringing them back because they’re so delicious.  You can season them with so many different flavors: parm, salt & pepper, garlic powder, cumin, chipotle powder, taco seasoning, etc.

Did I mention how healthy they are for you? Kale is the richest source of carotenoids in the leafy-green vegetable family, making it a top cancer-fighter. Cancer fighter? I’m in!

photo 5 (1)

First start out by washing the kale and preheating the oven to 425 degrees.

Kale 1

I like dinosaur kale because of its texture but you can also use other varieties.

Tear the leaves off from the stem keeping them together.

Kale 2

Dry them with a paper towel then add grapeseed oil. Spread them evenly, be sure not to crowd them as they will steam and not crisp up. Sprinkle your chosen seasoning on top. Bake for about 7 minutes depending on your oven. Be sure not to over cook them- they will burn! (it happened to one of my batches, eek!)

Kale 3

They’re light and crispy like a chip and healthy! What more can you ask for?

kale 5


Print Recipe
Cajun Seasoned Kale Chips
Vegan, Gluten Free, Dairy Free
Prep Time 5 minutes
Cook Time 7 minutes
Servings
6
Ingredients
Prep Time 5 minutes
Cook Time 7 minutes
Servings
6
Ingredients
Instructions
  1. Preheat oven to 425 degrees F.
  2. Clean the kale thoroughly then peel back the leaves from the stem leaving them in long pieces.
  3. Dry the leaves then toss them with grapeseed oil on a parchment lined cookie sheet.
  4. After tossing them in oil, sprinkle the cajun seasoning on top.
  5. Bake for 7 minutes, or until crisp. Keep an eye on them! You don't want them to burn.
Recipe Notes

When spreading out the kale on a cookie sheet, make sure you don't put them too close together. They will steam instead of crisp up.

Chicken Dumpling Soup


Chicken Dumpling Soup 1
I have never actually tried making chicken and dumplings — ever. I guess it’s because I grew up on matzo ball soup and it was good enough.  There was no need to learn how to make other dumpling soups.

  The other day I was watching my favorite channel, The Cooking Channel; It’s pretty much where I get a lot of my inspiration from. It was my second time watching the show Little Paris Kitchen and this one recipe caught my eye. It stars an adorable girl, Rachel Khoo who makes really easy delicious French style food.  She made a take on chicken dumplings without the “and.” It’s practically a rich chicken broth with veggies and dumplings made with chicken. I never knew a concoction like this would be so delicate and tasty.

The last time I made quenelles was in pastry school so it was fun practicing again!

Chicken Dumpling Soup 2

I’m not going to type out the entire recipe because this blog, Eat Little Bird does it oh too well. Her pictures are really wonderful too. My only changes were that I sautéed a minced shallot, 2 cloves of garlic, 2 leeks, diced carrots, and celery. I cooked all of these ingredients until wilted and soft to touch. Other than that, follow her recipe.  Oh and this is a “meat and potatoes” boyfriend approved recipe.

Moroccan Cooking with Grandma Lalouf

I had such a pleasure learning the Moroccan way of rustic cooking with my best friend Lindsey and her grandmother.  After a year of asking Lindsey to invite me over to her grandmothers, I was finally granted my wish!  I was invited over to her grandparents lovely home for a very filling lunch with the family and then a cooking lesson.
It was really interesting to hear stories of life in Algeria and Morocco when times were rough.  The style of cooking directly mirrored this. The way grandma cut the eggplant without a cutting board was very minimalistic and interesting to me.  All of the dishes had bold strong flavors from garlic to turmeric. They were all delicious and unique in their own way.  She taught me how to make the eggplant dip which is very similar to babaganoush. The recipe is to follow…

Needless to say, I had a wonderful time and hope to get an invitation back for yet another lesson 🙂


Print Recipe
Grandma Lalouf's Eggplant Dip Recipe
Servings
Ingredients
Servings
Ingredients
Instructions
  1. Cook eggplant in oil for 10 minutes then remove. Cook tomato for about 10 minutes. Add eggplant, garlic, chili oil and salt to cooked tomato. Simmer for 1 hour uncovered.
  2. This dip not only can be served with pita chips, vegetable cridite, but even spread on bread for a different sandwich!
  3. Cooking option 2: leave out the tomato and add lemon juice (to taste) and cumin (1 tsp)
  4. Enjoy!

Ratatouille

I felt inspired to make this classic dish after watching the pixar film, Ratatouille. I’ve never eaten the dish before but I wanted to try it out since it has such a pretty presentation.  I’m not the biggest fan of eggplant or red bell peppers but I wanted to make it the traditional way. The oh so talented people  at Cut To Create  put together yet another awesome video of me making the dish. Check it out below.

Print Recipe
Ratatouille
Servings
Ingredients
Servings
Ingredients
Instructions
  1. Start off by making the tomato sauce before prepping the vegetables. I usually make my own sauce but you can always buy a jar of prepared tomato sauce. Also, if you want to be fancy, you can make tomato concasse which are blanched, shocked, skins removed, and seeded. You can skip the work by buying a can of tomatoes that already have the skins removed. The next step is to just squeeze the seeds out, like I do in the video. I also do not use the juice in the can, it tends to have a metallic taste.
  2. Preheat oven to 400 degrees. Saute the onions and garlic in olive oil then season with a pinch of salt and pepper. Once the onions become translucent, add the tomatoes that have been seeded and drained. Cook for a few minutes until the flavors combine. Add 2 tsp of Thyme, bay leaf, tomato paste, sugar, and the wine. Cover and let simmer for up to an hour. I let it simmer while preparing the vegetables.
  3. *Hint on tomato paste: I found that when buying a small can of tomato paste, I never use the whole can. You can save it by spooning out a tablespoon onto parchment paper then freeze it. Once frozen, you can place them in a zip-top bag and use them as you please!
  4. While the tomato sauce is simmering, cut the eggplant, zucchini, squash, and red bell pepper in 1/8th inch pieces. This is best achieved with a mandoline but a sharp knife with consistent cuts works well too. Once this is done, add the cream to the tomato sauce and season with salt if needed.
  5. Add the tomato sauce to the bottom of the baking dish (remove the bay leaf) and spread evenly. Start by laying the vegetables in this order: eggplant, squash, zucchini, red bell pepper and repeat. Once it's layered, you can press down to make sure that it is tightly packed. To finish, season the vegetables with salt, pepper, thyme (1 tbsp), and drizzle with olive oil. Cover with foil or parchment and bake for 40-55 minutes. You will know it's ready when the tomato sauce is bubbly and the vegetables have given off their liquid. Serve hot, Bon Appetite!