Sour Cherry Deep Dish Pie

cherry pie 3

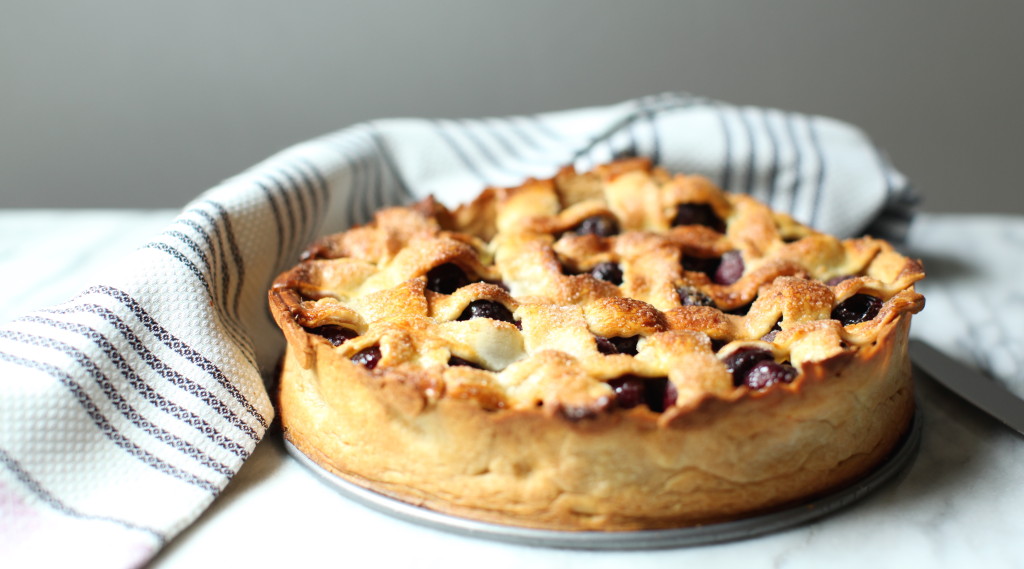
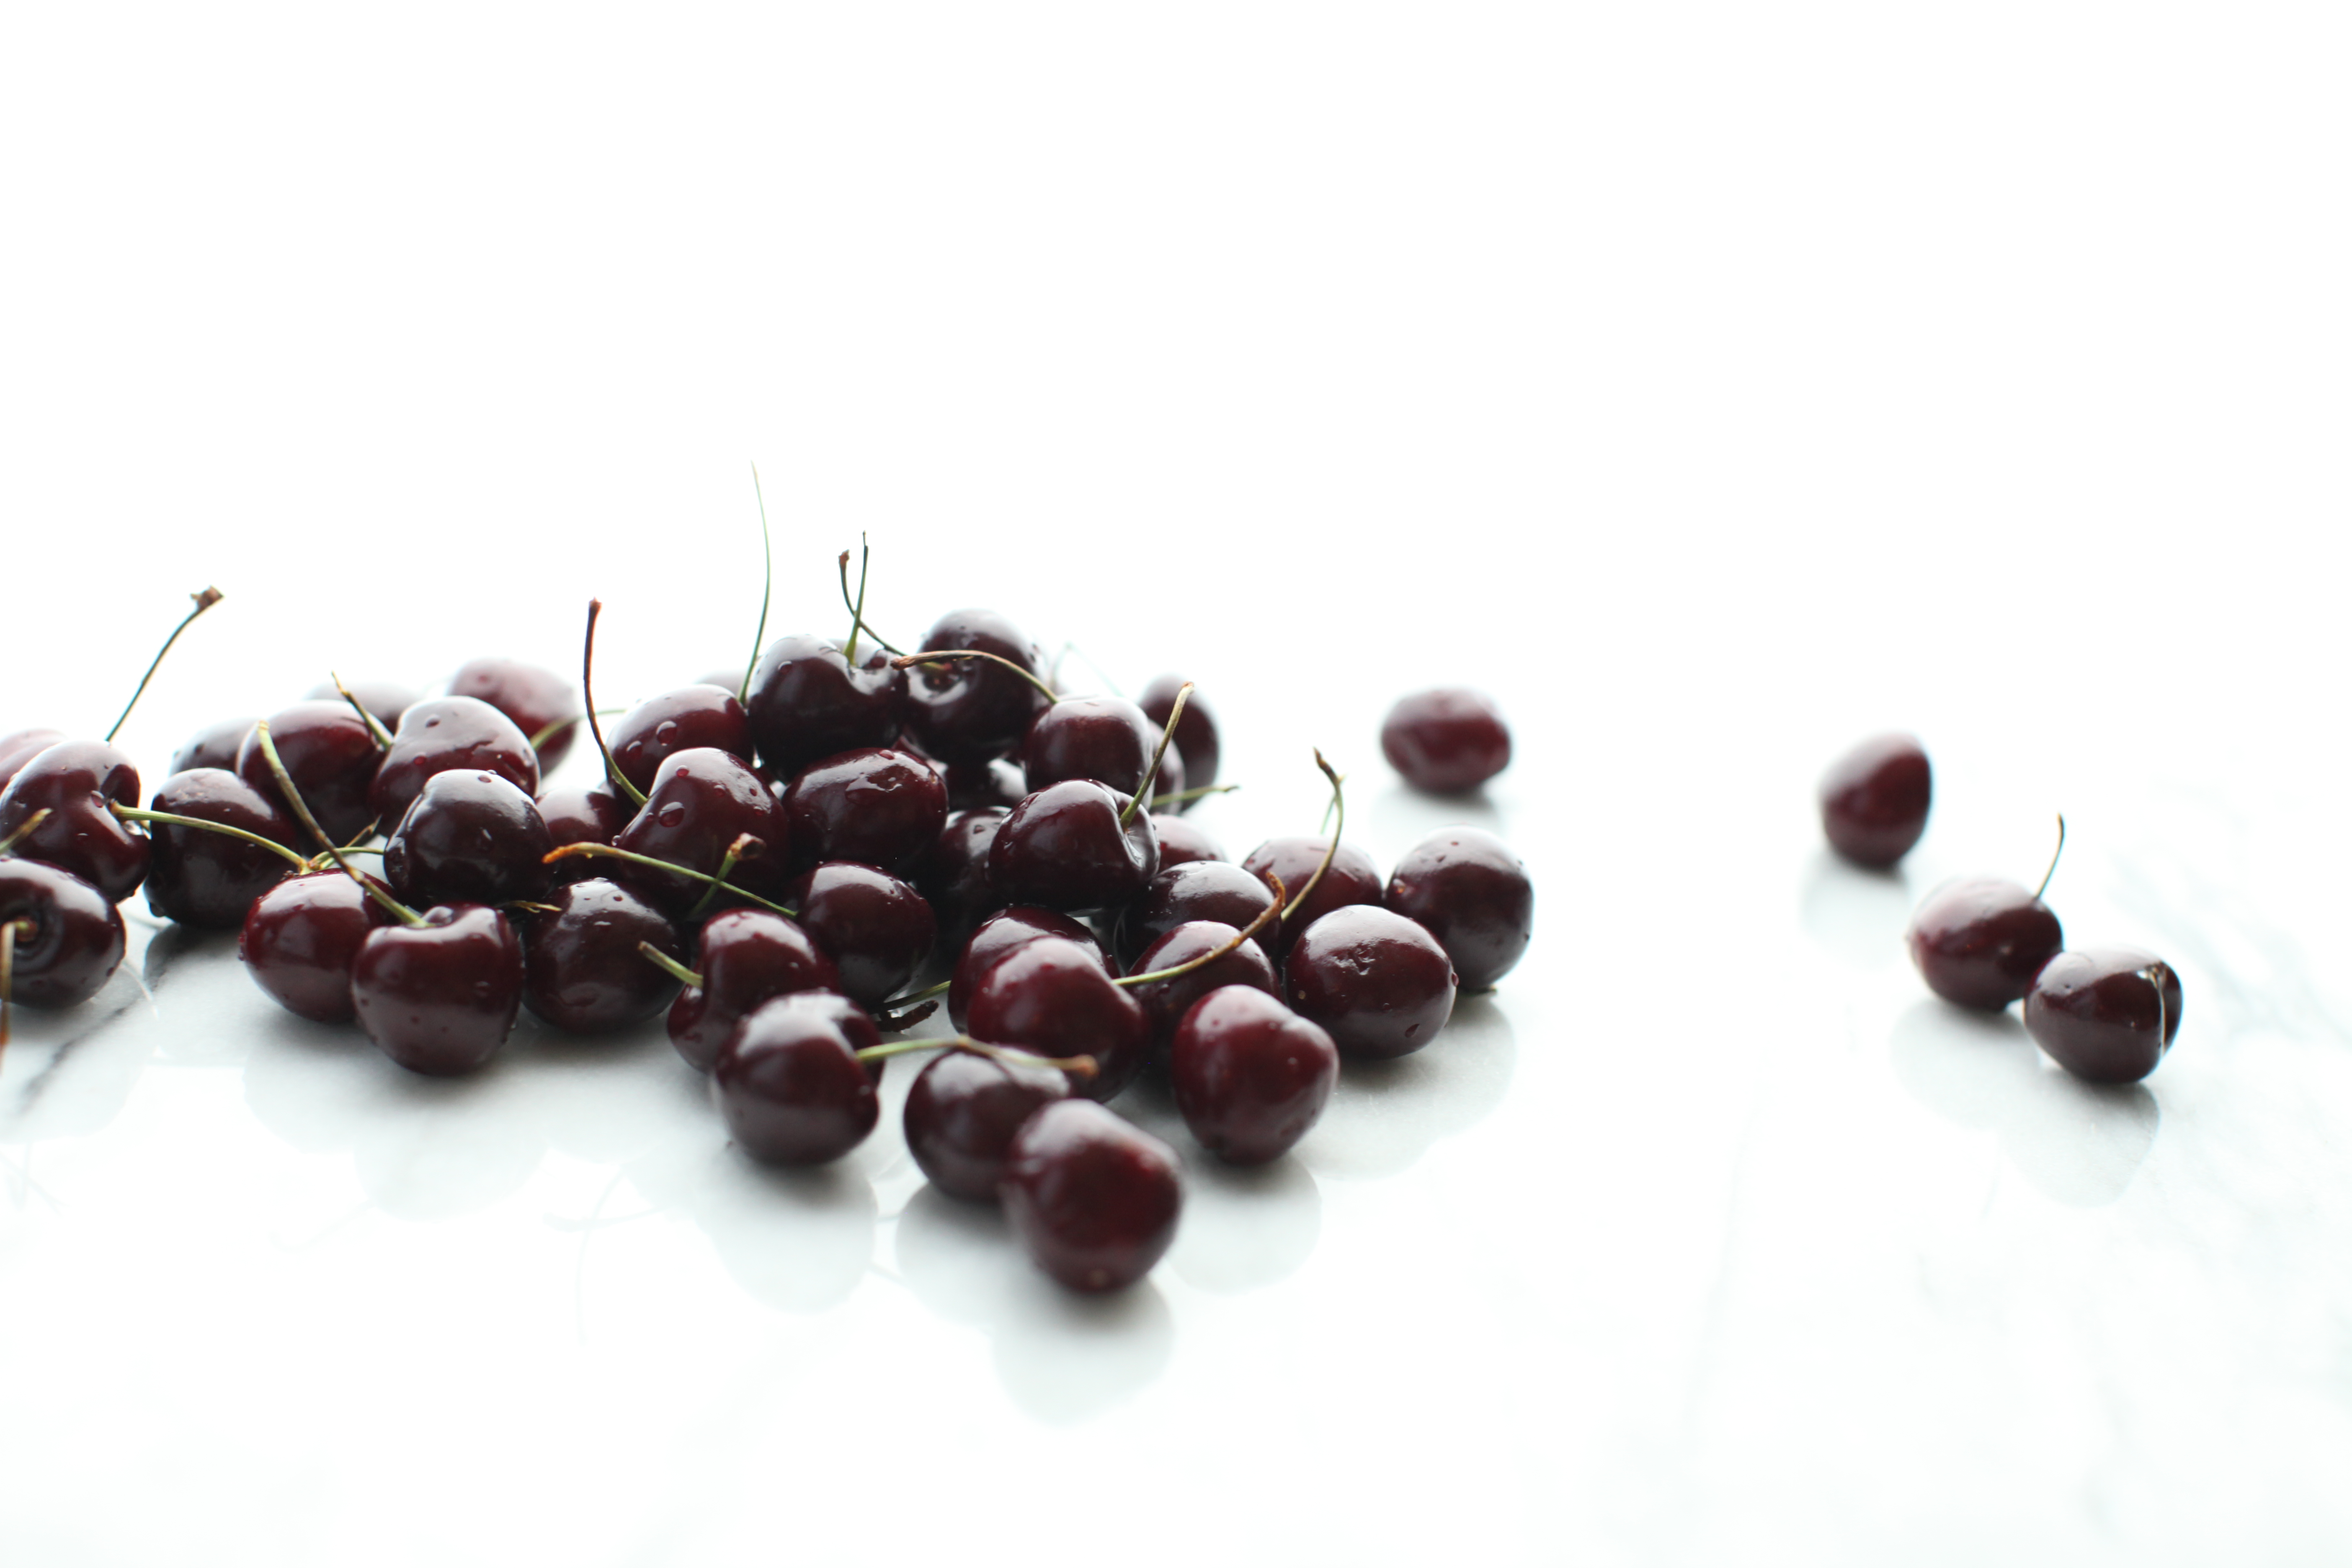
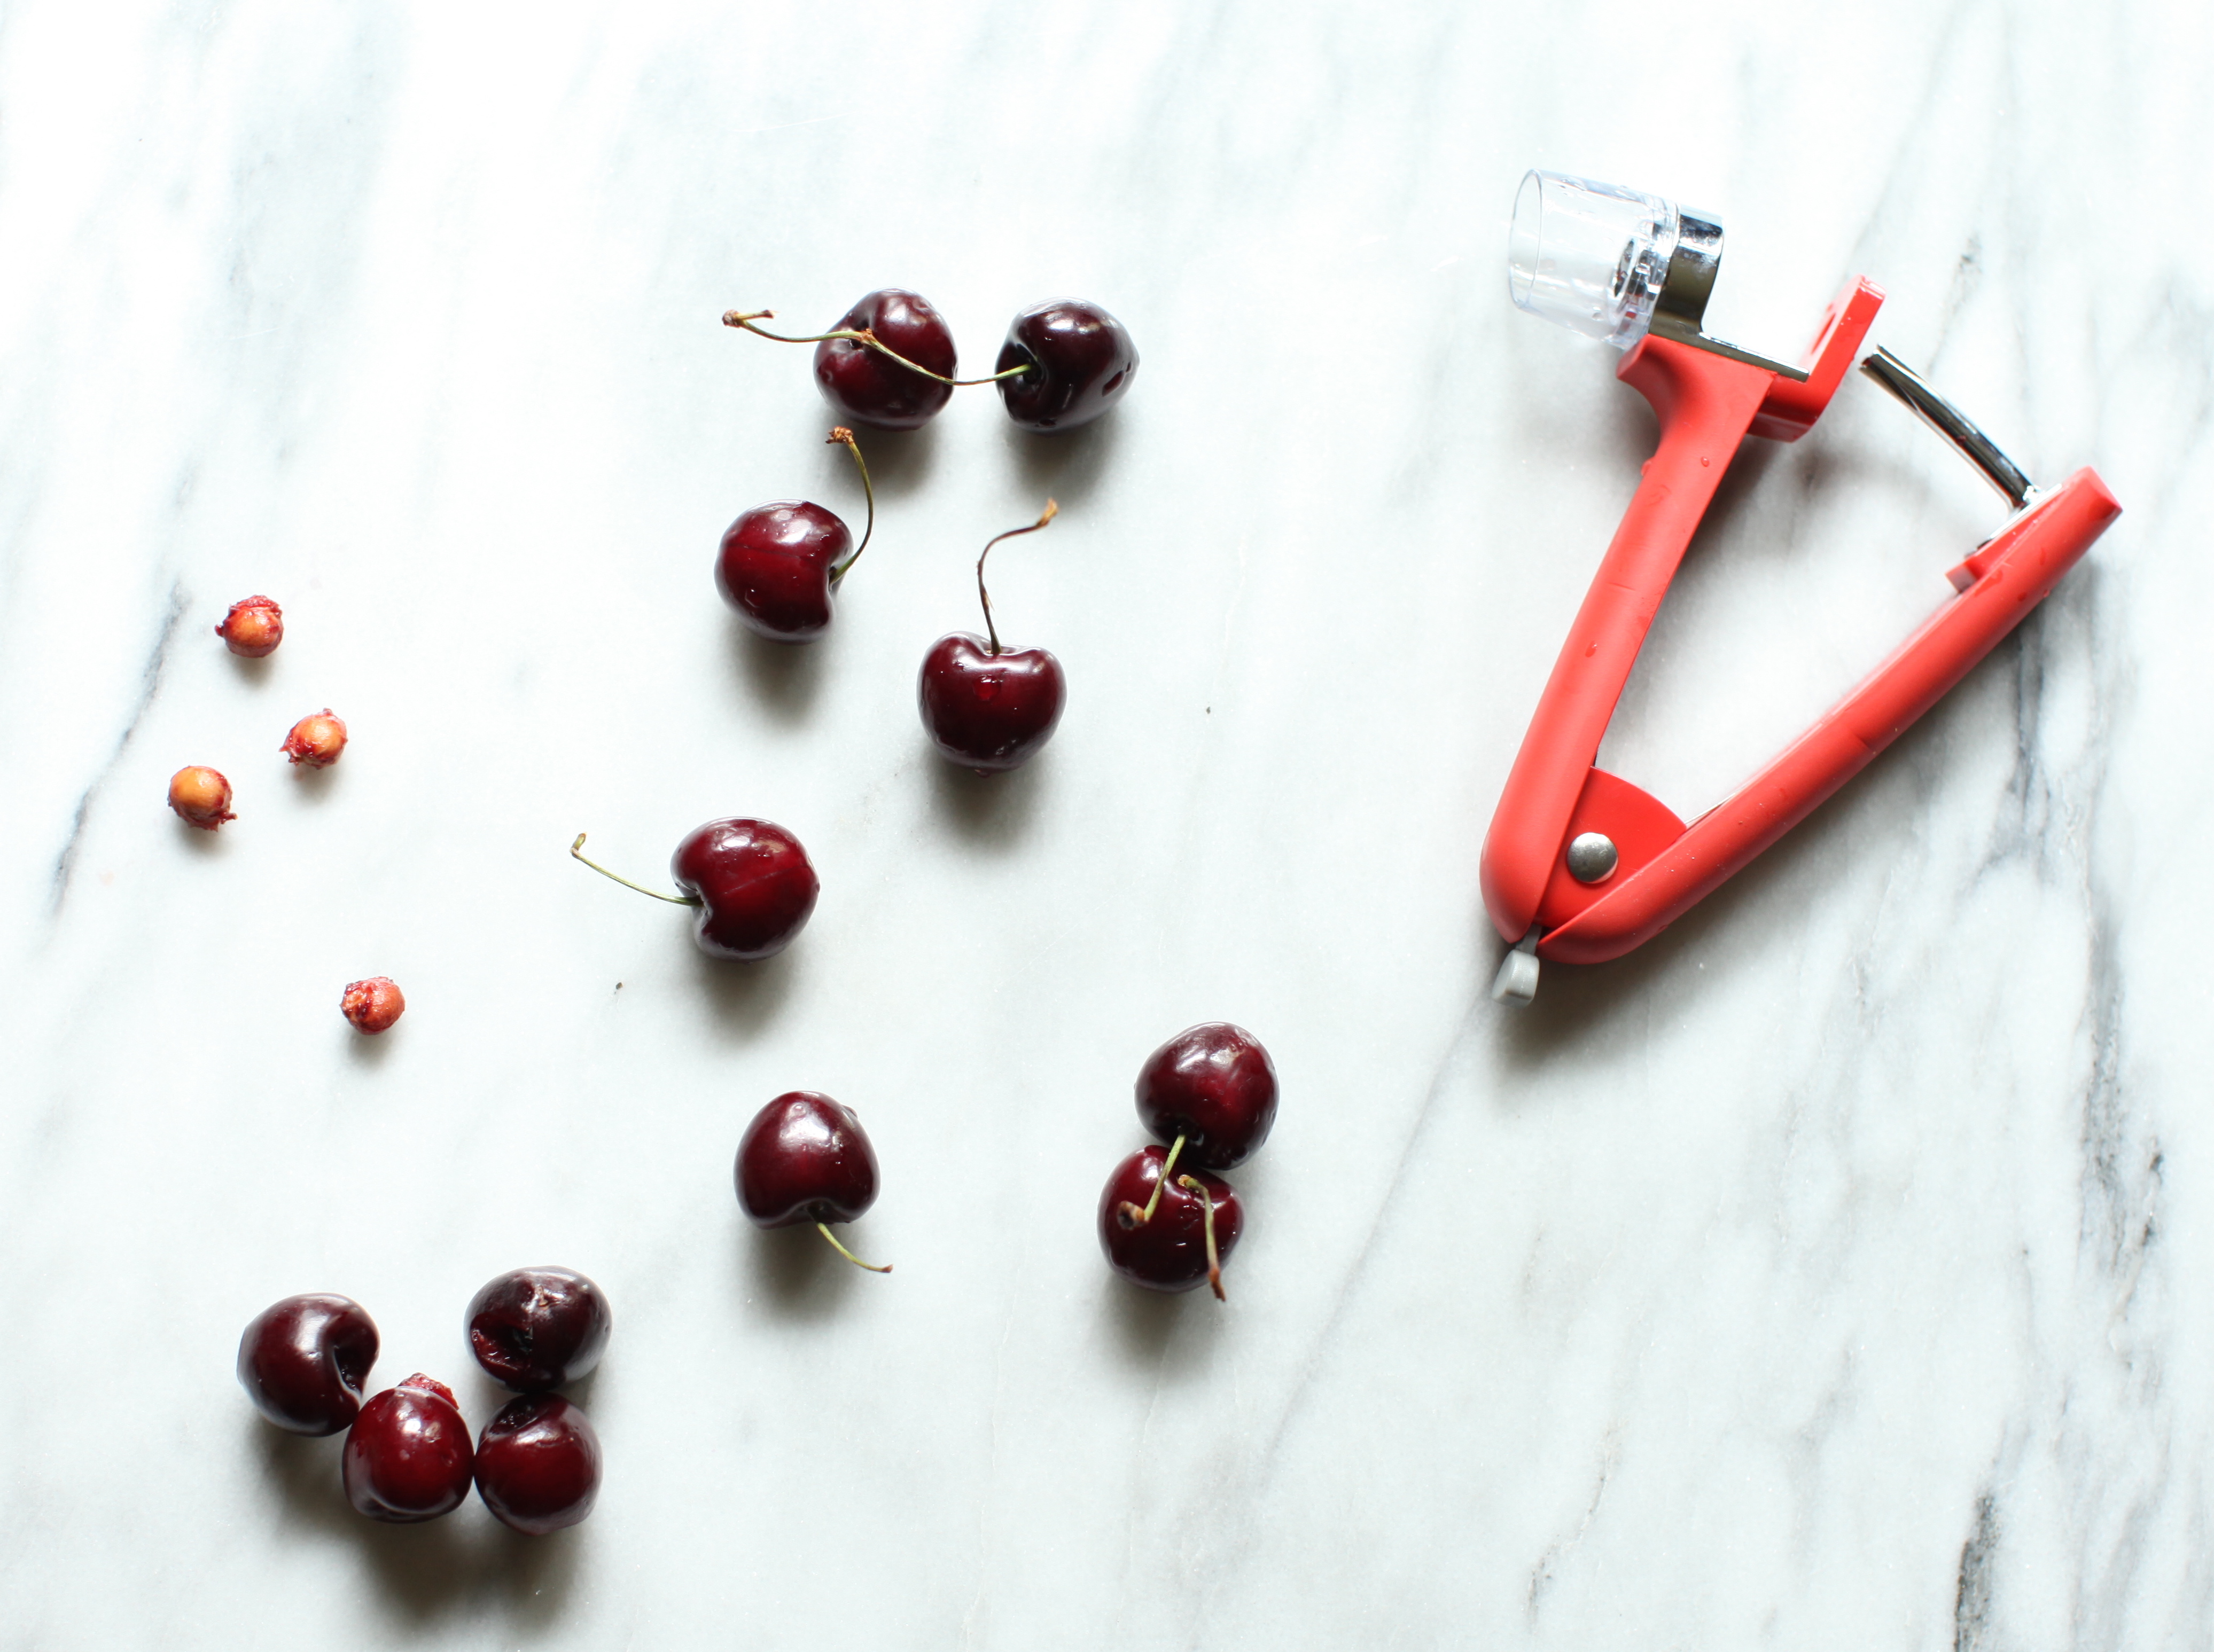
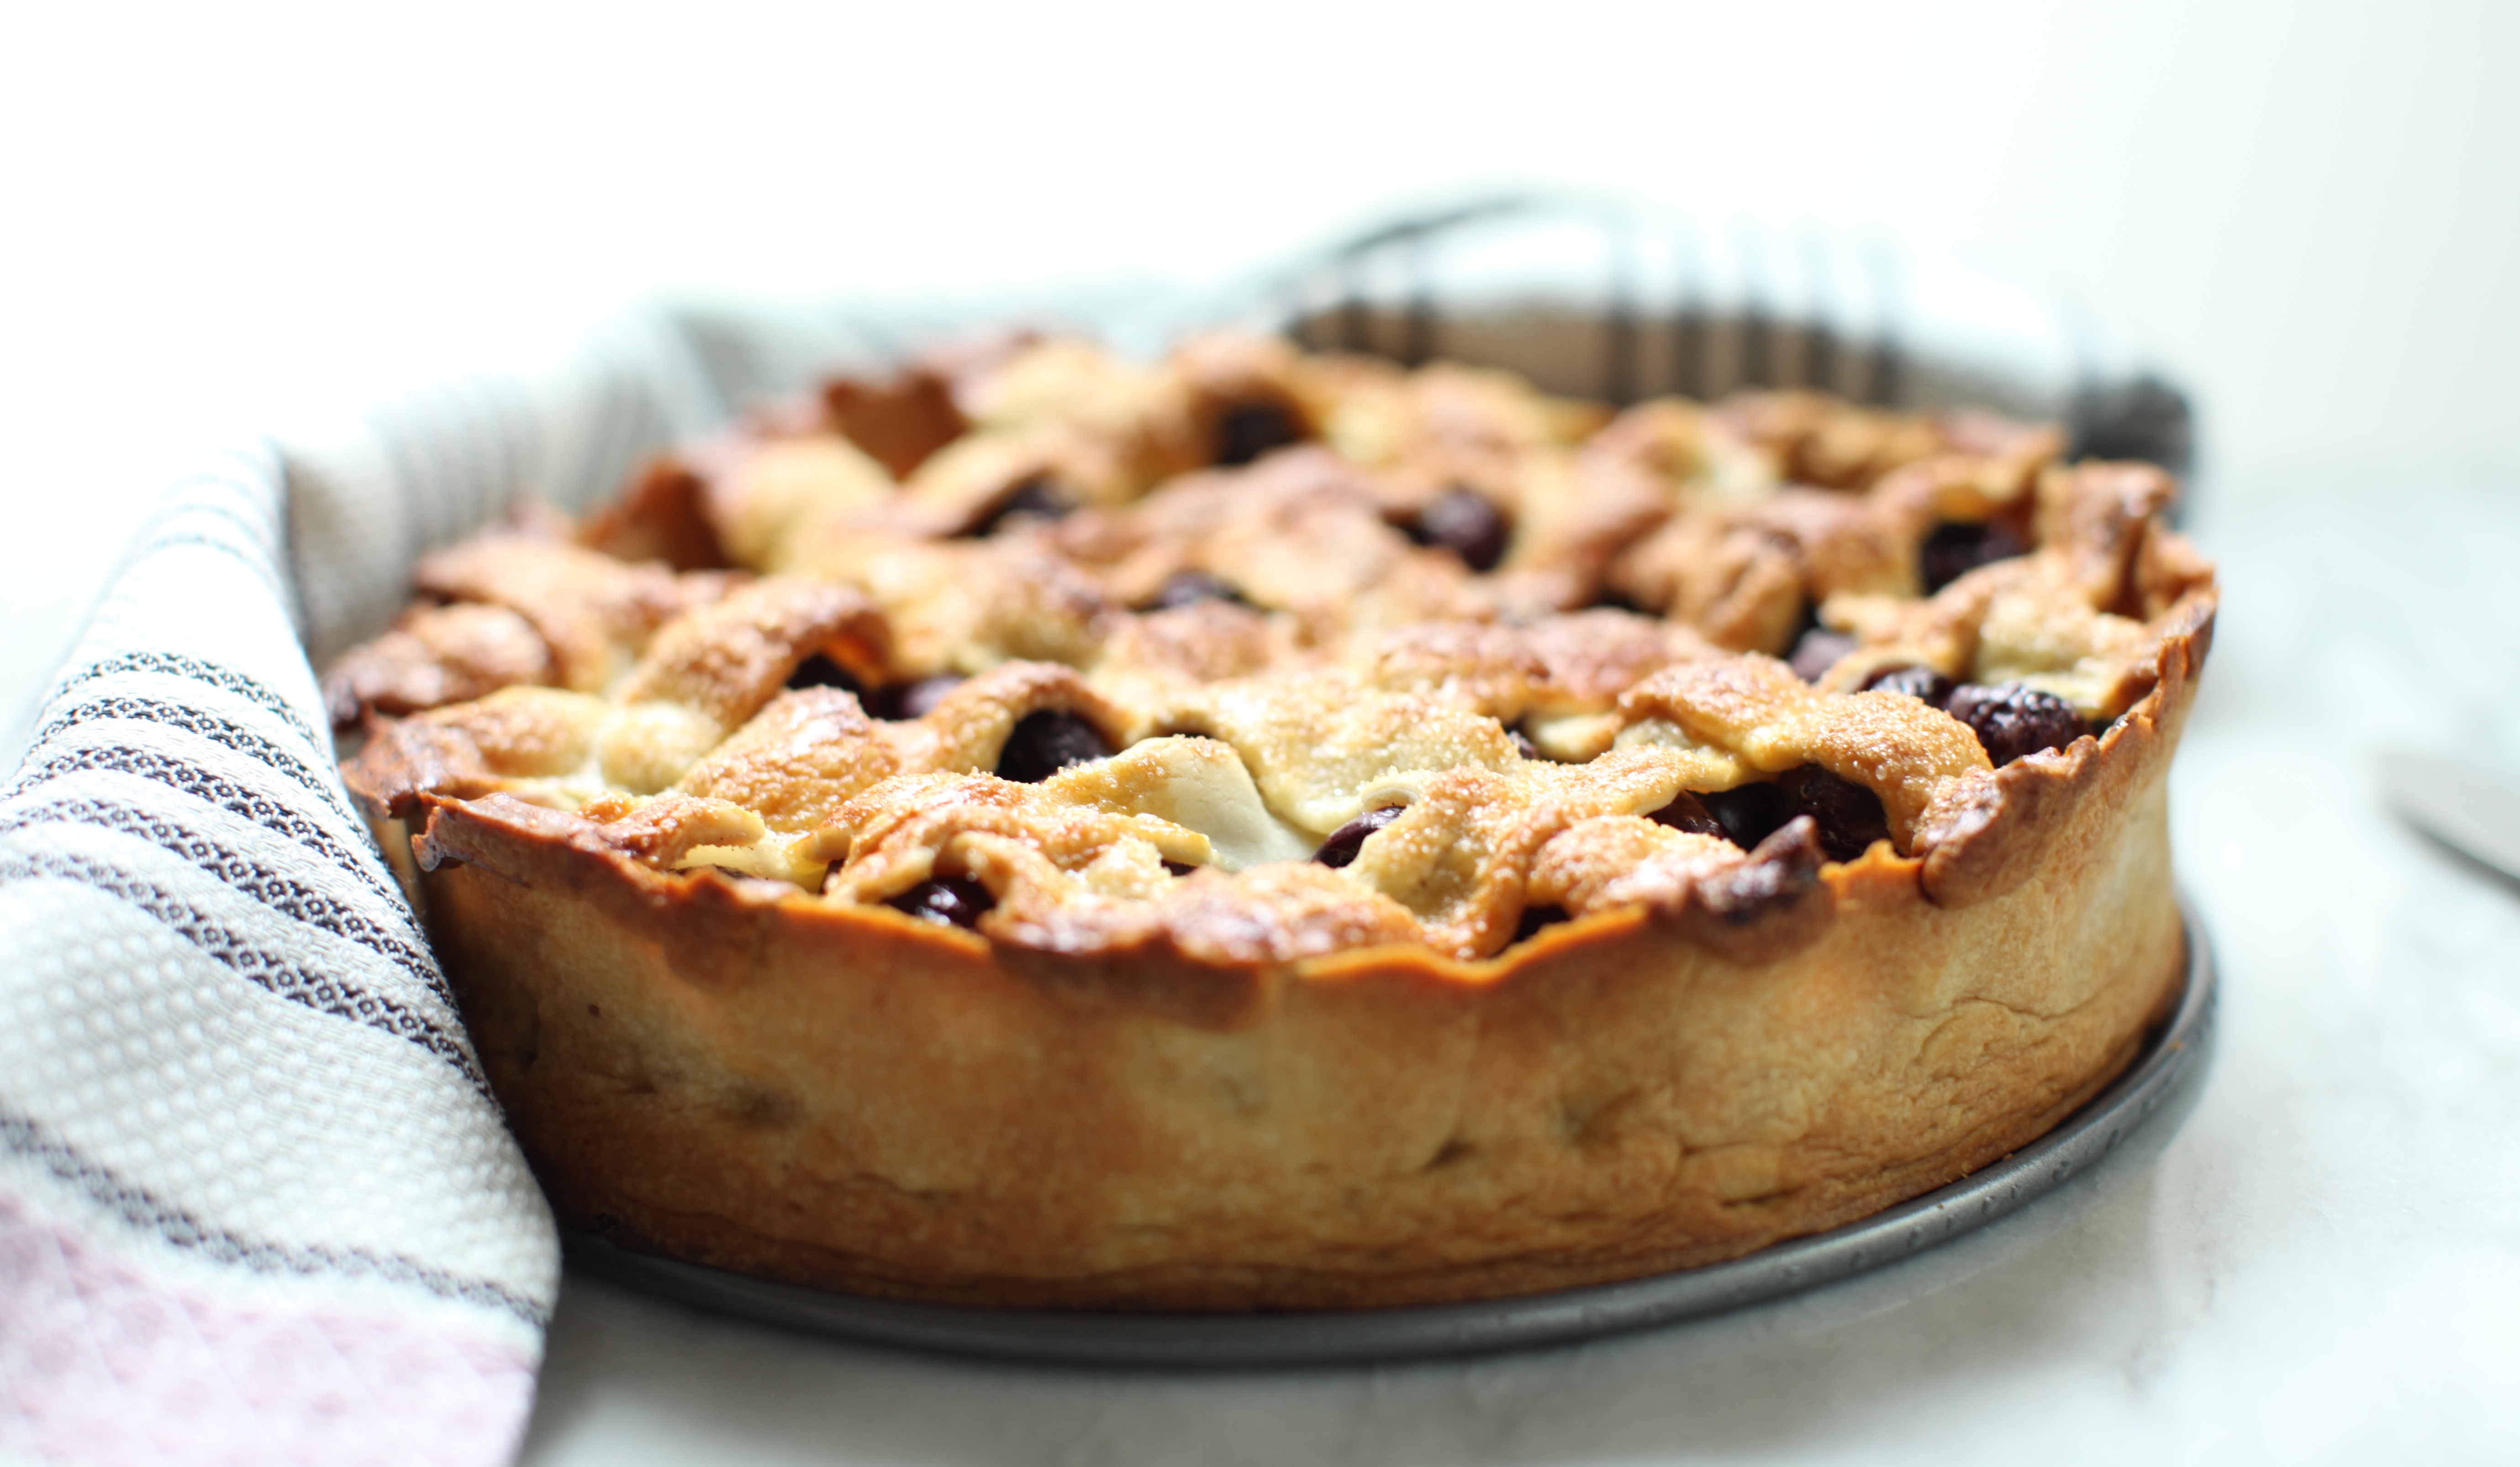
It has been years since I’ve made a homemade pie, maybe since pastry school. These days all of my effort is put into savory food and it’s a treat (pun intended šŸ˜‰ ) to make a dessert every so often. Fresh cherriesĀ are in season and this is what I’m bringing to a friend’sĀ July 4th party.

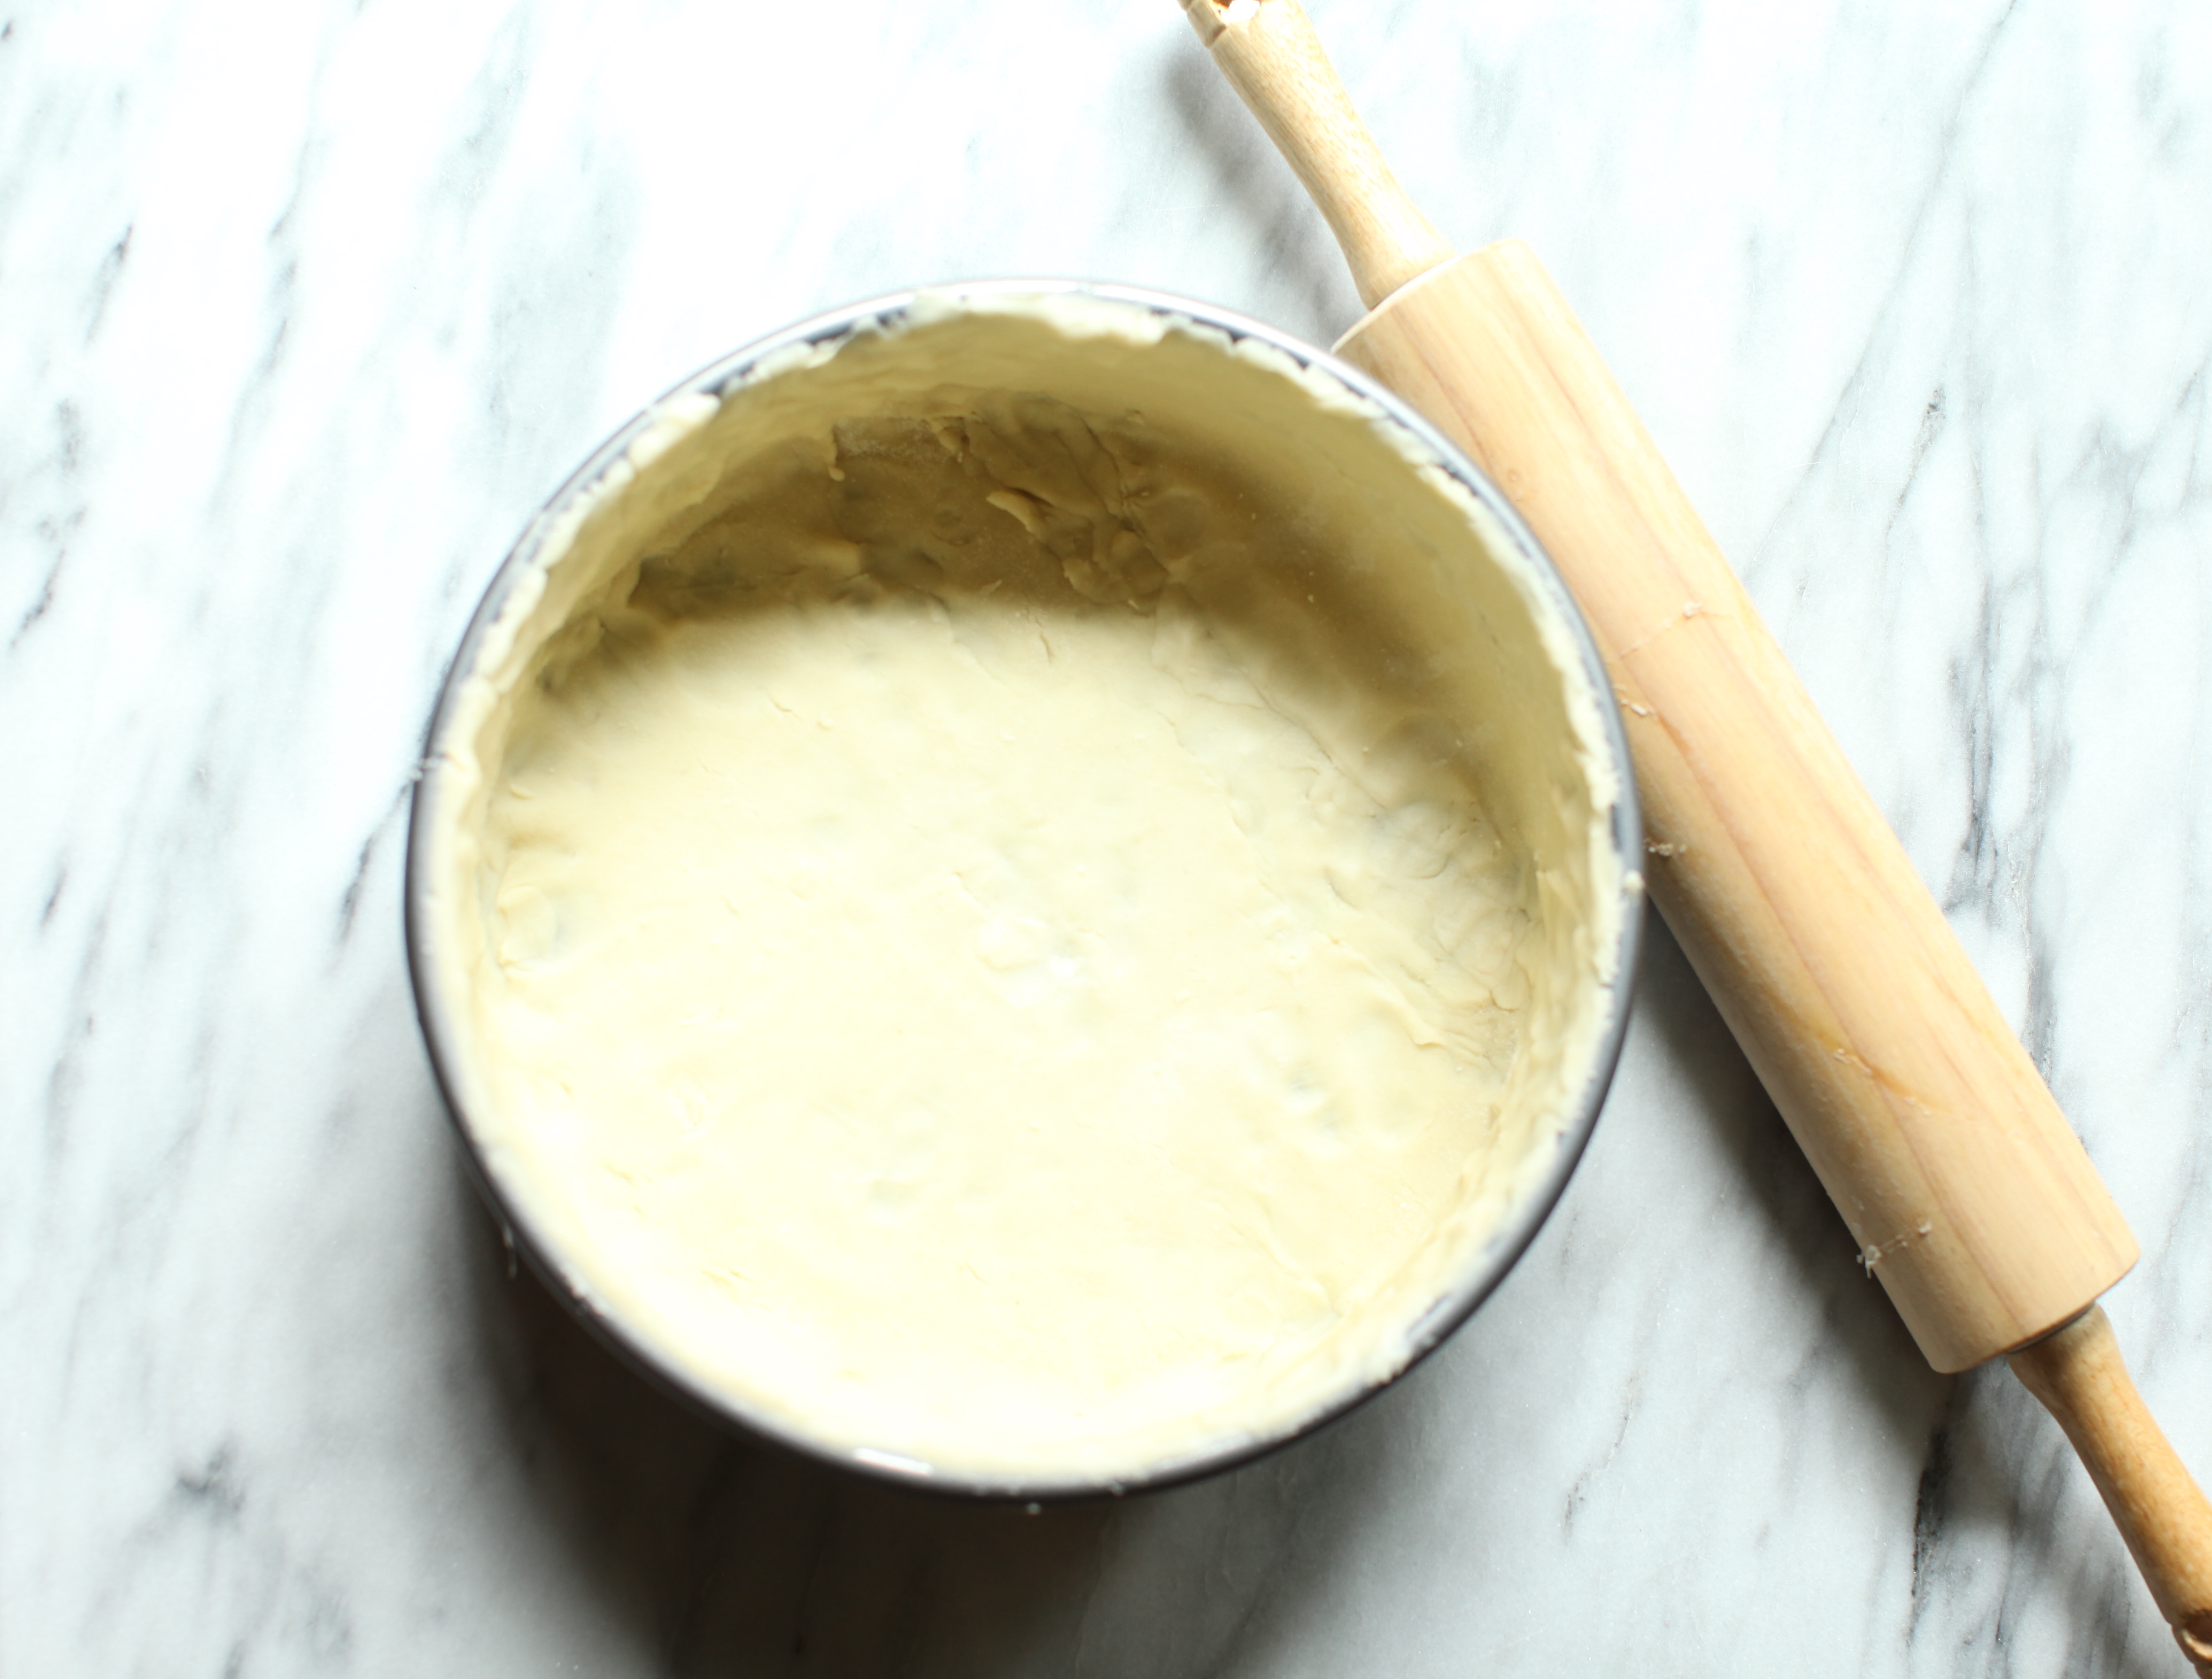
I took a little bit of a shortcut and bought pie dough. Now, I’m all about homemade food but sometimes it’s ok to make an exception when you’re in a pinch. I didn’t have pie weights so I used a nine inch cake pan to help weigh the dough down while cooking. There’s nothing worse than hard dough bubble that cannot be popped only to ruin your entire pie. When I pulled the pan out of the springform pan, I noticed some cracks in the dough. I quickly remembered that my reserved small piece of raw dough could be filled in, *thank you pastry school.

cherries 1
pitting cherriescherries 2

cherries 3

dough

cherry pie 2 cherry pie 4
Print Recipe
Sour Cherry Deep Dish Pie
Prep Time 15 minutes
Cook Time 50 minutes
Passive Time 1 hour
Servings
6 people
Ingredients
Egg wash
Prep Time 15 minutes
Cook Time 50 minutes
Passive Time 1 hour
Servings
6 people
Ingredients
Egg wash
Instructions
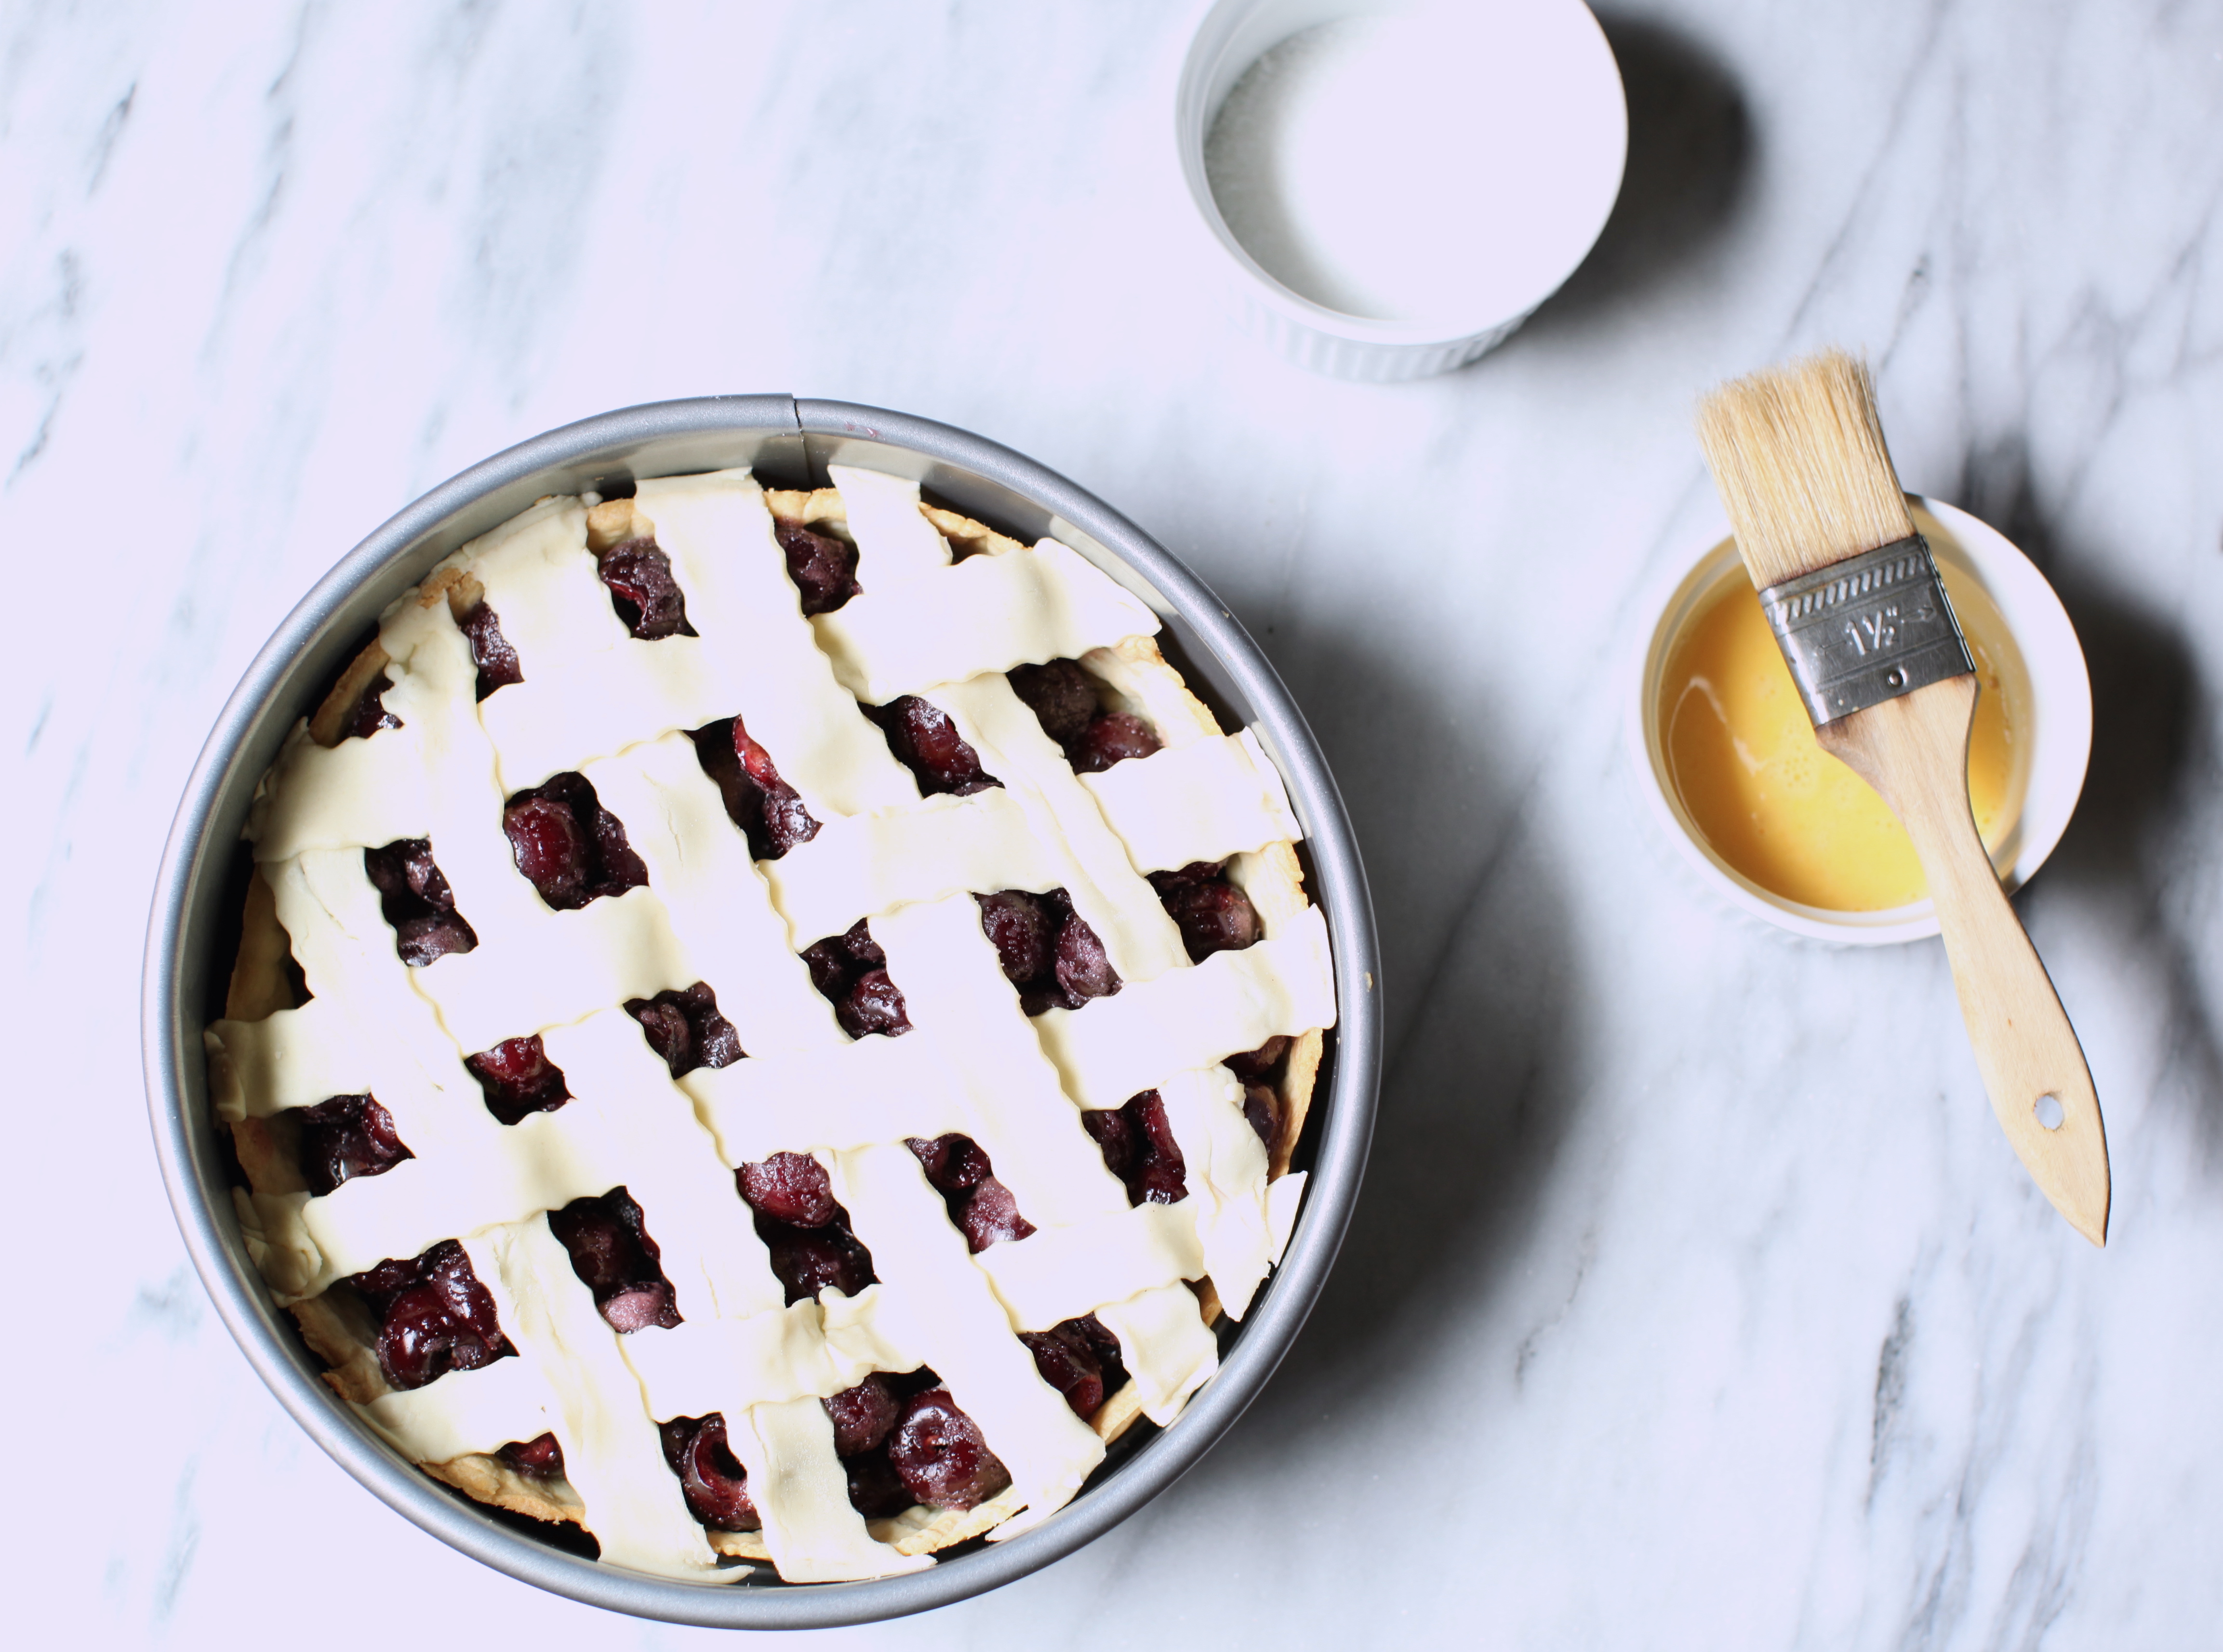
  1. For the egg wash : whisk together egg and salt.
  2. Preheat oven to 350.
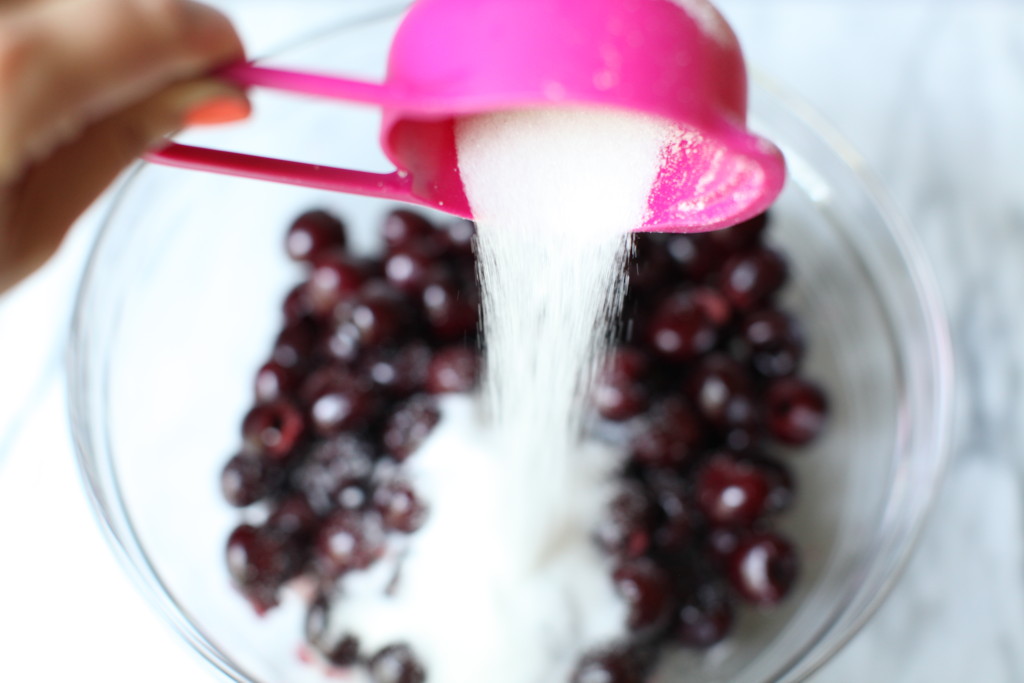
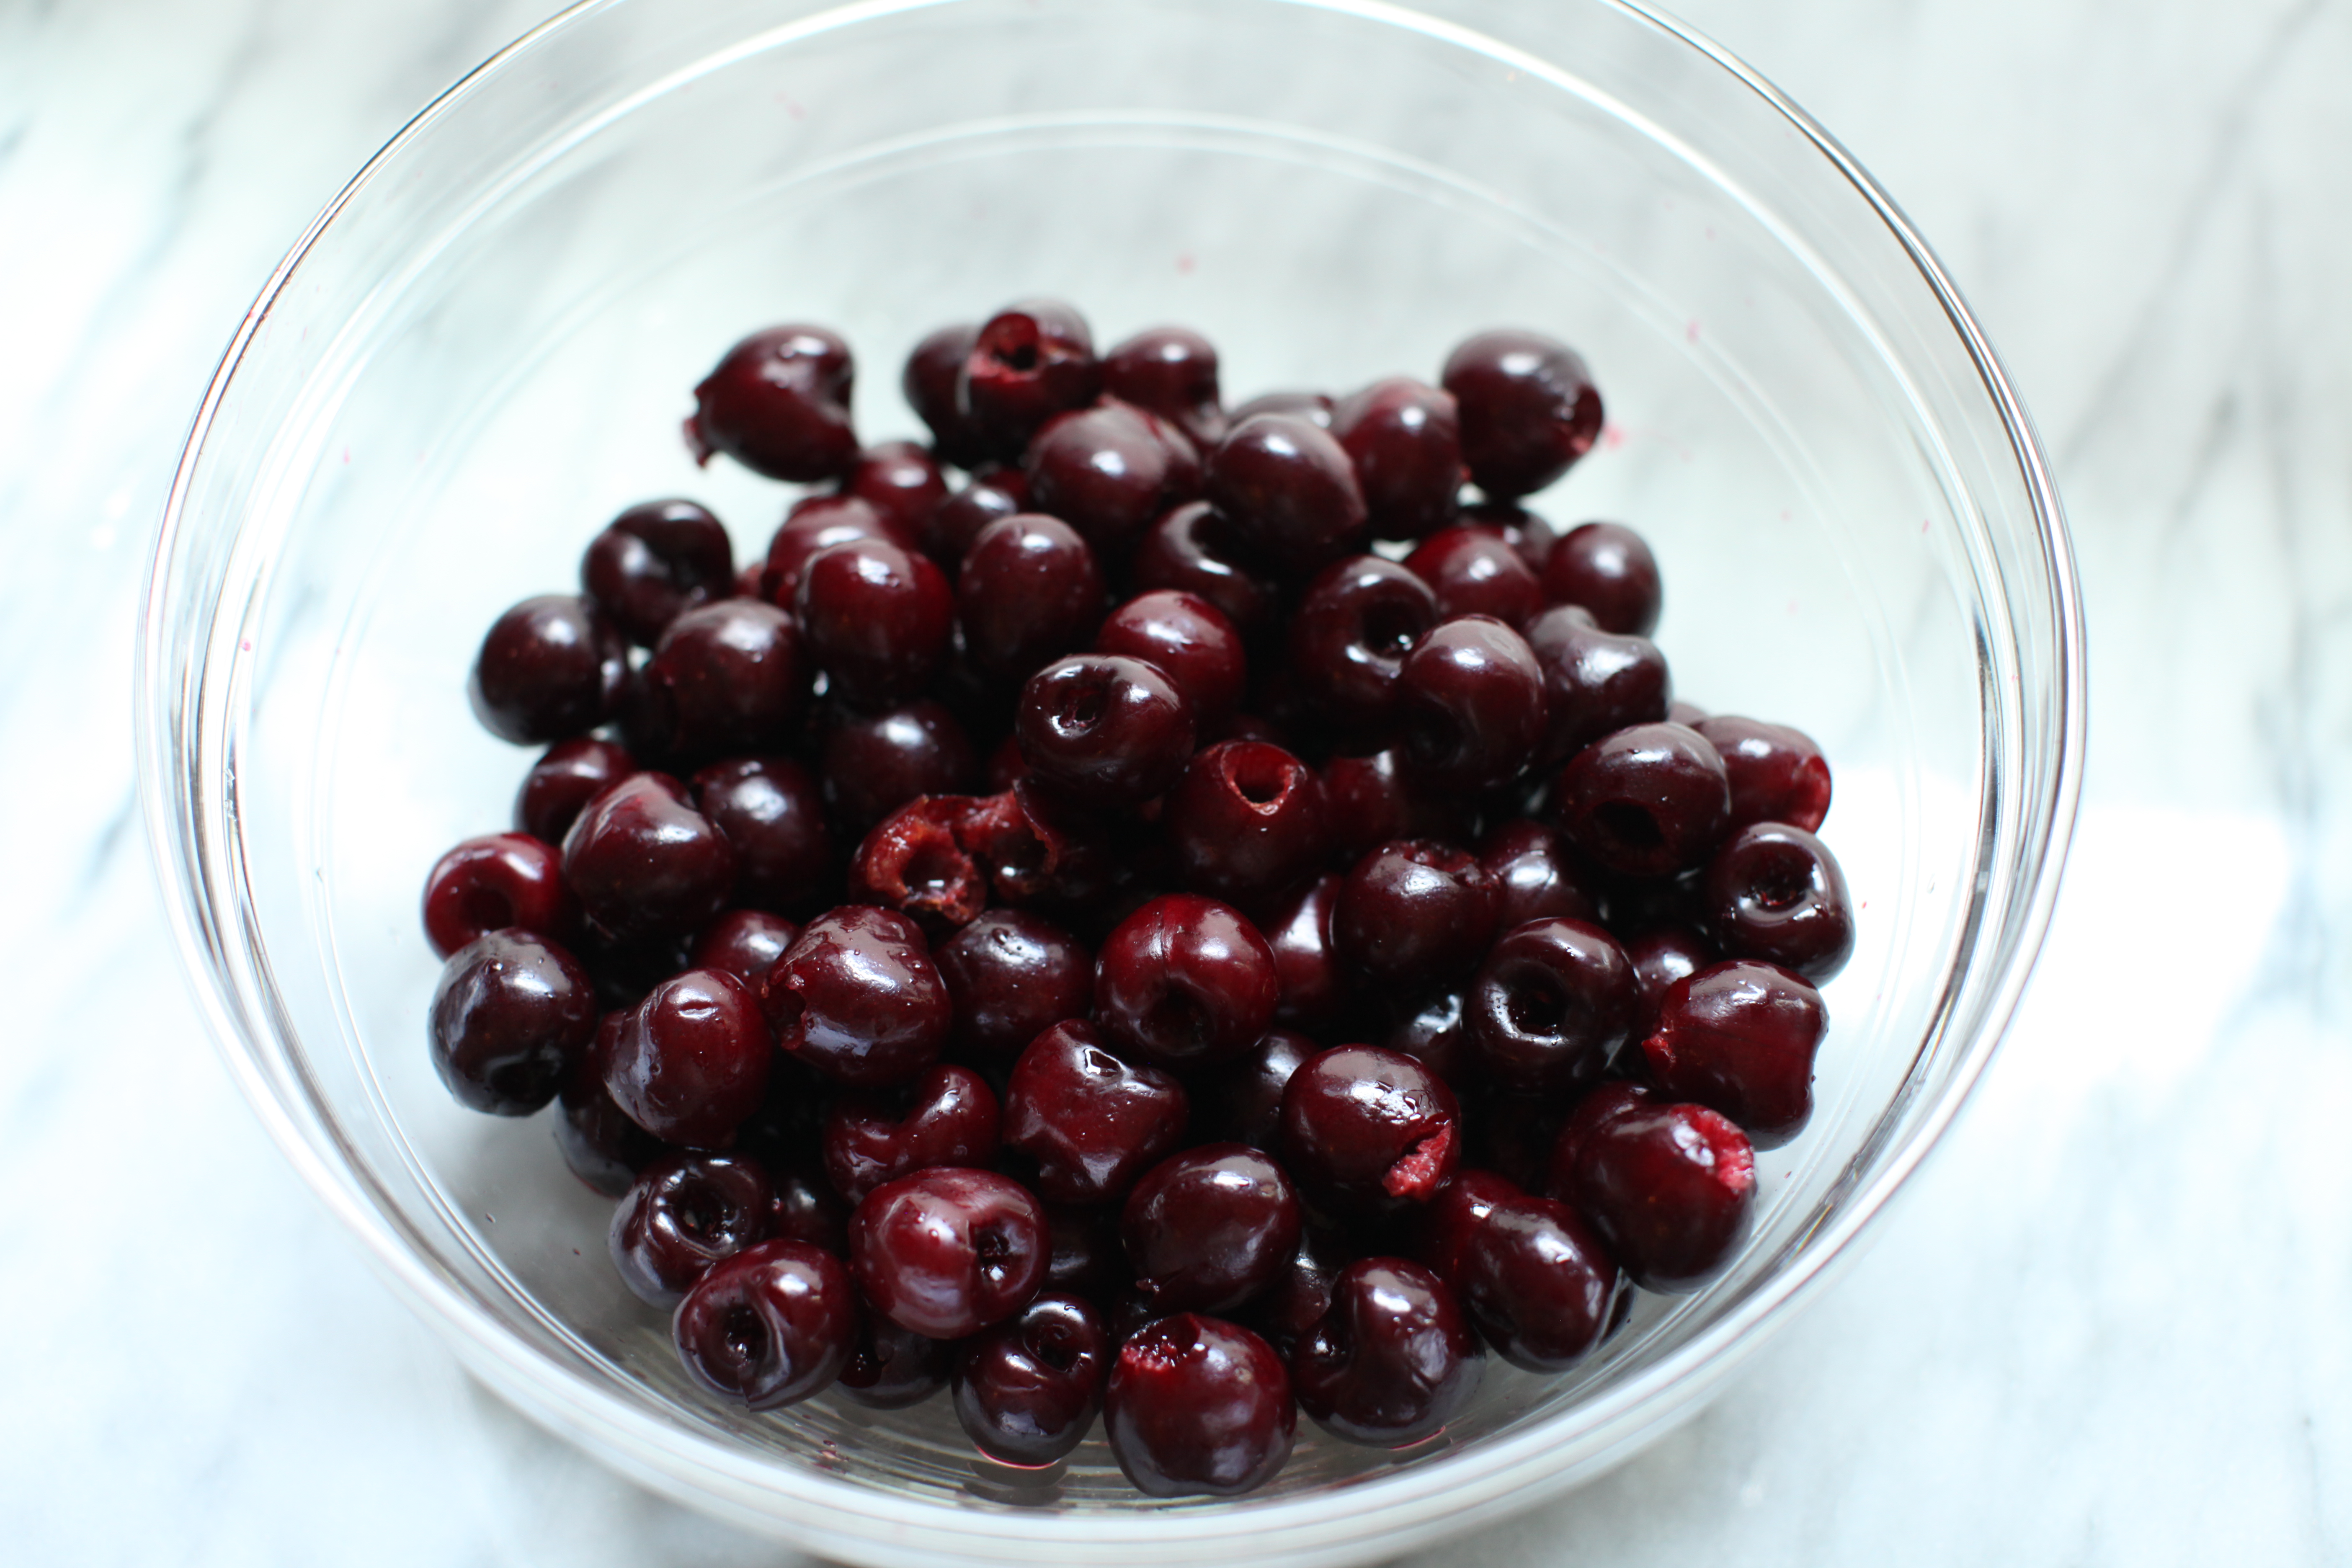
  3. Place the pitted cherries in a bowl. Stir in the vanilla. In a small bowl, whisk together the sugar and cornstarch, and sprinkle the mixture over the cherries.
  4. Toss the sugar and cornstarch mixture with the cherries until they are evenly coated then set aside
  5. Roll the dough out so that it fits in a 9ā€ spring form pan. Reserve the second pie dough for the lattice top. Work fast as the dough is hard to work with when it warms up. If the dough doesnā€™t fit perfectly, you can piece it together by pressing the edges to meet. Make sure there arenā€™t any thin spots since the dough is very delicate. Once itā€™s in the pan, prick all around with a fork. This helps the steam exit causing fewer bubbles. I placed an 8ā€ cake pan inside to weigh it down but if you have pie weights, please use them! Cook for about 5-7 minutes until cooked.
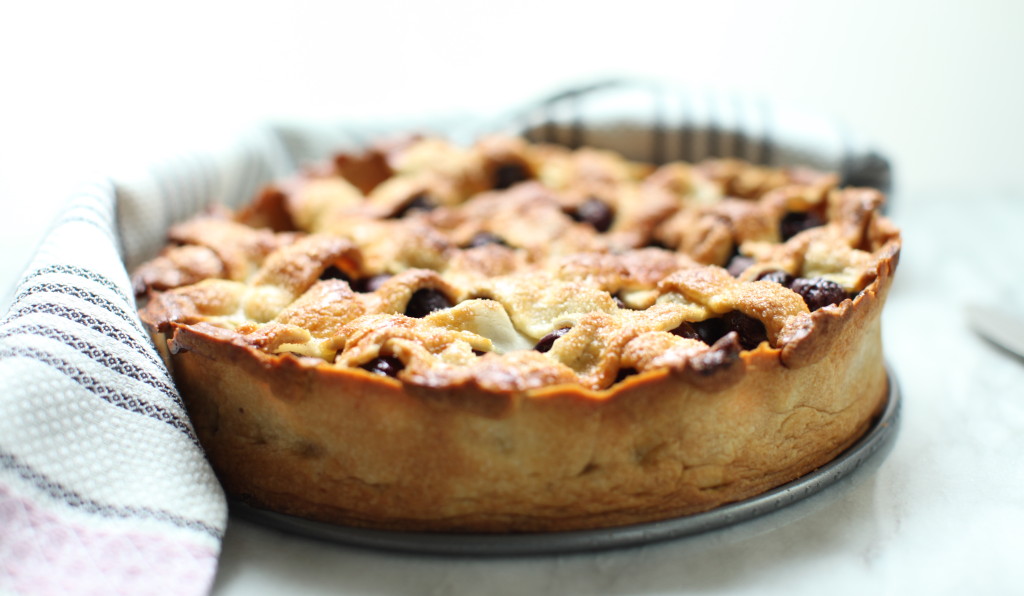
  6. Pour the cherry mixture into the cooked crust. Cover the top of the pie with the chilled, rolled top crust, or cut into strips and make a lattice crust over the top. Crimp the edges and chill for 20 minutes.
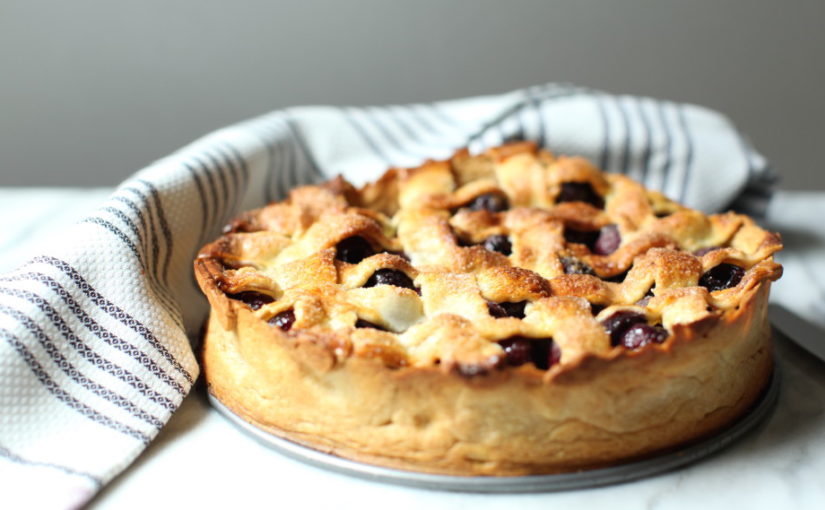
  7. Preheat the oven to 425Ā° F. After pie has chilled, brush the top with egg wash and sprinkle with sugar (optional). Place in preheated oven and bake for 20 minutes at 425Ā°. Reduce the heat to 350Ā° and continue to bake for another 20-25 minutes, or until the crust is golden brown and the filling is bubbling. Allow to cool for at least 1 hour before serving.
  8. *This recipe is more on the crumble side to please serve with ice cream šŸ™‚
Recipe Notes

Hint ā€“ I had a few cracks in my dough so I filled them in with raw dough, works like a charm šŸ™‚

{Blueberry Lemon Cardamom Donuts}

Donuts!

A friend joined me in making donuts for ::Ā Valentines Day ::Ā We landed on the lemon blueberry flavor with spicy cardamom because you always need something sweet in your life. Ā These aren’t your usual fried , crunch yet fluffy donuts. Ā  They’re more like muffins in the shape of donuts. Ā The Meyer lemon glaze really balances out the sweetness of the Ā sugar. Ā I hope you enjoy something sweet in your life this Valentines Day!

image


Blueberry Lemon Donut


Print Recipe
{Blueberry Lemon Cardamom Donuts}
Servings
12
Ingredients
Doughnuts
Blueberry Jam
Glaze
Servings
12
Ingredients
Doughnuts
Blueberry Jam
Glaze
Instructions
  1. Preheat your oven to 425F.ā€Ø
  2. In small saucepan over medium high heat, add blueberries, sugar and lemon juice. Mash blueberries until only a few remain whole. Heat and stir until boiling. Remove from heat and allow to cool and thicken. Set aside.
  3. In a large bowl, whisk together flour, sugar, baking powder, and salt.ā€Ø Beat in greek yogurt, eggs, vanilla, milk and melted butter until fully incorporated.
  4. Spray doughnut pan with non-stick spray, filling each cavity with Ā¼-1/3 cup doughnut batter. Dollop two to three tsp of blueberry jam on top doughnut batter in each doughnut pan cavity. Using a knife swirl the jam into the doughnut batter. Bake in oven for 9 minutes, or until light golden brown.
  5. In small bowl, whisk together powdered sugar, lemon zest, milk and vanilla bean caviar until sugar is dissolved and mixture is runny.ā€Ø Dunk tops of doughnuts into glaze and turn right side up to set. Serve while still slightly warm.

Fleur de Sel Caramels

//Perfect for Holiday Gifts //

Chewy caramel is aĀ nostalgicĀ flavor for me ever since I tasted a milk dud. Ā I have many memories of my dad and myself devouring an entire box while watching movies. You can’t help but remember all of the clusters of sugar that get stuck in your teeth. It’s so worth itĀ becauseĀ they are just that delicious. This is by far the best caramel recipe I have tried. It’s definitely the perfect balance between salty and sweet. I have won many tastebuds over and you can too. Here’s a peak on how I made them.

Thanks for the guest photog, Amy Blose.


Ā  Ā  Ā Ā 

Pork and Prawn Dumplings


I felt inspired to make these delicious purses of yummyiness from eating dim sum. I’ve had the greatest opportunity to share a few dim sum meals with my Chinese friend Kevin and his family. It’s honestly the best way to try dim sum. They order, you eat. After making these lumps of love, it has made me have much respect for dim sum makers. You need lots of patience to give some love to each dumpling. They were oh so good; especially dipped in a mixture of sweet chili sauce and soy sauce.

Print Recipe
Pork and Prawn Dumplings
adapted from Ching-He Huang
Servings
Ingredients
Pork and Prawn Filling
Dumplings
Servings
Ingredients
Pork and Prawn Filling
Dumplings
Instructions
  1. Mix the pork, prawns, onion, ginger, soy sauce rice wine, cornstarch, sesame oil, salt, and pepper in a bowl. Stir to combine the ingredients.
  2. Take 1 wonton wrapper and place 2 teaspoons of the filling in the center. Brush the wonton wrapper with egg wash to prevent wrappers from opening up and separating from the filling once cooked. Then, gather up the sides of the wrapper and mold it around the filling into a ball-like shape, leaving the center exposed. You can top each dumpling with a Goji berry for some added color and flavor. *Note* Cover unused wonton wrappers with a damp towel to keep them moist.
  3. Oil the bottom of a bamboo steamer and line it with parchment paper. Arrange the dumplings in the steamer, cover with a lid and place it over a pan of boiling water, making sure the water does not touch the base of the steamer. Steam the dumplings for 6 to 8 minutes, or until cooked.
  4. Meanwhile, combine the chile, and soy sauce into a bowl. Serve alongside the dumplings.
  5. You can switch up the meat if you don't enjoy either pork or prawn. Beef would be a great substitute!

Ratatouille

I felt inspired to make this classic dish after watching the pixar film, Ratatouille. I’ve never eaten the dish before but I wanted to try it out since it has such a pretty presentation.Ā  I’m not the biggest fan of eggplant or red bell peppers but I wanted to make it the traditional way. The oh so talented peopleĀ  atĀ Cut To CreateĀ  put together yet another awesome video of me making the dish. Check it out below.

Print Recipe
Ratatouille
Servings
Ingredients
Servings
Ingredients
Instructions
  1. Start off by making the tomato sauce before prepping the vegetables. I usually make my own sauce but you can always buy a jar of prepared tomato sauce. Also, if you want to be fancy, you can make tomato concasse which are blanched, shocked, skins removed, and seeded. You can skip the work by buying a can of tomatoes that already have the skins removed. The next step is to just squeeze the seeds out, like I do in the video. I also do not use the juice in the can, it tends to have a metallic taste.
  2. Preheat oven to 400 degrees. Saute the onions and garlic in olive oil then season with a pinch of salt and pepper. Once the onions become translucent, add the tomatoes that have been seeded and drained. Cook for a few minutes until the flavors combine. Add 2 tsp of Thyme, bay leaf, tomato paste, sugar, and the wine. Cover and let simmer for up to an hour. I let it simmer while preparing the vegetables.
  3. *Hint on tomato paste: I found that when buying a small can of tomato paste, I never use the whole can. You can save it by spooning out a tablespoon onto parchment paper then freeze it. Once frozen, you can place them in a zip-top bag and use them as you please!
  4. While the tomato sauce is simmering, cut the eggplant, zucchini, squash, and red bell pepper in 1/8th inch pieces. This is best achieved with a mandoline but a sharp knife with consistent cuts works well too. Once this is done, add the cream to the tomato sauce and season with salt if needed.
  5. Add the tomato sauce to the bottom of the baking dish (remove the bay leaf) and spread evenly. Start by laying the vegetables in this order: eggplant, squash, zucchini, red bell pepper and repeat. Once it's layered, you can press down to make sure that it is tightly packed. To finish, season the vegetables with salt, pepper, thyme (1 tbsp), and drizzle with olive oil. Cover with foil or parchment and bake for 40-55 minutes. You will know it's ready when the tomato sauce is bubbly and the vegetables have given off their liquid. Serve hot, Bon Appetite!