Sour Cherry Deep Dish Pie

cherry pie 3

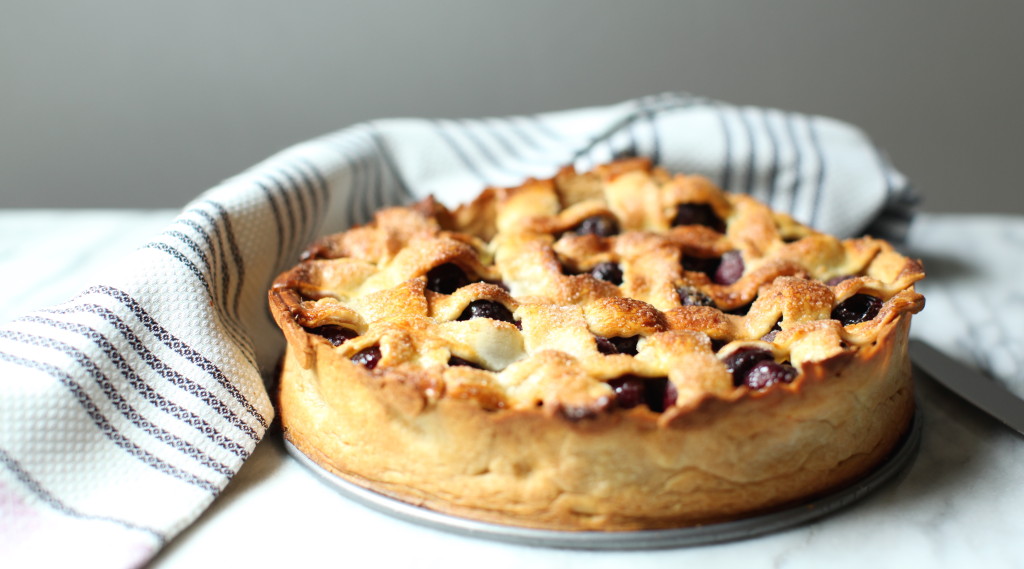
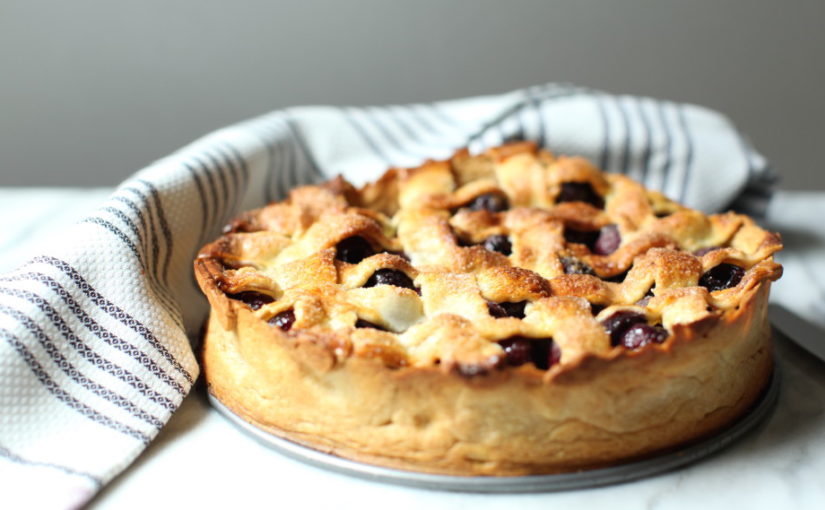
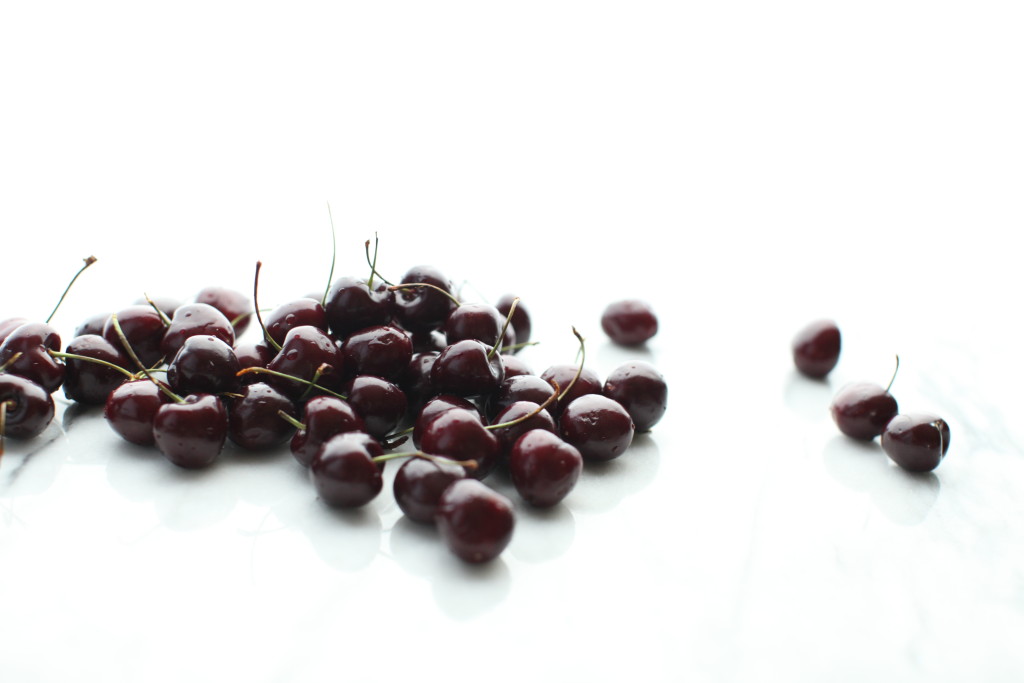
It has been years since I’ve made a homemade pie, maybe since pastry school. These days all of my effort is put into savory food and it’s a treat (pun intended 😉 ) to make a dessert every so often. Fresh cherries are in season and this is what I’m bringing to a friend’s July 4th party.

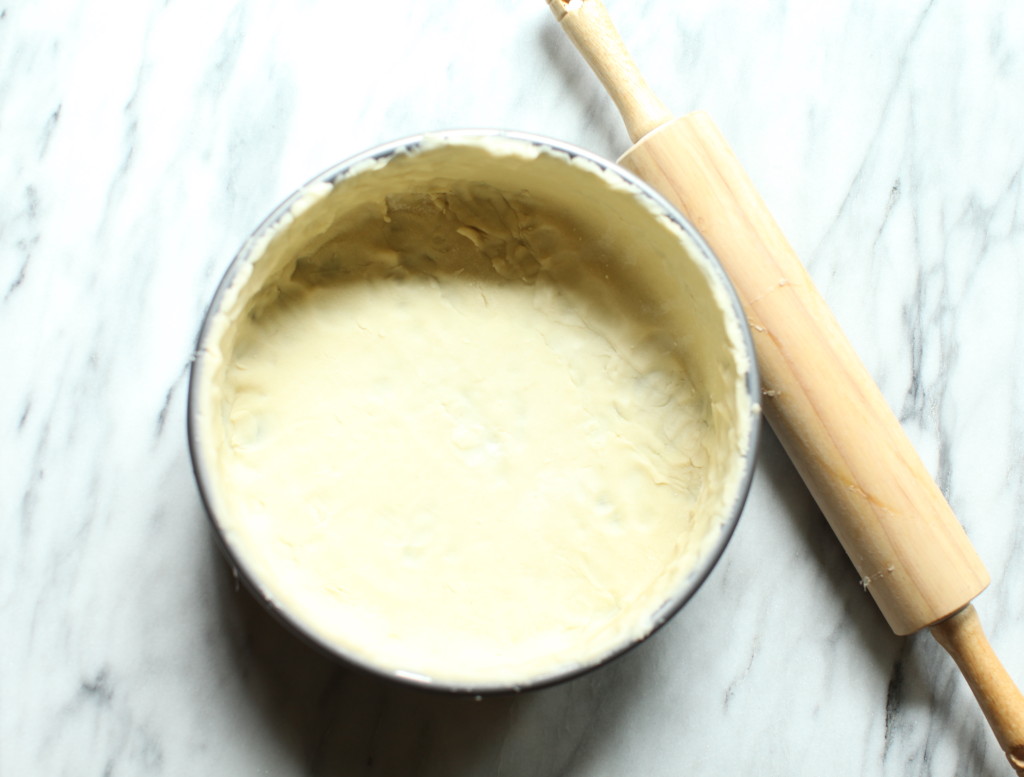
I took a little bit of a shortcut and bought pie dough. Now, I’m all about homemade food but sometimes it’s ok to make an exception when you’re in a pinch. I didn’t have pie weights so I used a nine inch cake pan to help weigh the dough down while cooking. There’s nothing worse than hard dough bubble that cannot be popped only to ruin your entire pie. When I pulled the pan out of the springform pan, I noticed some cracks in the dough. I quickly remembered that my reserved small piece of raw dough could be filled in, *thank you pastry school.

cherries 1
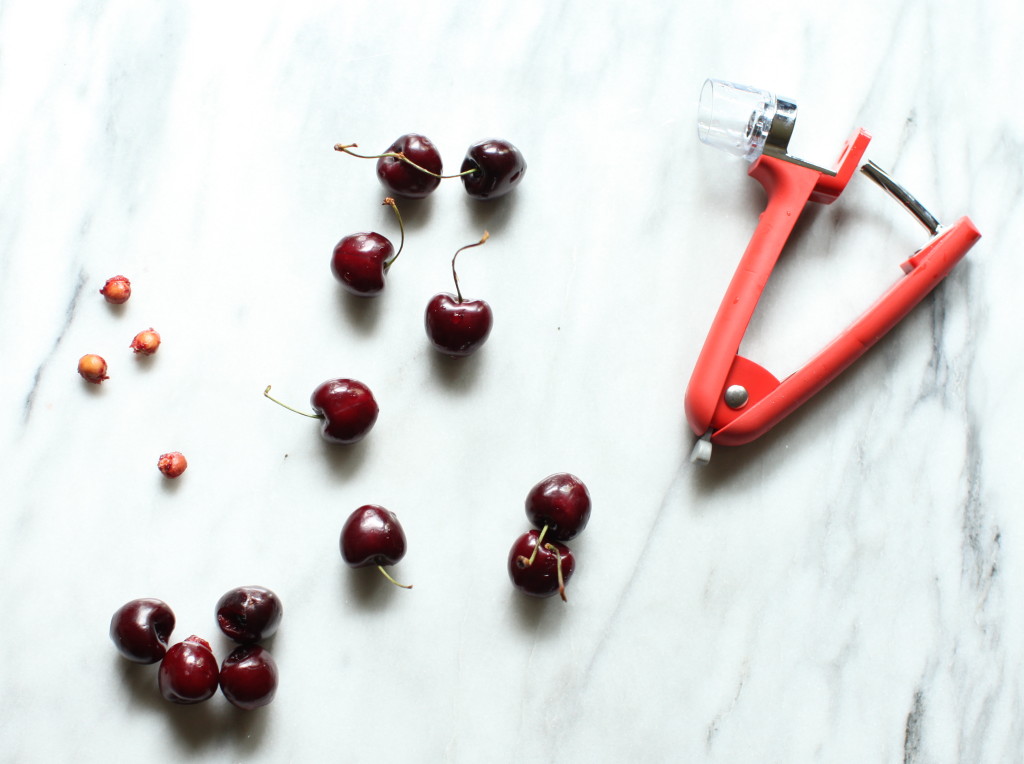
pitting cherriescherries 2

cherries 3

dough

cherry pie 2 cherry pie 4
Print Recipe
Sour Cherry Deep Dish Pie
Prep Time 15 minutes
Cook Time 50 minutes
Passive Time 1 hour
Servings
6 people
Ingredients
Egg wash
Prep Time 15 minutes
Cook Time 50 minutes
Passive Time 1 hour
Servings
6 people
Ingredients
Egg wash
Instructions
  1. For the egg wash : whisk together egg and salt.
  2. Preheat oven to 350.
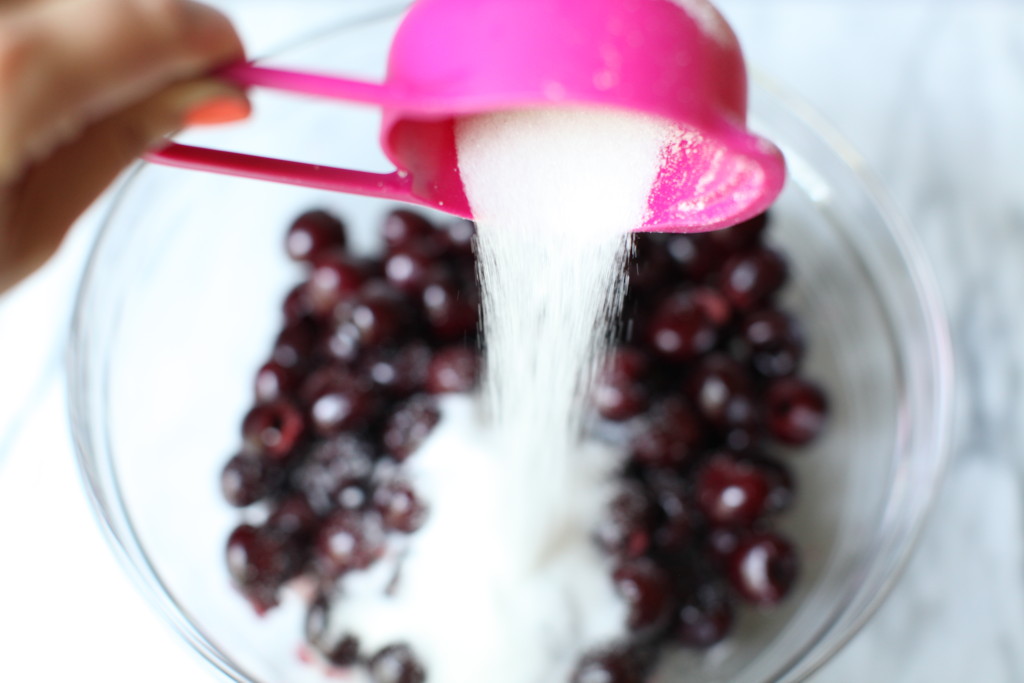
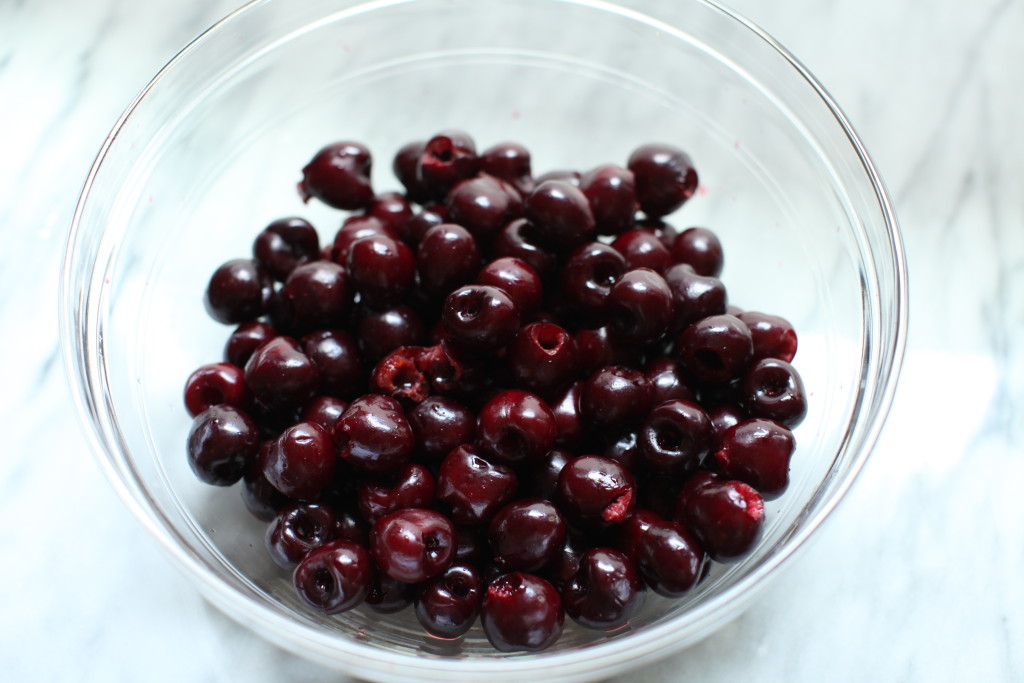
  3. Place the pitted cherries in a bowl. Stir in the vanilla. In a small bowl, whisk together the sugar and cornstarch, and sprinkle the mixture over the cherries.
  4. Toss the sugar and cornstarch mixture with the cherries until they are evenly coated then set aside
  5. Roll the dough out so that it fits in a 9” spring form pan. Reserve the second pie dough for the lattice top. Work fast as the dough is hard to work with when it warms up. If the dough doesn’t fit perfectly, you can piece it together by pressing the edges to meet. Make sure there aren’t any thin spots since the dough is very delicate. Once it’s in the pan, prick all around with a fork. This helps the steam exit causing fewer bubbles. I placed an 8” cake pan inside to weigh it down but if you have pie weights, please use them! Cook for about 5-7 minutes until cooked.
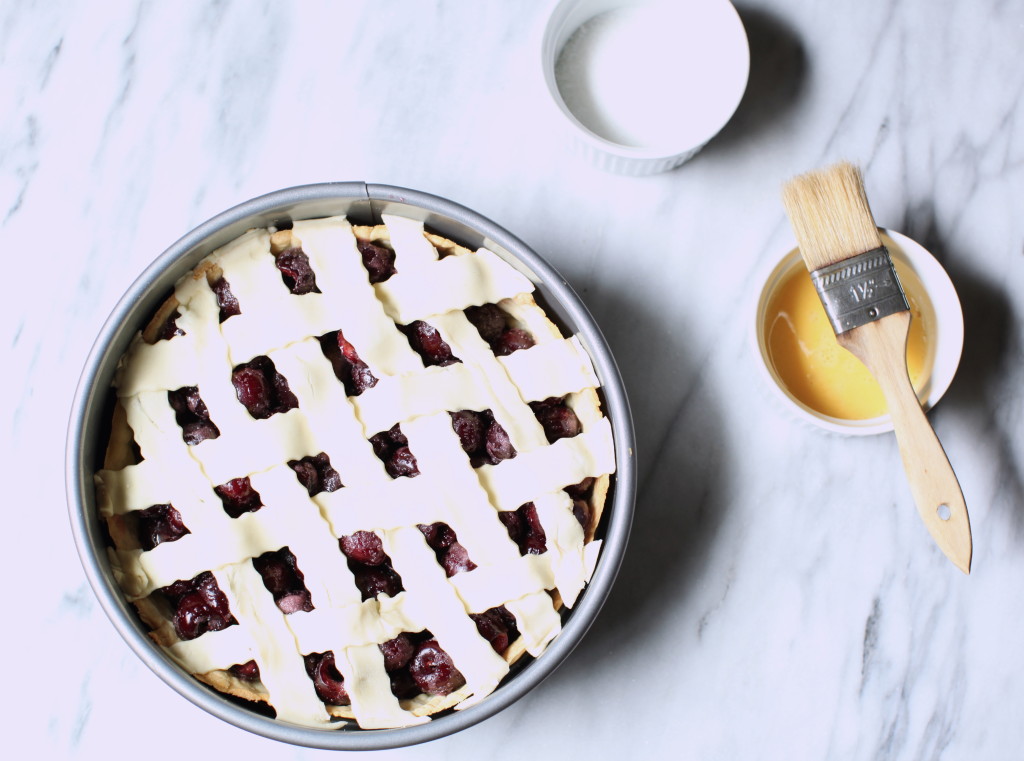
  6. Pour the cherry mixture into the cooked crust. Cover the top of the pie with the chilled, rolled top crust, or cut into strips and make a lattice crust over the top. Crimp the edges and chill for 20 minutes.
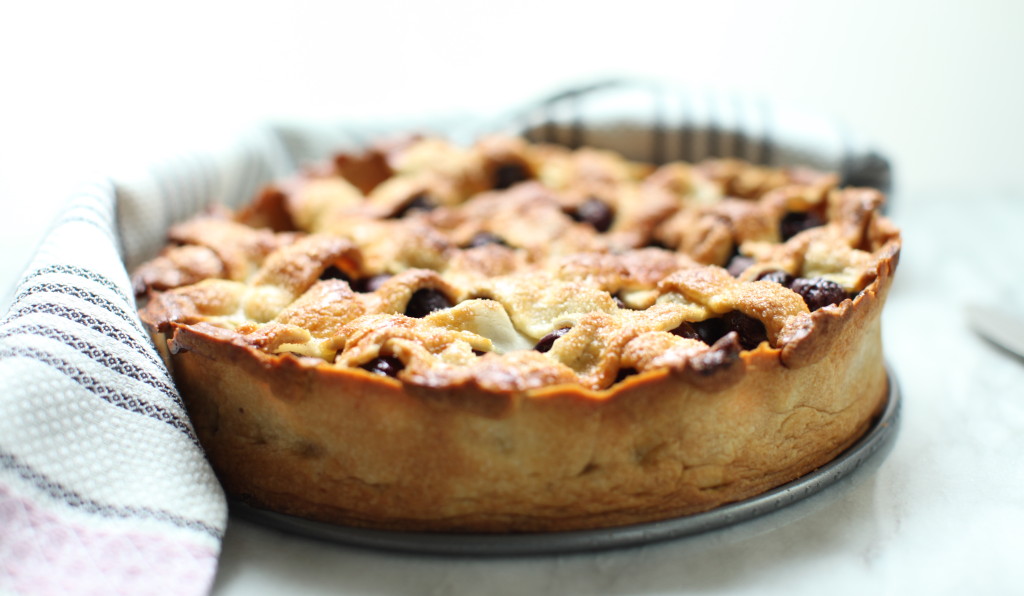
  7. Preheat the oven to 425° F. After pie has chilled, brush the top with egg wash and sprinkle with sugar (optional). Place in preheated oven and bake for 20 minutes at 425°. Reduce the heat to 350° and continue to bake for another 20-25 minutes, or until the crust is golden brown and the filling is bubbling. Allow to cool for at least 1 hour before serving.
  8. *This recipe is more on the crumble side to please serve with ice cream 🙂
Recipe Notes

Hint – I had a few cracks in my dough so I filled them in with raw dough, works like a charm 🙂

Banana Cream Pie

The foodie chef is back! I’m sorry for taking so long to post but I’ve been sinking into my newish job and learning photoshop! Thanks to my two great friends Amy and Kevin! They’ve really taught me some great stuff, I hope everyone enjoys the new style. Oh and of course a big huge thank you to the boyfriend for taking all of the great pics!

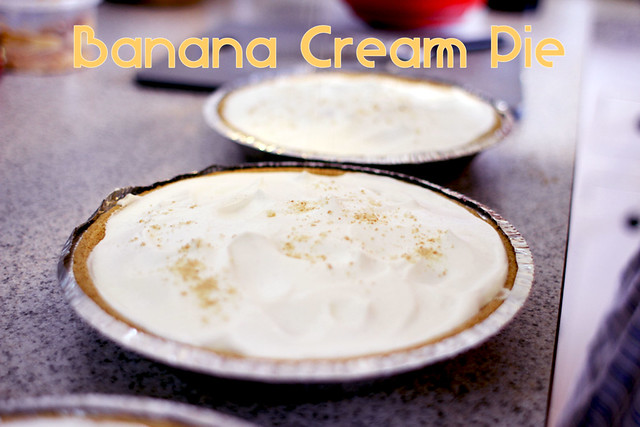
I made these pies during the holidays because they’re a comfort food. I hope they were loved by all!

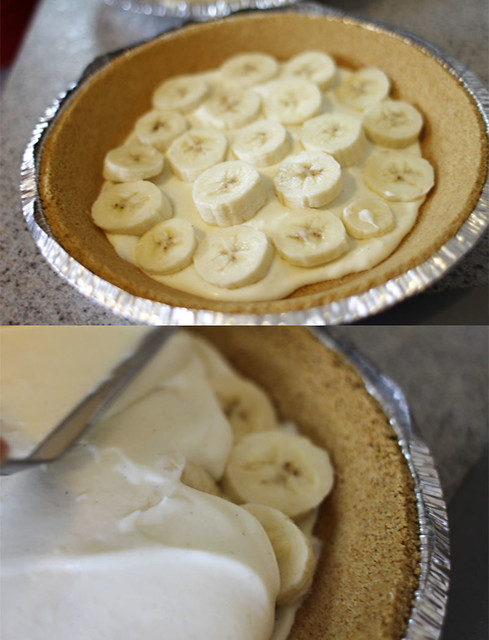
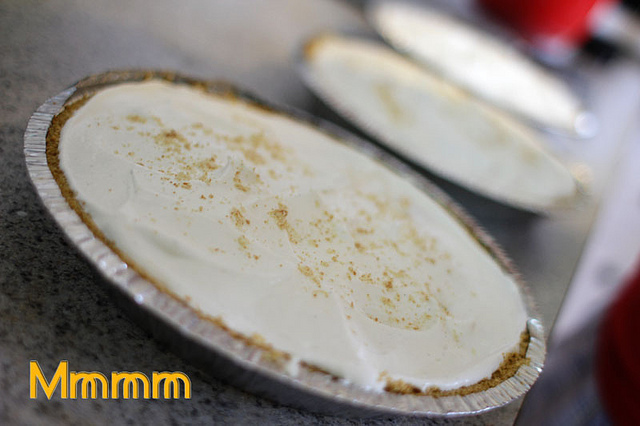
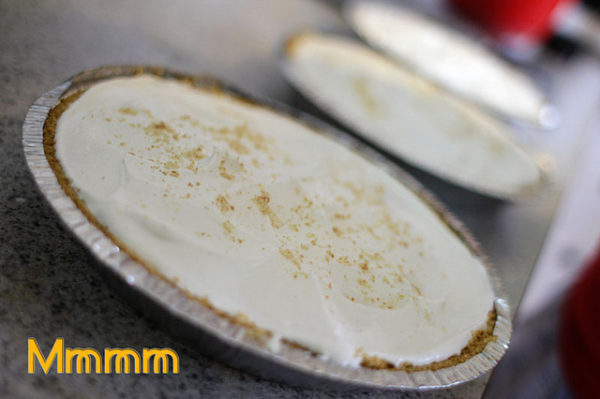
Layer some freshly whipped cream with a touch of vanilla bean paste on the bottom of the pie shell. Then place some bananas on top. Next, add another layer of whipped cream and the pastry cream! I folded half of the pastry cream with some whipped cream to lighten it up.

Add some nilla wafers
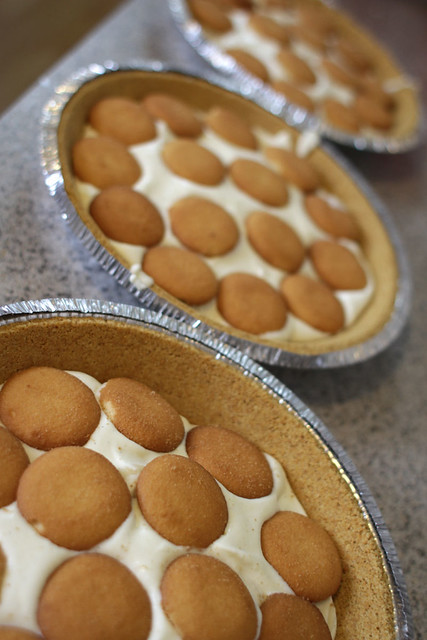
Top off with some more whipped cream and.. tah dah!

Print Recipe
Banana Cream Pie
Servings
Ingredients
Pastry Cream
Whipped Cream
Servings
Ingredients
Pastry Cream
Whipped Cream
Instructions
Pastry Cream
  1. Boil milk with vanilla bean (or paste). In a separate bowl, mix sugar and cornstarch to avoid lumps.
  2. Add eggs and salt to sugar mixture until combined. Once the milk has come to a boil, temper the milk into the egg sugar mixture.
  3. Then return all liquid to heat and whisk continuously, be sure not to scorch the bottom!
  4. The mixture will start to thicken. When the first bubble hits the top, strain the mixture into a container.
  5. Let cool slightly then add the cold butter and thoroughly mix.
  6. Put in fridge until it gets cold. This recipe can be made a day ahead.
Assembly
  1. A little whipped cream on the bottom
  2. Bananas
  3. pastry cream mixture
  4. Nilla wafers
  5. Whipped cream
  6. Crumbled nilla wafers