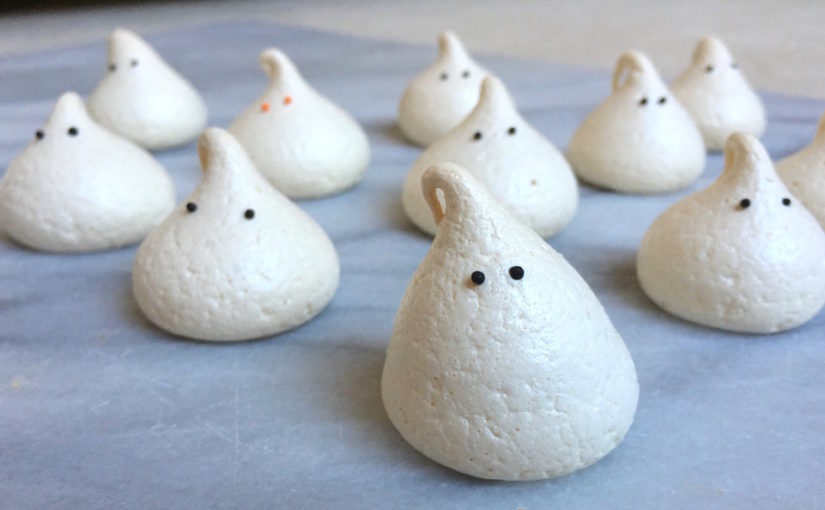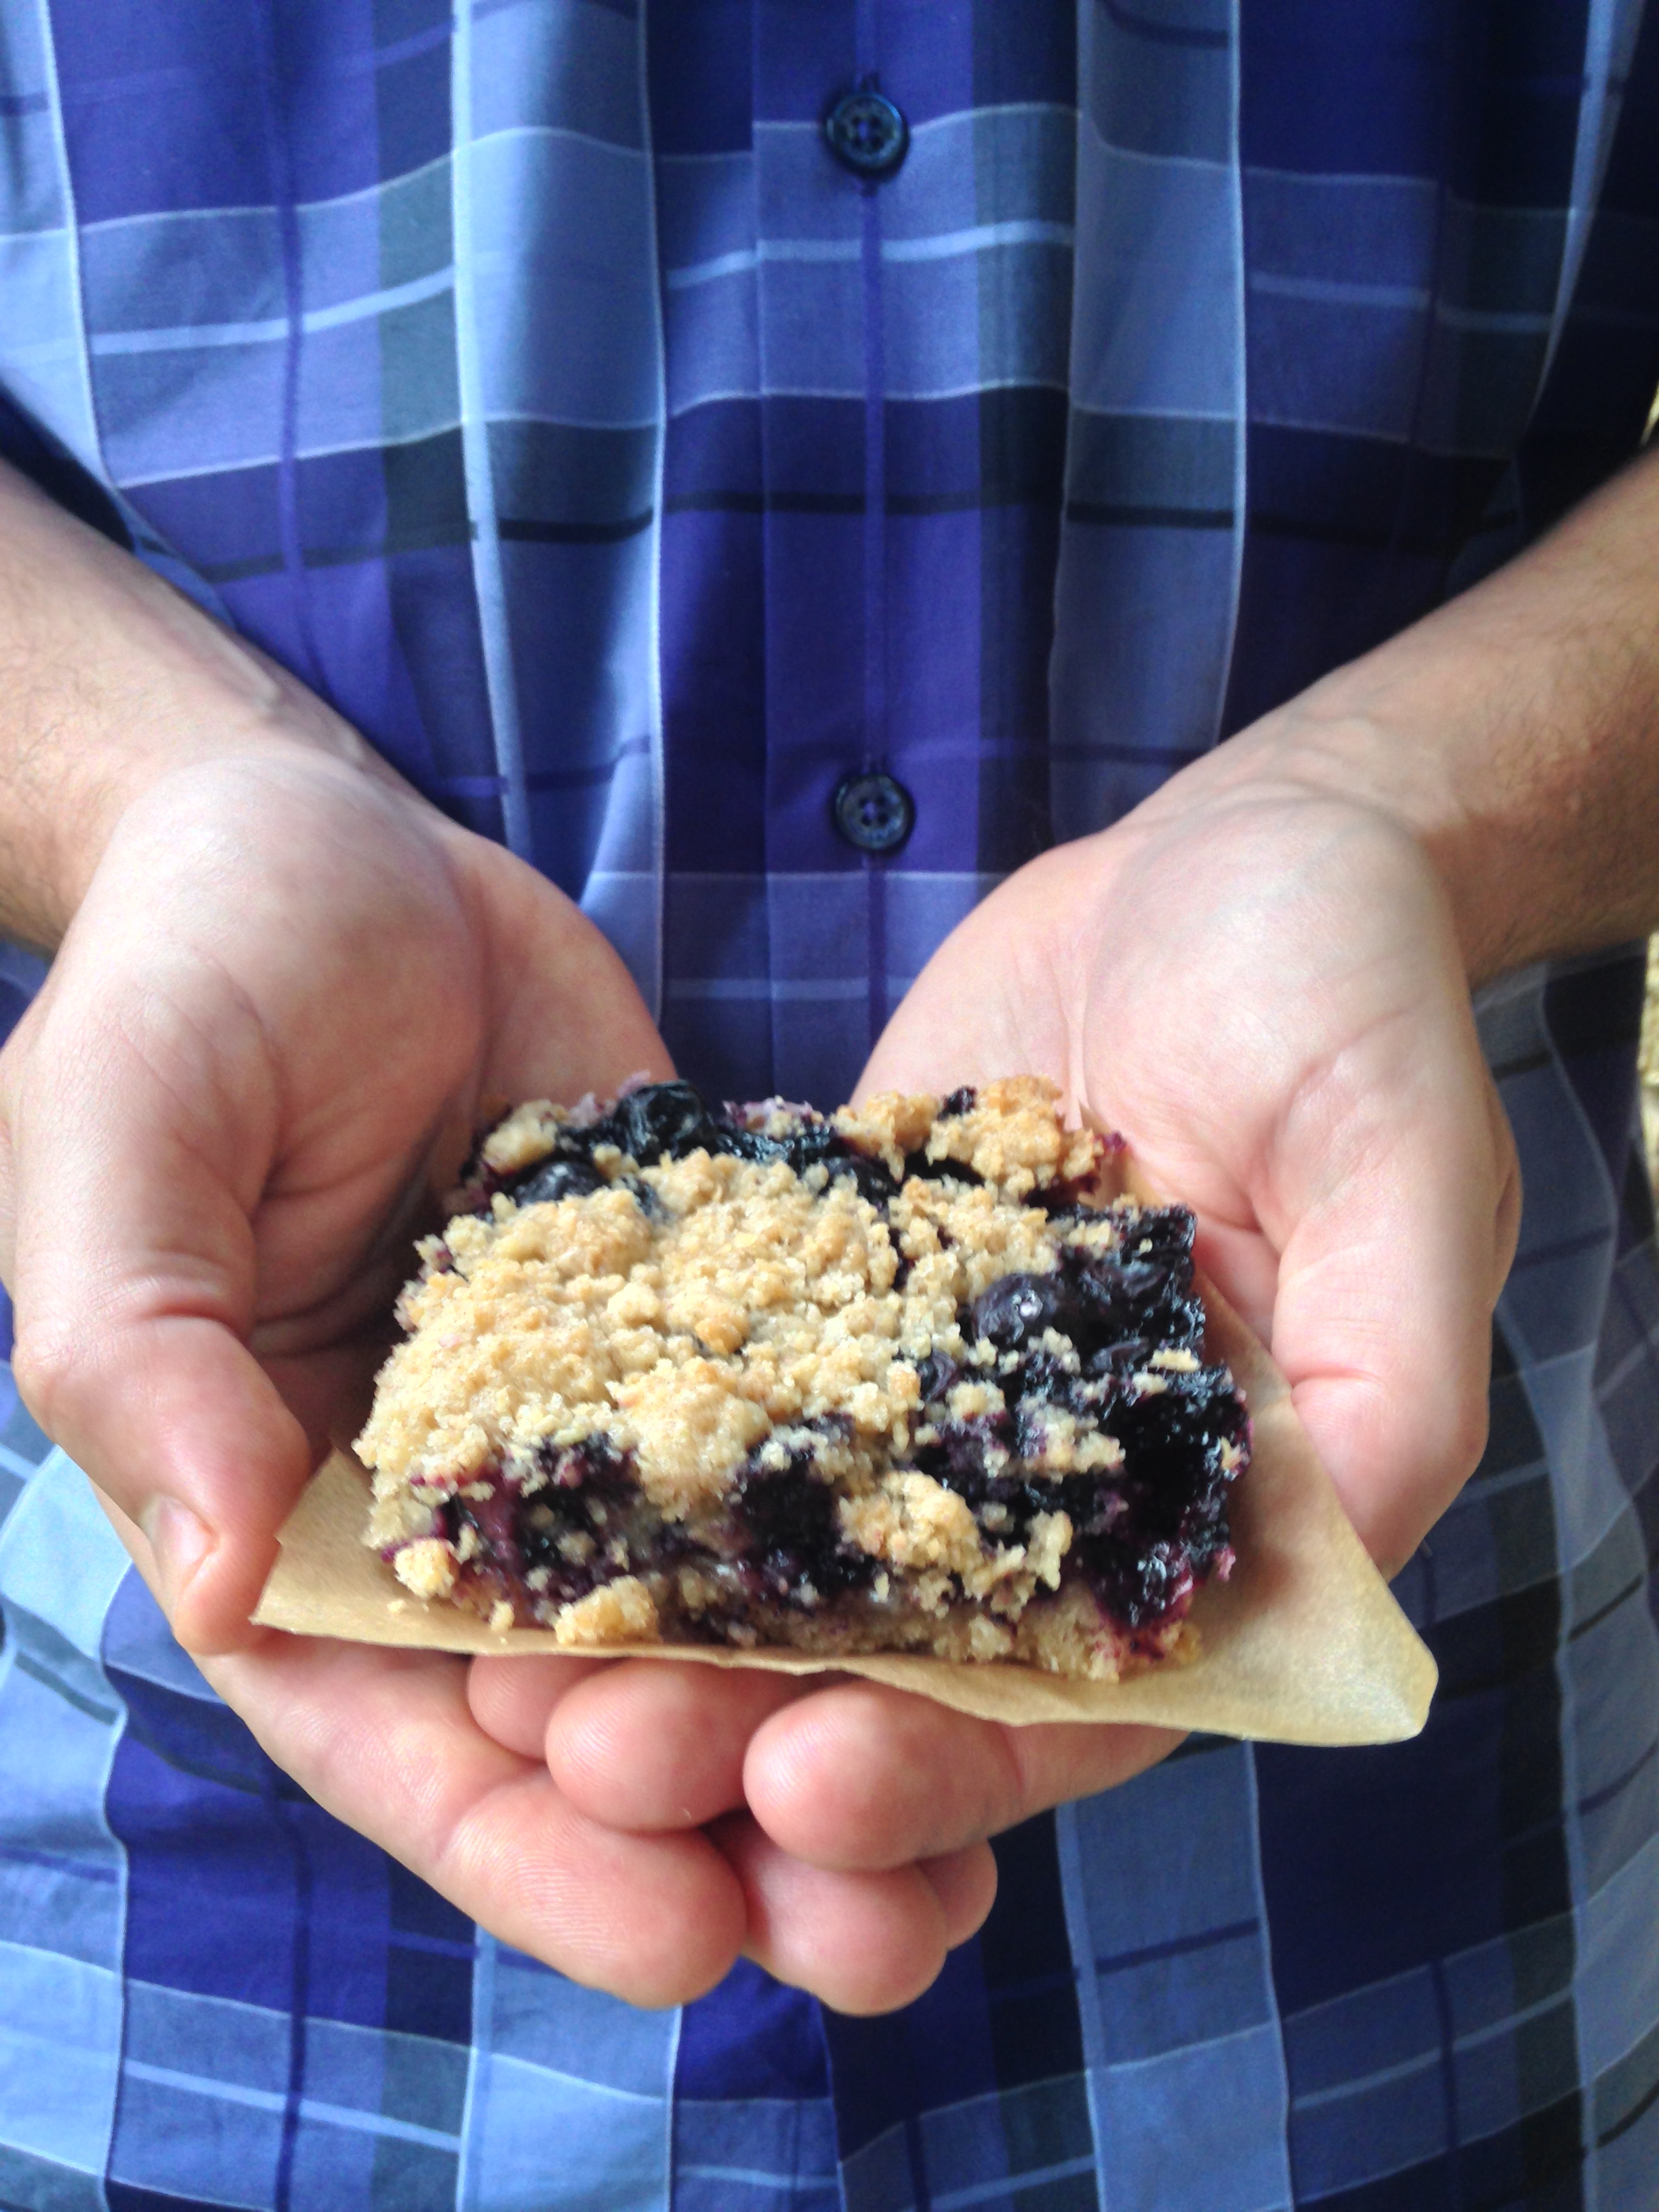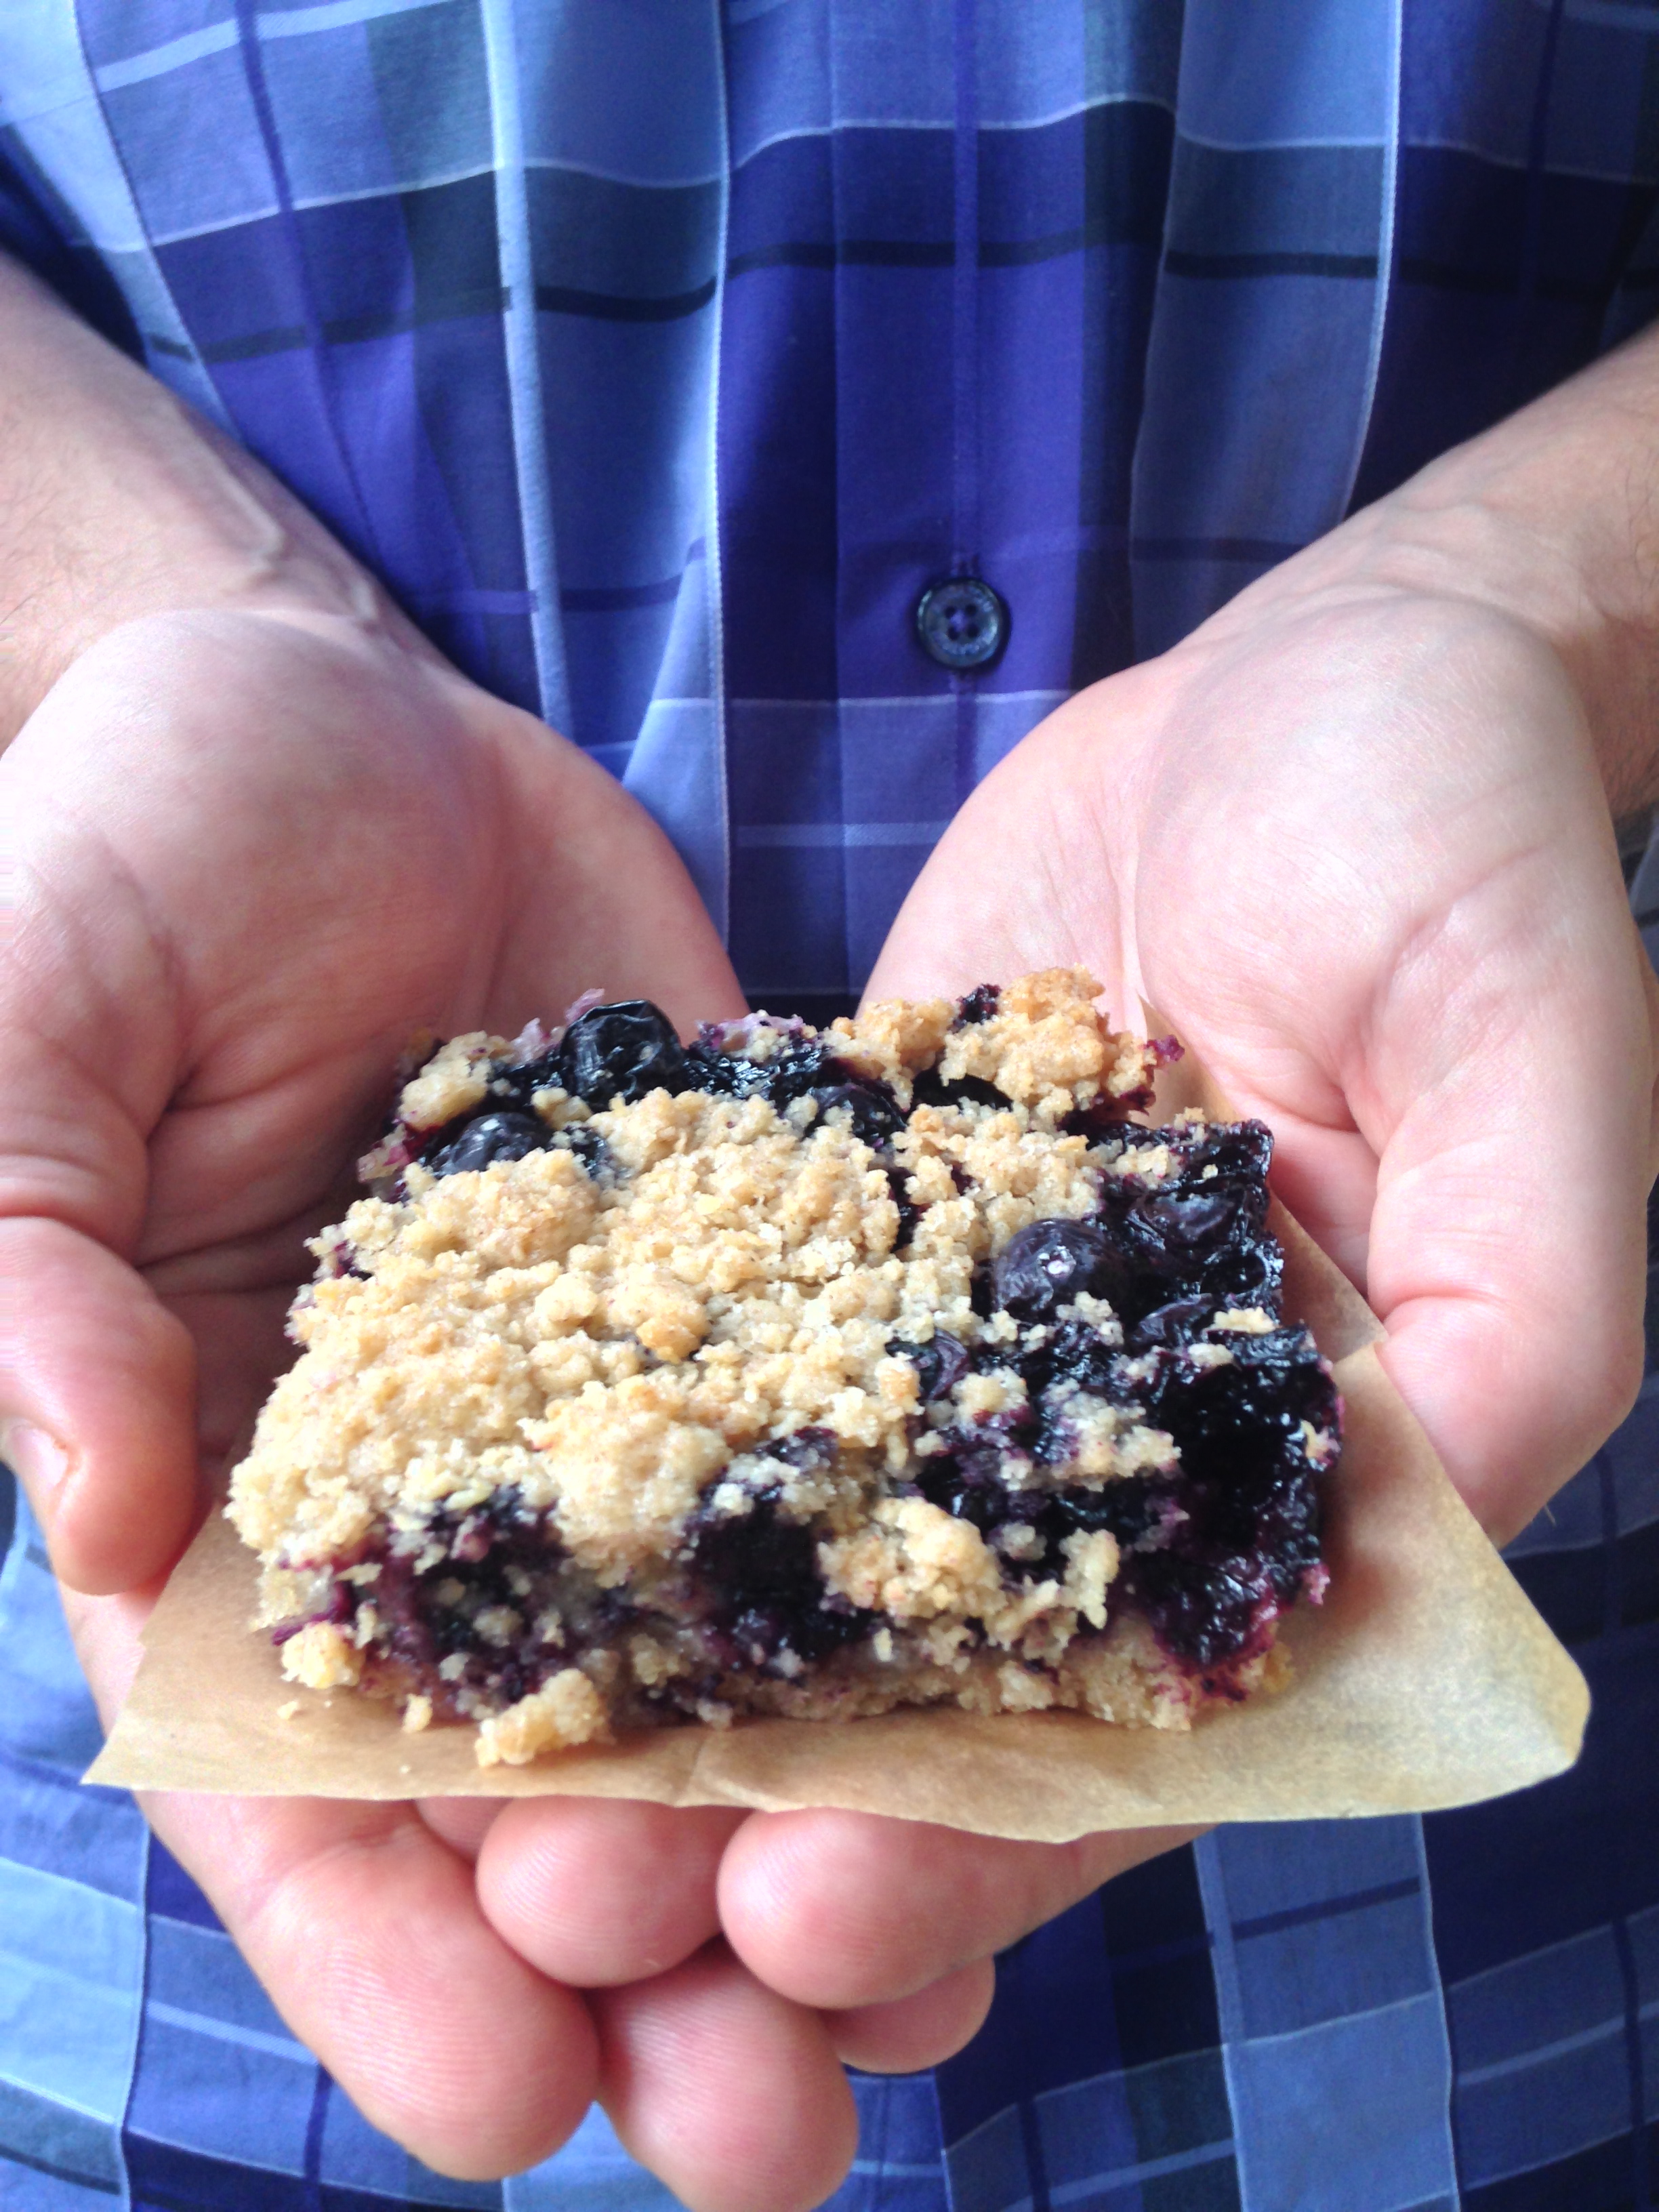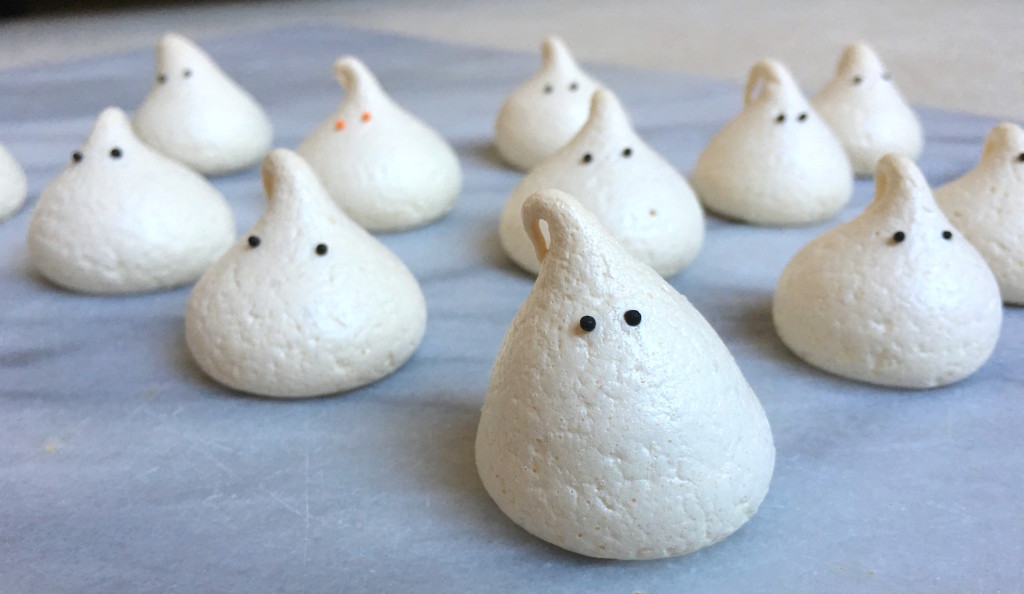
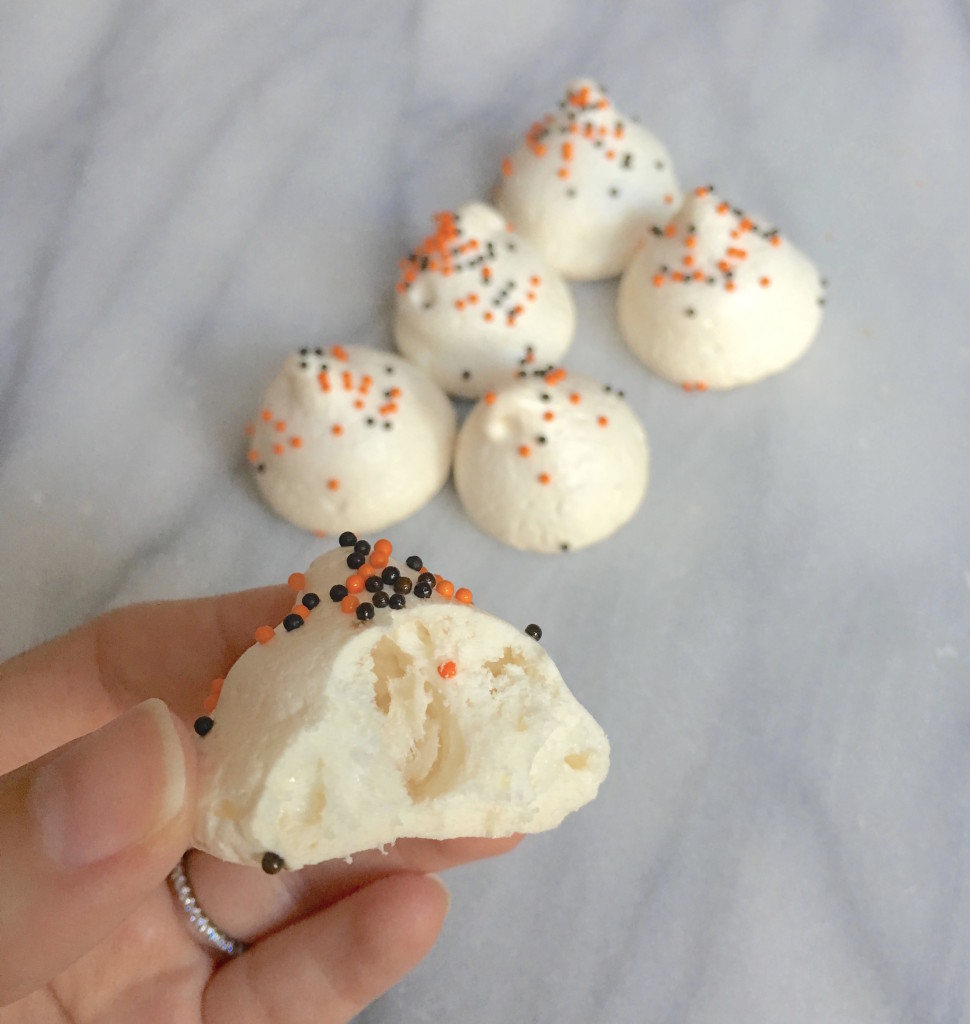
Boo! Halloween is one of my favorite holidays. I love dressing up, going to costume parties and of course, making spooky treats! This year, I wanted to make something low fat and simple that anyone can do. I thought cute ghost meringue cookies 3 ways would be perfect.
I recall making meringue cookies in pastry school 5 years ago and they came out perfectly. A few years back, I was making some meringue mushrooms for a yule log. After spending time whipping the meringue, piping and anxiously waiting, they cracked and looked completely ugly. Since then, I’ve learned to never bake meringue in a deck oven. You might think, obviously, you would never cook meringue in a deck oven because they are meant bake bread or pizza in high heat. It’s also possible that the oven wasn’t calibrated and it overheated. I have to blame the oven, right? Of course it wasn’t me 😛
This time, I bought a nice little oven thermometer so I am sure that the temperature is accurate. My best advice is to know your oven- they’re all different. This little gadget is perfect to find out the truth in your oven. My next tip is to be extremely patient. If you haven’t noticed in cooking/ baking, patience is key. I remember working at a local restaurant and I was standing over a sauce pan filled with water staring down anxiously waiting for the water to boil. The chef stood over me and told me to stop staring, work on something else and have patience. Sure enough, after a few minutes, the water started to boil. From then on, I take heed in his advice.
My last tip is that it’s all about the piping pressure. This takes practice and I suggest you test this out with store bought icing. This way, you can hone your practice while spending a small amount. First off, I really like to use disposable piping bags. I dislike the kind you wash because you have to spend time cleaning it. Most of the time it doesn’t even get cleaned thoroughly.
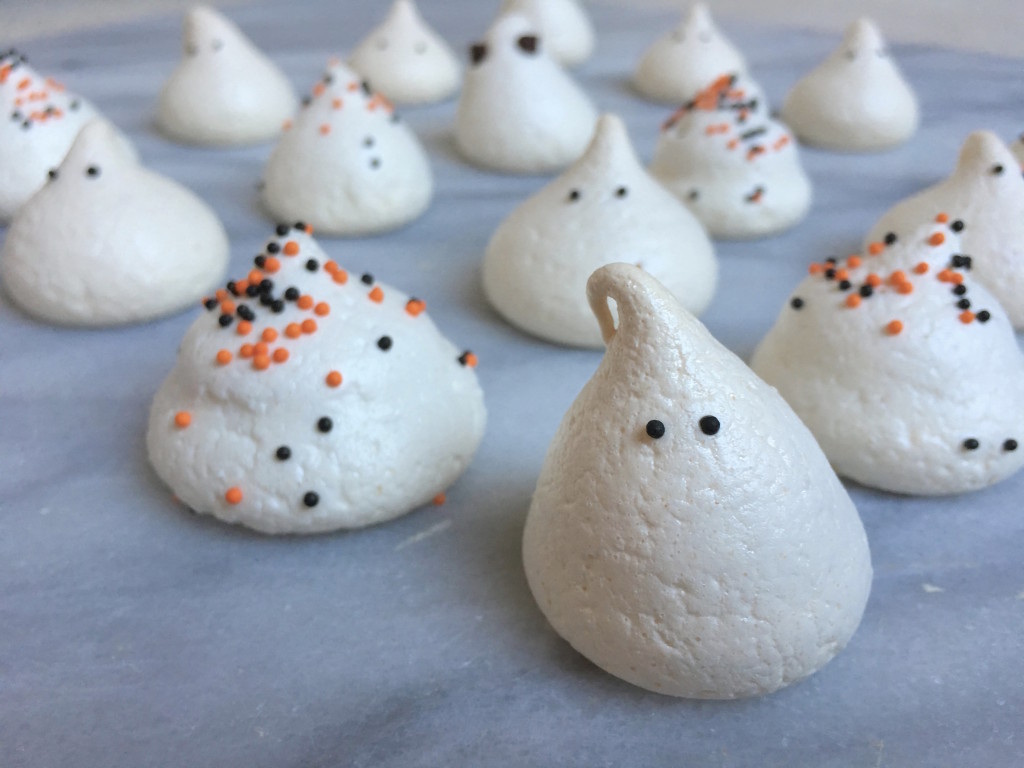
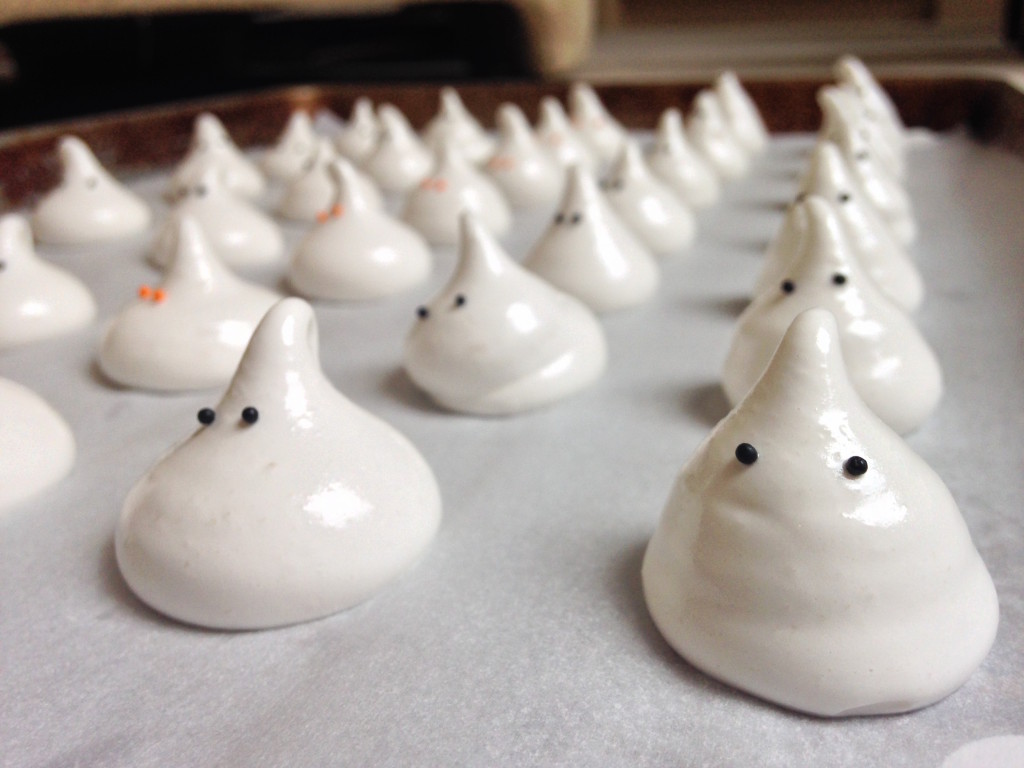
For the ghosts, I fitted the piping bag with an 807 piping tip. This is to ensure the smoothness of the end product. Once your bag is read to go, fill it halfway with the meringue. With one hand, hold the tip about 1/4″ above the parchment paper. Start squeezing while slowly bringing your hand up and letting go of the pressure so that it tapers off leaving a little whisp. Like I said, it takes practice. You can play with the amount of pressure, when to raise the bag up and when to stop. You can see this in different ghosts, some are more round and some are skinnier.
In the end you get cute spooky ghosts that not only taste delicious but are low fat!
Print Recipe
Spooky Ghost Meringue Cookies 3 Ways
Cute spooky ghosts that not only taste delicious but are low fat!
Instructions
Preheat oven to 260 degrees.
Combine egg whites, salt, cream of tartar, and vanilla in a standing mixer fitted with a whisk attachment. Whip on medium high for about 3 minutes until soft peaks are achieved. Slowly add sugar while the whisk is whipping and switch to high for about 2 minutes until stiff peaks are formed. It should be smooth and not gritty.
Prepare 2 cookie sheets with parchment paper. Put a tiny dollop of the meringue in each corner fastening the parchment paper to the sheet. Fill a pastry bag halfway fitted with an 807 tip. With patience and ease, pipe little ghosts filling each sheet. Refer to above notes on details of piping.
Once all of the ghosts are piped, carefully drop black nonpariels in place of eyes. You can also use mini chocolate chips or even cover them with orange and black sprinkles.
Bake for 25-30 mintues and then turn off the oven and let them sit overnight (or several hours). Store them in an airtight container and they'll last for several days.
Recipe Notes
My best advice is to know your oven- they're all different.
My next tip is to be extremely patient.
My last tip is that it's all about the piping pressure. I really like to use disposable piping bags.


 A few months ago I was approached to cater a kid’s tea party. From the moment I got the call, ideas flooded me with sprinkle everything! I had been eyeing something called Fairy Bread for quite some time and now was my chance to make it. Not to mention


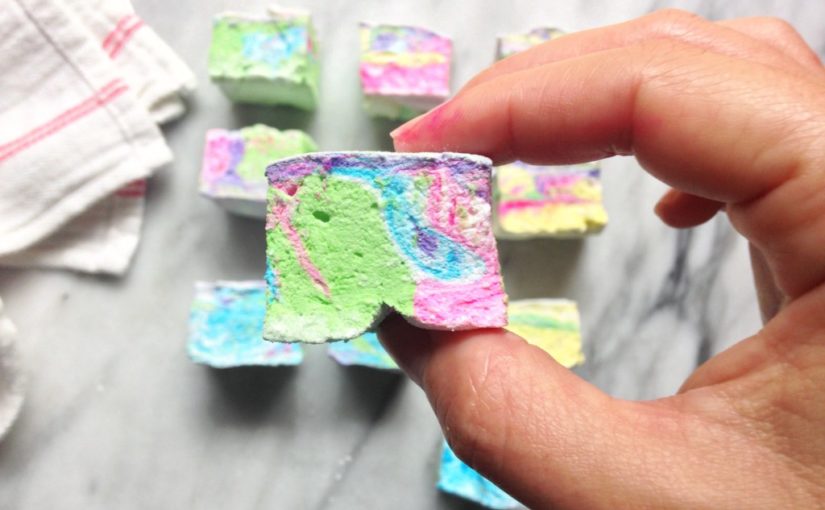
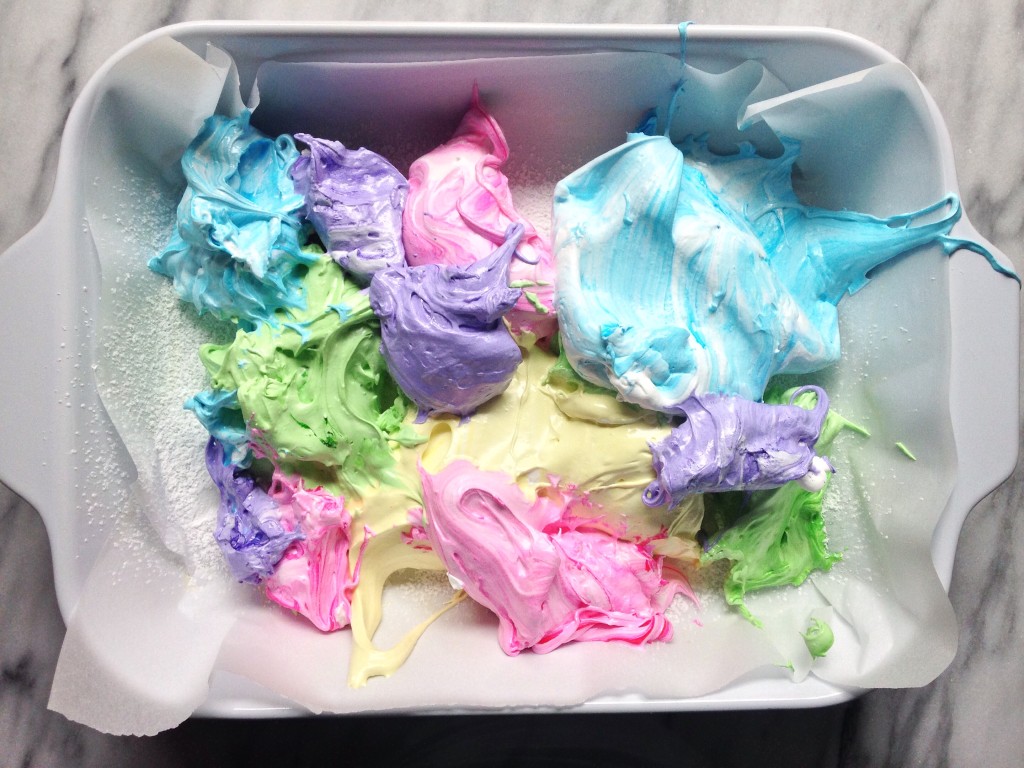
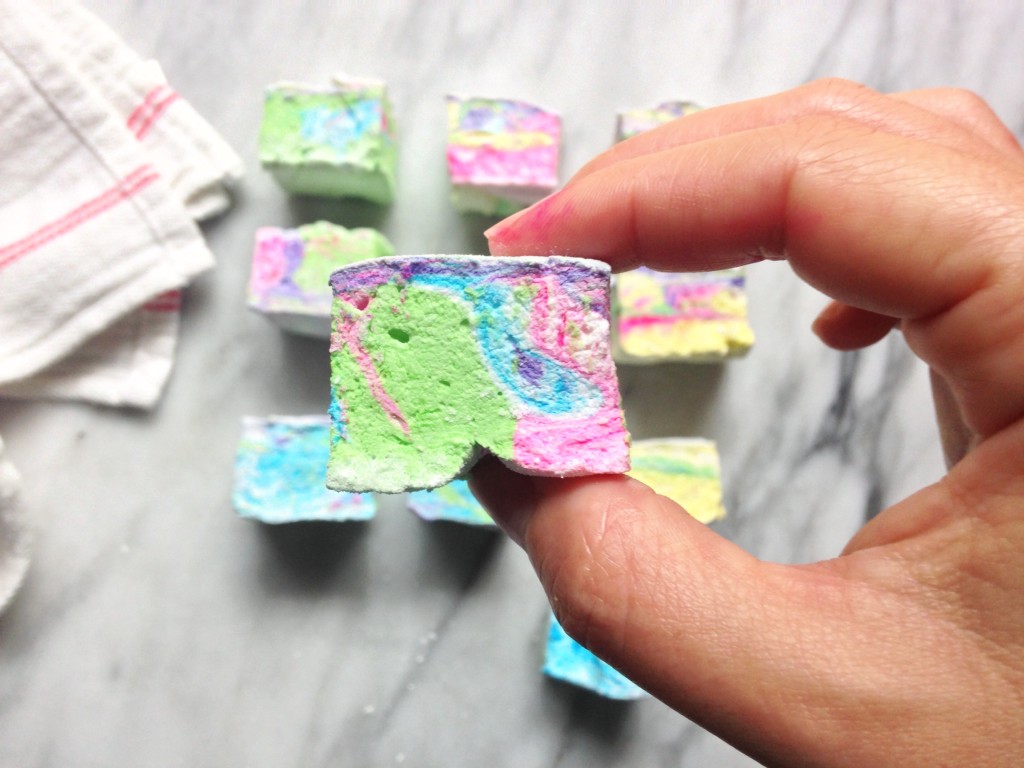 I have to be honest. I was scrolling through instagram (my usual thing) and was really inspired by a picture of rainbow marshmallows. I was busy so I put my phone down and forgot about them. Two days later, I couldn’t stop thinking about these marshmallows and how pretty they were. I searched for an hour on instagram and couldn’t find them. I was going completely crazy. I then started going to feeds where I thought it might be. It was then that I FINALLY found the rainbow marshmallows! Thanks, Naomi from