Homemade Peanut Butter 2 Ways


Recently my amazing friends put on a baby shower for my future little. I wrote down tons of ideas for hostess gifts and buying some trinket wasn’t doing it for me. I wanted them to give something special to show them how grateful I am for the time, effort and money they put into the shower.

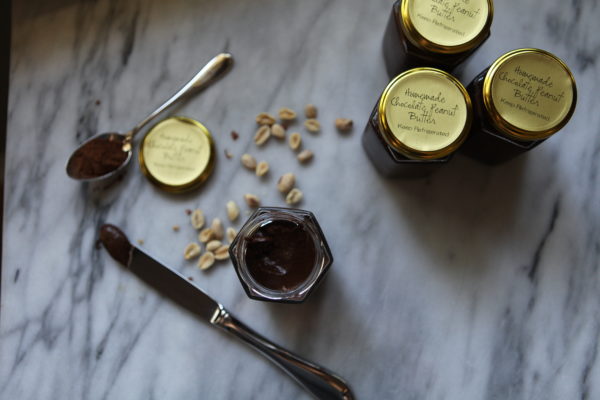
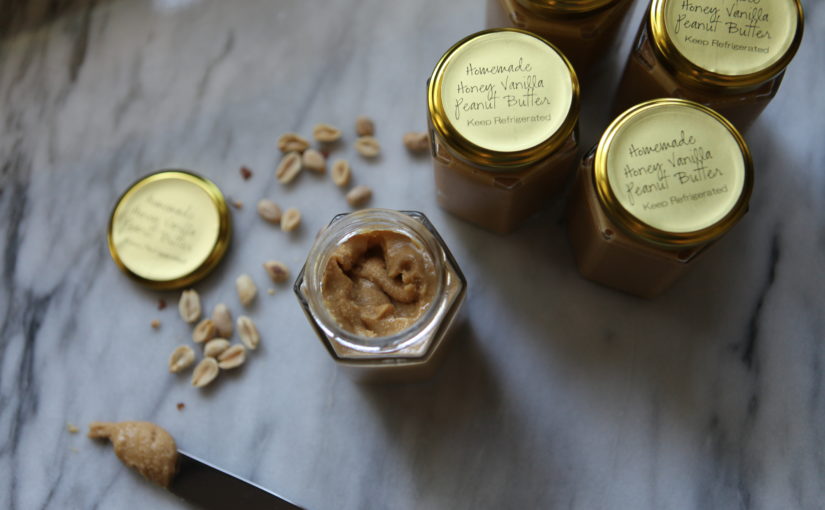
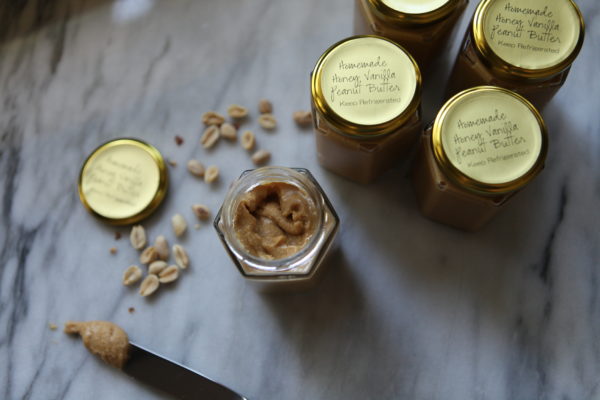
After eliminating items on the list, I ended up with homemade jarred peanut butter. I couldn’t stop at 1 flavor so I had to do two: Chocolate Peanut Butter and Vanilla Honey Peanut Butter 🙂

I found the perfect glass jars and printed my own label with these labels.

Now, I had never made peanut butter before but after looking through various recipes, I found that it was pretty easy. I typically like to test a small batch before I make something for multiple people but I didn’t have the time. My first go around had to be it. So I tasted as I made and wrote down every detail to share with you. At this point, I’m not sure I can go back to the store-bought kind!

I love either eating them with a spoon out of the jar for a quick snack or smearing them on cut up apples. It’s seriously the best snack.


Print Recipe
Chocolate Peanut Butter
The Foodie Chef Recipe adapted from Smitten Kitchen
Prep Time 20 minutes
Servings
6-7 6oz jars filled
Ingredients
Prep Time 20 minutes
Servings
6-7 6oz jars filled
Ingredients
Instructions
  1. Put peanuts in a food processor and grind them for about 5 minutes until they're more liquified opposed to a paste.
  2. Add the cocoa, sugar and salt then blend.
  3. Add oil a tablespoon at a time while the machine is running until you get to your desired consistency.
  4. add salt if needed.
Recipe Notes

I used a piping bag to fill the containers. This makes for easy filling. Make sure you clean the containers before filling them!
 

Print Recipe
Vanilla Honey Peanut Butter
The Foodie Chef Recipe
Prep Time 20 minutes
Servings
6-7 6 oz jars filled
Ingredients
Prep Time 20 minutes
Servings
6-7 6 oz jars filled
Ingredients
Instructions
  1. Add peanuts to food processor and blend for about 5 minutes until it liquifies
  2. Add oil, honey, vanilla, vanilla paste, and salt. Blend until combined and the desired consistency.
Recipe Notes

I used a piping bag to fill the containers.


The Best Chocolate Chip Cookies Ever!

IMG_9667Have you ever had a cookie where you had an aha moment that you need this delicious butter laden pastry in your life multiple times a year? Well, that’s how I felt when I tried a famous Levain Bakery Cookie from NYC. In my past several visits to NYC, Levain has been on my list among many places to try. For some reason or another, we never were able to make it.

My in laws paid a visit recently to the bakery and were nice enough not to devour every cookie they purchased.  Upon my request, they brought back 2 cookies for my husband and me. After several days of being baked, they were STILL good! I couldn’t believe just how good they were so I decided to recipe test to get the closest version possible.

My awesome & talented blogger friend, Erika, aka The Pancake Princess, came over one day to help test recipes. After 4 hours, we found, then perfected the best copycat recipe. The key points are to make the dough balls pretty large, it doesn’t work well on tiny dough mounds; shock the dough at a high temperature cooking the outside while keeping the inside undercooked; using high quality ingredients ie: european style butter, and freezing the dough mounds before baking.

If you want to please your guests, these cookies are a must! I took them to a party that night and some people, no joke, got vicious! I noticed the plastic wrap pulled back around the plate with cookies missing before dinner was even served!

Levain copycat 1 levain copycat 2
Print Recipe
The Best Cookies Ever!
Course Dessert
Prep Time 20 minutes
Cook Time 9-1'
Passive Time 35 minutes
Servings
15
Ingredients
Course Dessert
Prep Time 20 minutes
Cook Time 9-1'
Passive Time 35 minutes
Servings
15
Ingredients
Instructions
  1. Preheat oven to 410 degrees.
  2. In large mixing bowl, cream together cold cubed butter, brown sugar, and sugar for 4 minutes or until creamy.
  3. Add eggs and vanilla, one at a time, mixing well after each one.
  4. Sift all dry ingredients together in a separate bowl: flours, cornstarch, baking soda, and salt. Mix until just combined to avoid over mixing. Stir in chocolate chips and walnuts.
  5. Scoop dough onto cookie sheet with a 2.66 oz scoop. Put in freezer for at least 30 minutes or until frozen.
  6. Bake for 9-11 minutes on the middle rack of your oven.
Recipe Notes

For best results, use 2.66oz scoop (volrath green scoop)

Vegan Creamy Artichoke Dip

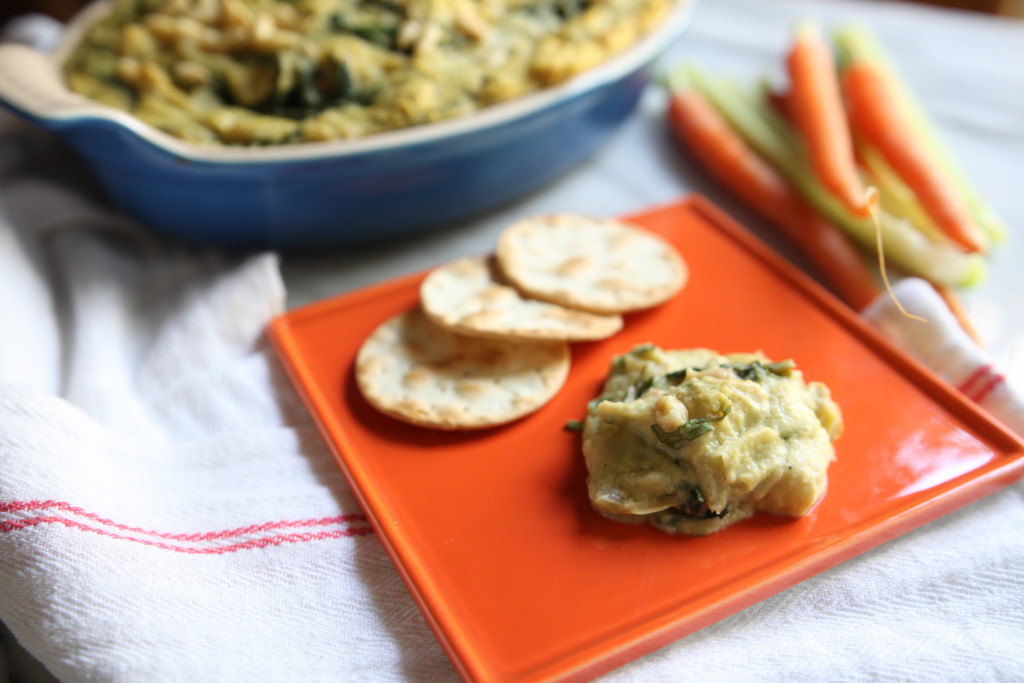
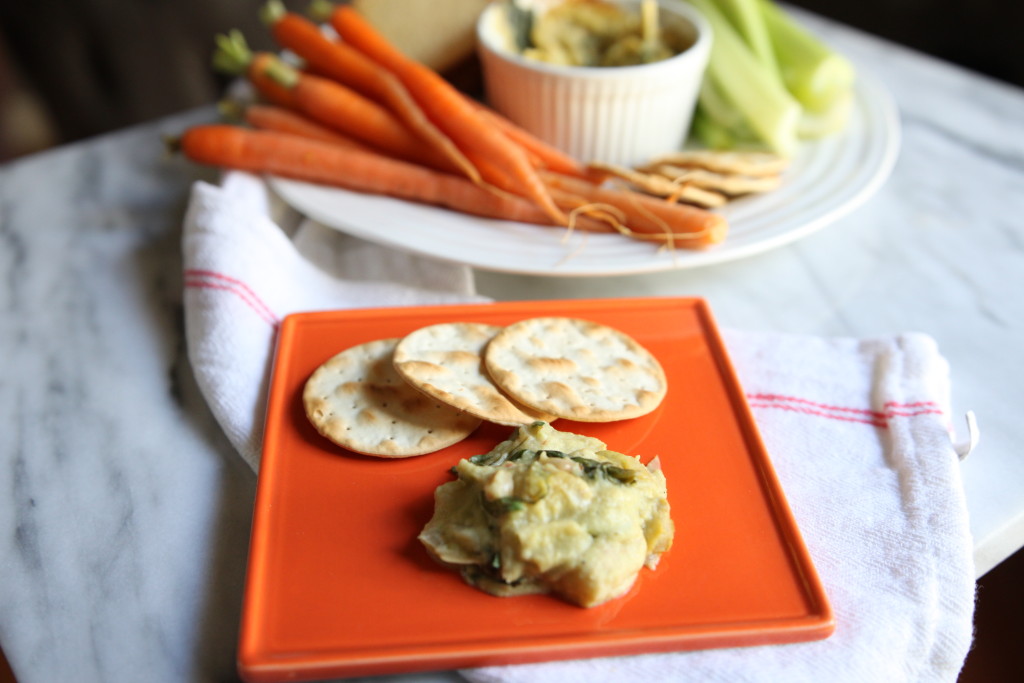
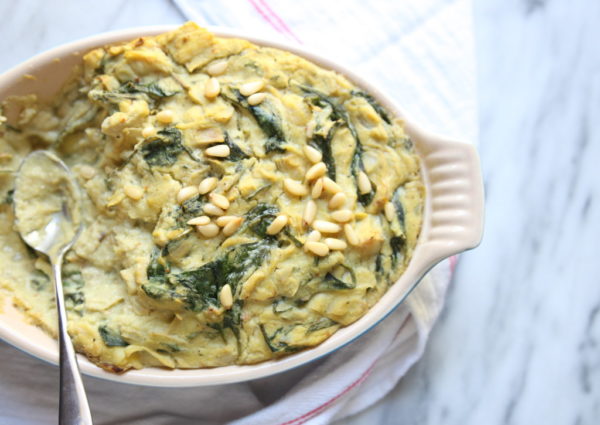
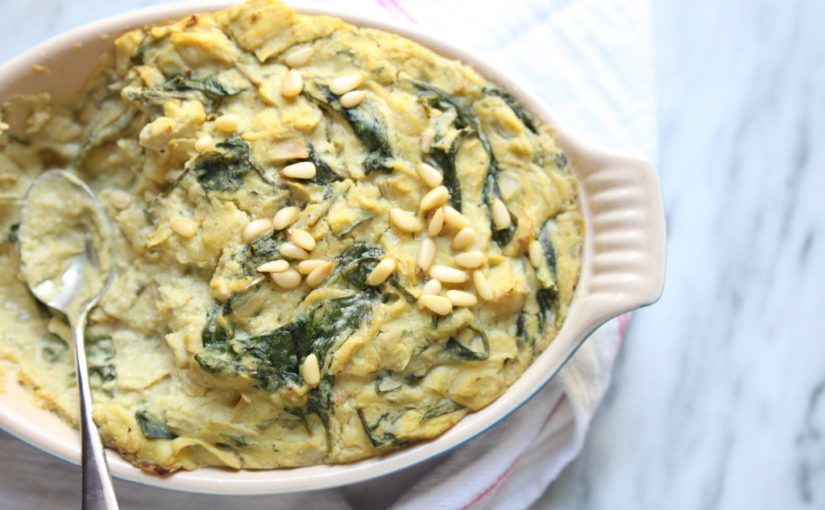
VegenSpinachDip3Today I had the pleasure of cooking with the wonderful Stephanie Hoban from Ripe Cuisine. We had such an awesome time sharing stories and bonding over cooking together. She shared her super delicious vegan & gluten free dip with me which is perfect for any party. Since the holidays are so close, it’s a perfect starter or even meal (I pretty much ate the whole thing when she left). There’s hardly any fat so it’s completely guilt-free.

During this time of year, it’s hard to find a healthy crowd pleasing dish. My friends, this is it. Move over queso and hello healthy dip! My husband, who is such a meat and potatoes kind of guy admitted that it’s great! Trust me, it’s creamy, decadent and filling, what’s not to like?

Those of you who don’t know Stephanie, she’s so impressive! She took my dream path. (If only I had known at a younger age nutrition and food was my thing.) She’s a Houston native who studied nutrition at NYU then went off to culinary school. After, she moved back to Houston, had a few jobs then opened her own vegan food truck, Ripe Cuisine. Everything on her truck is homemade, even the ketchup! If you’re in the Houston area, trying her food is a must!

VegenSpinachDip6


VegenSpinachDip5
Print Recipe
Vegan Creamy Artichoke Dip
Creamy Artichoke Dip with Spinach, Basil and Pinenuts by Stephanie Hoban, Ripe Cuisine
Prep Time 10 minutes
Cook Time 20 minutes
Passive Time 10 minutes
Servings
Ingredients
Prep Time 10 minutes
Cook Time 20 minutes
Passive Time 10 minutes
Servings
Ingredients
Instructions
  1. Heat oven to 375 F
  2. Peel zucchini and dice. Add to the bowl of a food processor fitted with the steel blade along with drained and rinsed white beans, Vegenaise, nutritional yeast, non-dairy milk, lemon juice, salt, red chili flake, and black pepper. Process until very smooth.
  3. In a large sauté pan heat oil and sauté onions and garlic until soft, about 5 minutes. Add in spinach and sauté on low until wilted. Strain spinach, pressing out as much water as possible, and set aside. In the same pan, sauté roughly chopped artichokes with lemon juice in the pan juices until soft and edges brown. Add back spinach and sauté 1 minute longer.
  4. With the motor of the food processor running, add in potato flour 1 teaspoon at a time. {The mixture should thicken considerably]. Add the pureed zucchini and beans to the pan with artichokes and spinach. Remove from heat and stir in chopped basil.
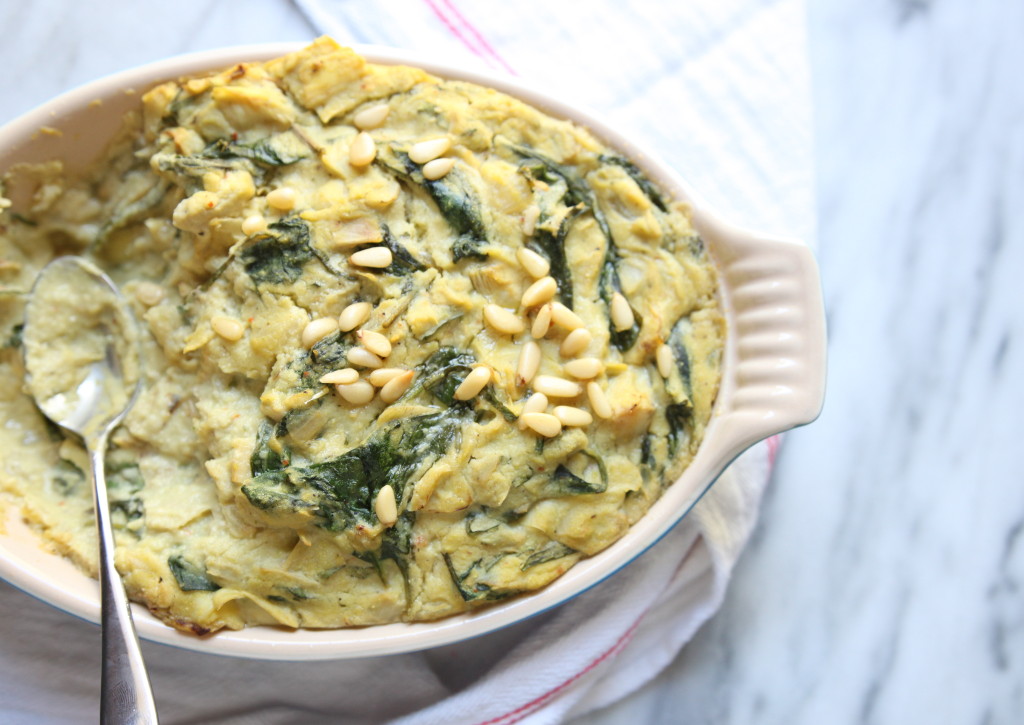
  5. Transfer dip to an oven safe casserole pan, drizzle with garlic oil, if using, and sprinkle on pinenuts. Bake for 20 minutes, and broil for 1 – 2 minutes to achieve a golden top. Allow to sit and firm up for at least 10 minutes before serving.
Recipe Notes

Ripe Tip: By substituting the canned beans and zucchini in place of cheese you save a load of calories, fat and cholesterol in favor of protein, fiber, vitamins and minerals. Serve with your favorite crackers, corn chips, or pita.


The Best Latkes

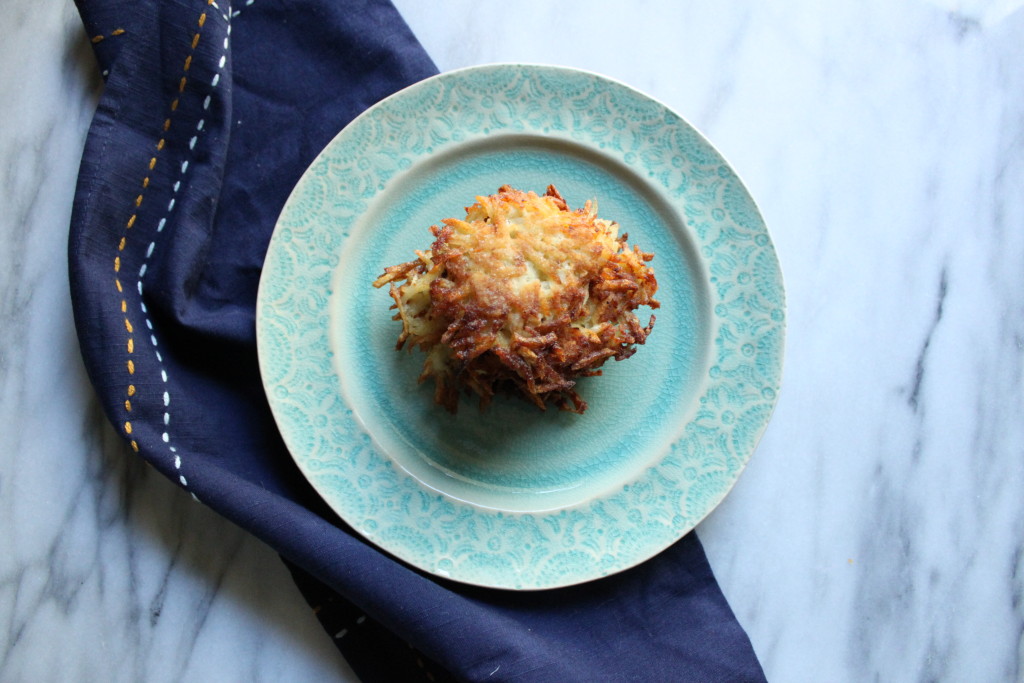
TheFoodieChefLatke3

I always look forward to this time of year. The weather is cold (sometimes in Houston) and we get to eat yummy fried potato cakes, latkes. My whole family gets together and we throw a Hanukkah party with presents, gelt (chocolate coins), dreidels and best of all, latkes!

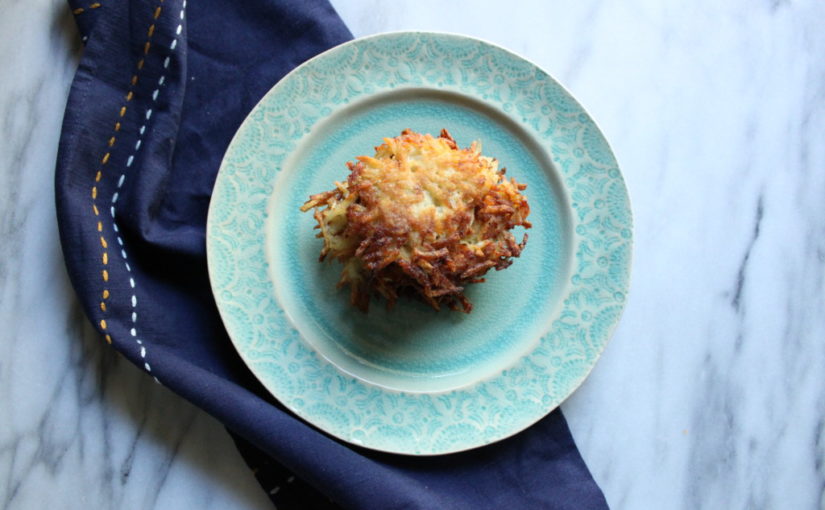
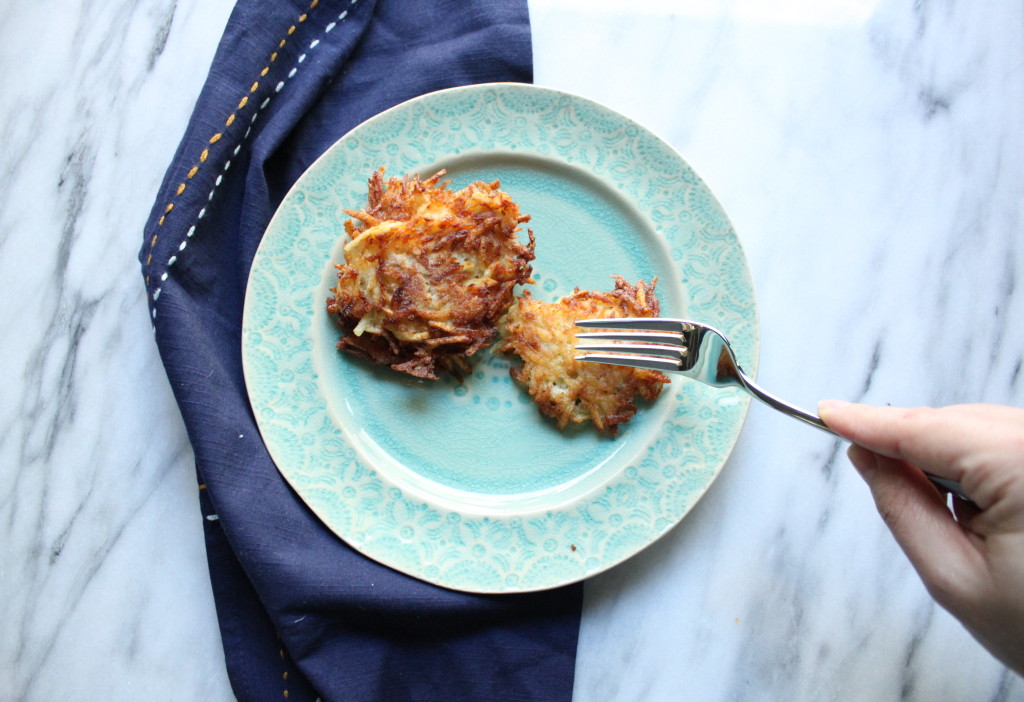
I have a confession: I’ve never made them before yesterday. My mom was always the chef and man does she make good latkes. This year, per my job, it’s my turn to make them. I had a minor freak out in trying a recipe but I was able to add a few things to make it better. Combining recipes in the thick of things usually works for me. Thankfully, it all worked out and I came up with the best recipe. They’re crunchy on the outside and hashbrown like in the middle. All they need are some applesauce and sour cream!

It is important to follow the recipe step by step because they really are a labor of love. If you miss a step, they aren’t going to turn out right.

TheFoodieChefLatke1

I have 2 major tips that will make a world of a difference:

  1. Squeeze out the shredded potato onion mixture 2 times in a towel.
  2. After scooping the mixture and dropping it into the oil, gently flatten with a spatula.

TheFoodieChefLatke4


Print Recipe
The Best Latkes
Prep Time 10 minutes
Cook Time 8 minutes
Servings
Ingredients
Prep Time 10 minutes
Cook Time 8 minutes
Servings
Ingredients
Instructions
  1. In a food processor fitted with the blade attachment, blend the garlic, shallots and onion.
  2. Change the blade attachment to the shredder. Peel, wash and shred the potatoes. After, empty the mixture into a kitchen towel and squeeze out all of the liquid. Open the towel, fluff the mixture and squeeze 1 more time. You may have to do this in 2 segments, as there will be a lot of the potato mixture.
  3. Empty the drained potato mixture into a large bowl. Add salt, pepper, flour, eggs, and baking powder and mix by hand.
  4. In a large skillet, pour vegetable oil ¼” from the bottom. Heat to medium and test with a small piece of potato- the mixture should sizzle.
  5. Using a 1 ½ Tablespoon scoop, scoop and drop the mixture into the oil. Flatten them out with a spatula to ensure an even distribution. Cook on each side about 4 minutes depending on the heat level. The bottom should be a nice golden brown color.
  6. Once the latke is done cooking, transfer to a cookie sheet lined with foil and 2 paper towels on top. Sprinkle a little salt on top while it’s still hot. Serve immediately.
  7. You can keep them warm in a 300 degree oven until you serve them.
  8. Freezer friendly: put the latkes in a freezer bag and freeze for up to 3 weeks. Place them on a cookie sheet and into a 350 degree oven for 15-20 minutes to re-crisp.
Recipe Notes

I have 2 major tips that will make a world of a difference:

  1. Squeeze out the shredded potato onion mixture 2 times in a towel.
  2. After scooping the mixture and dropping it into the oil, gently flatten with a spatula.

Spooky Ghost Meringue Cookies 3 Ways

GhostMeringue1

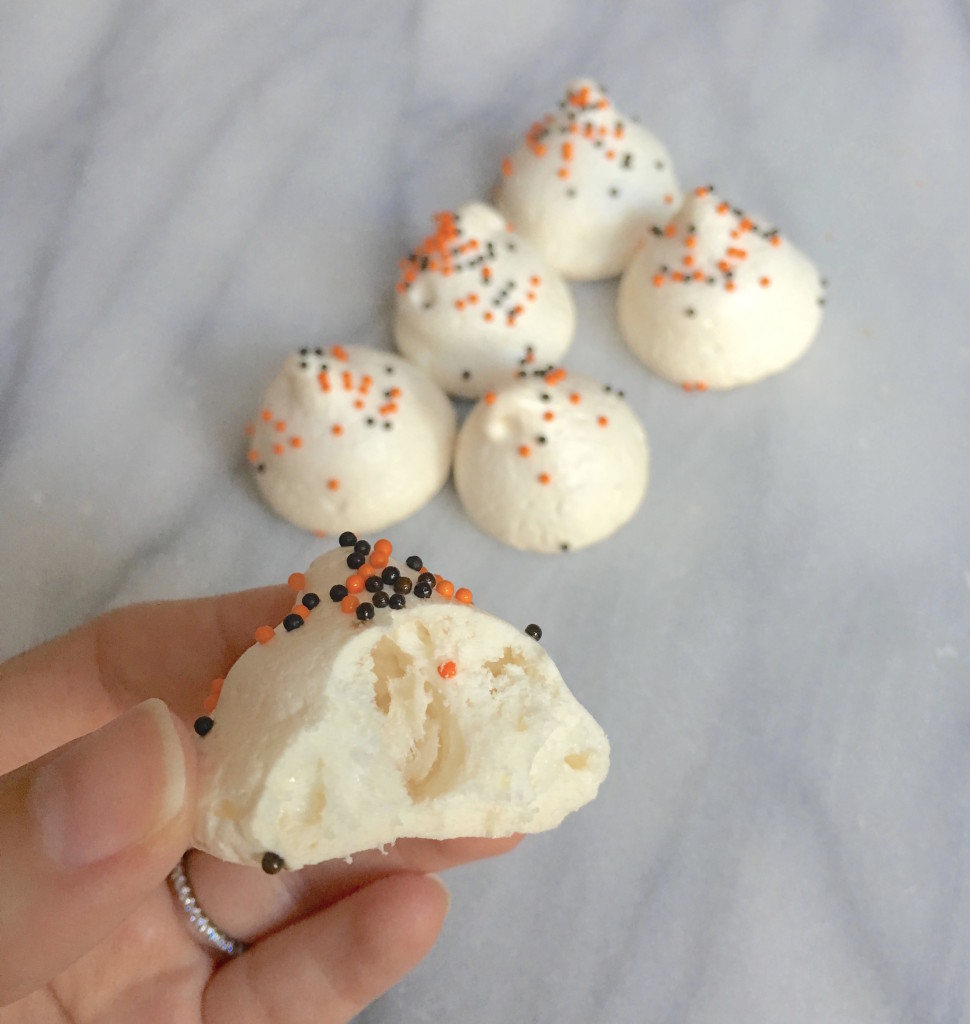
Boo! Halloween is one of my favorite holidays. I love dressing up, going to costume parties and of course, making spooky treats! This year, I wanted to make something low fat and simple that anyone can do. I thought cute ghost meringue cookies 3 ways would be perfect.

I recall making meringue cookies in pastry school 5 years ago and they came out perfectly. A few years back, I was making some meringue mushrooms for a yule log. After spending time whipping the meringue, piping and anxiously waiting, they cracked and looked completely ugly. Since then, I’ve learned to never bake meringue in a deck oven. You might think, obviously, you would never cook meringue in a deck oven because they are meant bake bread or pizza in high heat. It’s also possible that the oven wasn’t calibrated and it overheated. I have to blame the oven, right? Of course it wasn’t me 😛

This time, I bought a nice little oven thermometer so I am sure that the temperature is accurate. My best advice is to know your oven- they’re all different. This little gadget is perfect to find out the truth in your oven. My next tip is to be extremely patient. If you haven’t noticed in cooking/ baking, patience is key. I remember working at a local restaurant and I was standing over a sauce pan filled with water staring down anxiously waiting for the water to boil. The chef stood over me and told me to stop staring, work on something else and have patience. Sure enough, after a few minutes, the water started to boil. From then on, I take heed in his advice.
GhostMeringue02

My last tip is that it’s all about the piping pressure. This takes practice and I suggest you test this out with store bought icing. This way, you can hone your practice while spending a small amount. First off, I really like to use disposable piping bags. I dislike the kind you wash because you have to spend time cleaning it. Most of the time it doesn’t even get cleaned thoroughly.

GhostMeringue3

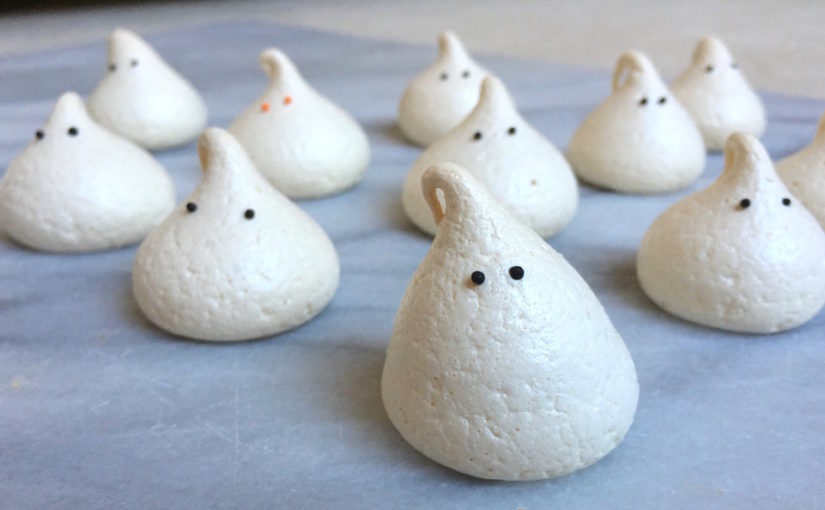
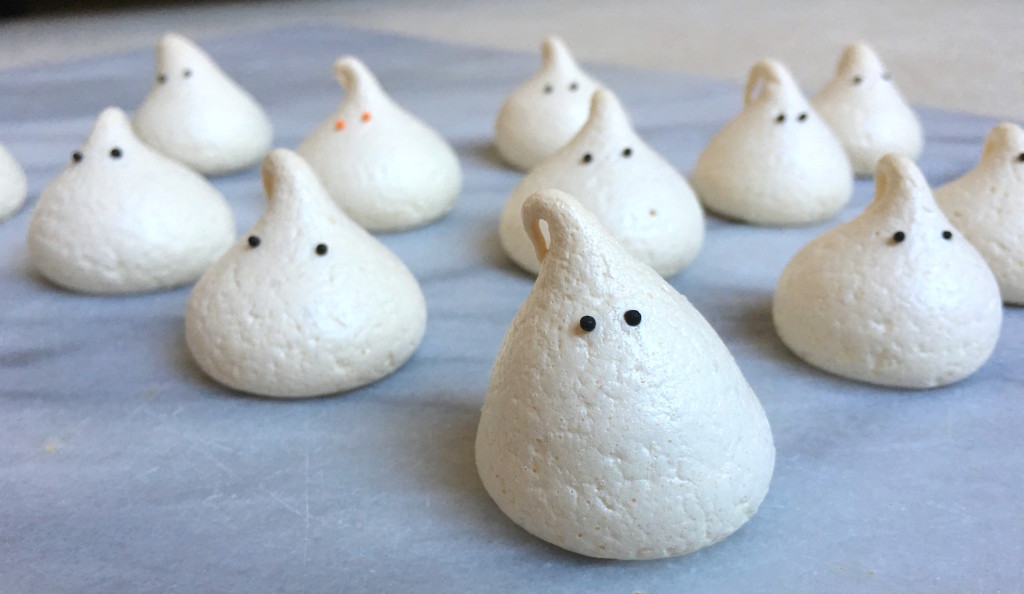
For the ghosts, I fitted the piping bag with an 807 piping tip. This is to ensure the smoothness of the end product. Once your bag is read to go, fill it halfway with the meringue. With one hand, hold the tip about 1/4″ above the parchment paper. Start squeezing while slowly bringing your hand up and letting go of the pressure so that it tapers off leaving a little whisp. Like I said, it takes practice. You can play with the amount of pressure, when to raise the bag up and when to stop. You can see this in different ghosts, some are more round and some are skinnier.

In the end you get cute spooky ghosts that not only taste delicious but are low fat!

HalloweenMeringue4
Print Recipe
Spooky Ghost Meringue Cookies 3 Ways
Cute spooky ghosts that not only taste delicious but are low fat!
Prep Time 10 minutes
Cook Time 30 minutes
Passive Time 7 hours
Servings
Prep Time 10 minutes
Cook Time 30 minutes
Passive Time 7 hours
Servings
Instructions
  1. Preheat oven to 260 degrees.
  2. Combine egg whites, salt, cream of tartar, and vanilla in a standing mixer fitted with a whisk attachment. Whip on medium high for about 3 minutes until soft peaks are achieved. Slowly add sugar while the whisk is whipping and switch to high for about 2 minutes until stiff peaks are formed. It should be smooth and not gritty.
  3. Prepare 2 cookie sheets with parchment paper. Put a tiny dollop of the meringue in each corner fastening the parchment paper to the sheet. Fill a pastry bag halfway fitted with an 807 tip. With patience and ease, pipe little ghosts filling each sheet. Refer to above notes on details of piping.
  4. Once all of the ghosts are piped, carefully drop black nonpariels in place of eyes. You can also use mini chocolate chips or even cover them with orange and black sprinkles.
  5. Bake for 25-30 mintues and then turn off the oven and let them sit overnight (or several hours). Store them in an airtight container and they'll last for several days.
Recipe Notes

My best advice is to know your oven- they're all different.

My next tip is to be extremely patient.

My last tip is that it's all about the piping pressure.  I really like to use disposable piping bags.


Easy Tostadas

Tostadas

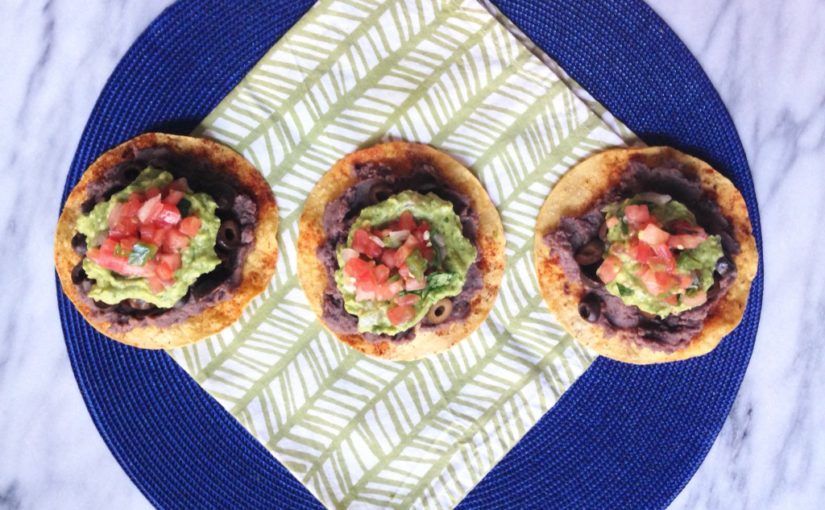
Happy Cinco de Mayo!! In honor of this fab holiday, I’m sharing one of my super quick go to meals. My tostadas are kind of like one big nacho.

This healthy recipe is easily Gluten Free, Kosher, Vegan and Vegetarian (I have no cheese on it but it can be added 🙂 ) Check out my super cool gif below. It’s my first time making one so don’t judge 😛

Tostada Gif
Print Recipe
Easy Tostadas
This healthy recipe is easily Gluten Free, Kosher, Vegan and Vegetarian.
Instructions
  1. Preheat oven to 350. Spray each side of the corn tortillas with cooking spray then sprinkle chili powder on them. Lay them flat on a sheet pan and bake for 7 minutes until hard. Once finished, spread in this order: black beans, black olives, guacamole, and pico. They're ready to eat!


Baked Stuffed Artichokes

Artichokes 2

I have to admit, I have been a little intimidated by the cook time of artichokes. I like quick and easy cooking but this was a nice little challenge. Growing up my mom would steam them for an hour or so. I just remember it taking so long and then there wasn’t much to eat after that long cook time. I never thought to bake them until now. So I searched for a recipe and adapted it to the one below. (they’re super easy)

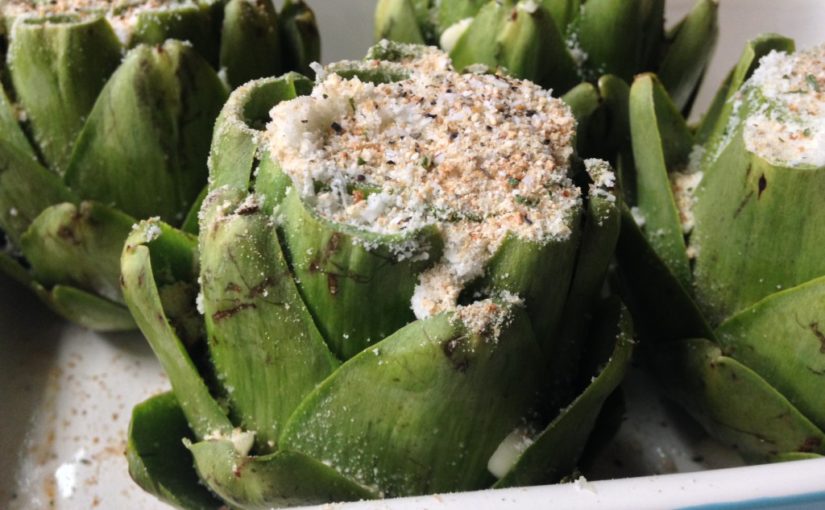
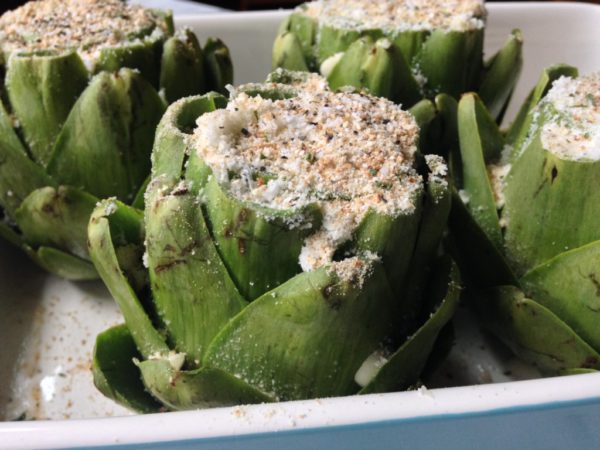
The first thing I did was slice a quarter of an inch off the top exposing the inside leaves (first picture). In the second picture, you can see I separated the leaves leaving room to fill them with delicious cheesy goodness and garlic.

artichokes 1

Next, I filled them with the parmesan mixture, stuffing it in every crevice possible.

artichokes 3

Then fill the baking pan with hot water, cover with foil and bake.

artichokes 4
Print Recipe
Baked Stuffed Artichokes
Prep Time 10 minutes
Cook Time 1 hour and 15 minutes
Servings
Prep Time 10 minutes
Cook Time 1 hour and 15 minutes
Servings
Instructions
  1. Preheat oven to 425.
  2. Wash artichokes thoroughly then slice the bottom stem off letting it stand evenly.
  3. Slice 1/4 inch off the top leaves leaving them exposed. Then stretch open the leaves making room for the stuffing.
  4. Combine all ingredients except the lemon then stuff in between each leaf. After you're done stuffing, squeeze a spritz of lemon on top to preserve the color (oops I forgot to do that). Then drizzle olive oil on top of each.
  5. Place the artichokes in a baking dish and fill 1/4 of the way up with boiling water. Cover with foil and bake for 1 hour and 15 minutes.


Black Bean & Chickpea Chili

Bean chili 1

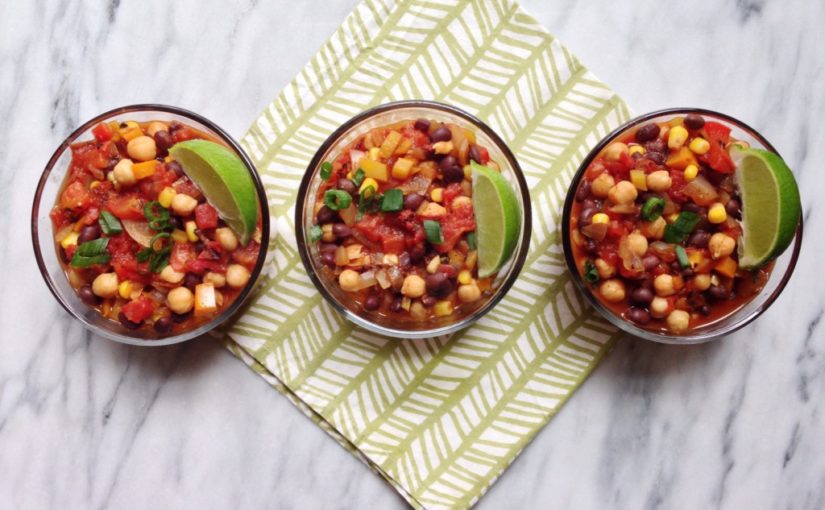
When I’m making menu’s for my customers I like to think outside of the box. What can my customers only get from me and not take out? This is the challenge that I struggle with weekly when I make my menu’s. Not to mention following all of their likes and dislikes. On an occasion, I like to throw in a vegetarian dish. Well, almost vegetarian since I love my good ol’ chicken stock. A friend of mine who is a dietician helps me out on occasion when I’m suffering from menu block. She’s obsessed with vegetarian recipes so she’s the inspiration for this one 🙂

When I first tasted this recipe after making it, I ate it for lunch and dinner 3 days straight. Seriously. It has the perfect amount of spice and the beans are so filling. It’s really a healthy comfort food and highly recommend making it. My customers loved it too!

Bean chili 3
Print Recipe
Black Bean & Chickpea Chili
Recipe adapted from Love and Lemons
Servings
4 people
Ingredients
Ingredients
Servings
4 people
Ingredients
Ingredients
Instructions
  1. Heat oil in a large pot over medium heat. Add chopped onion, salt & pepper and stir. Cook until the onion is slightly translucent then add the garlic and peppers. Stir and cook until soft.
  2. Add the canned tomatoes and the chicken stock. Then add the black beans, chickpeas, adobo sauce, corn and seasonings. Cover, reduce heat to low, and cook for 25 more minutes, stirring occasionally.
  3. Taste and adjust seasonings adding more salt and pepper.
  4. Serve with toppings of your choice. Chill the leftovers and store in the fridge for up to 5 days.
Recipe Notes

*To make vegetarian: swap the chicken stock for water or vegetable stock

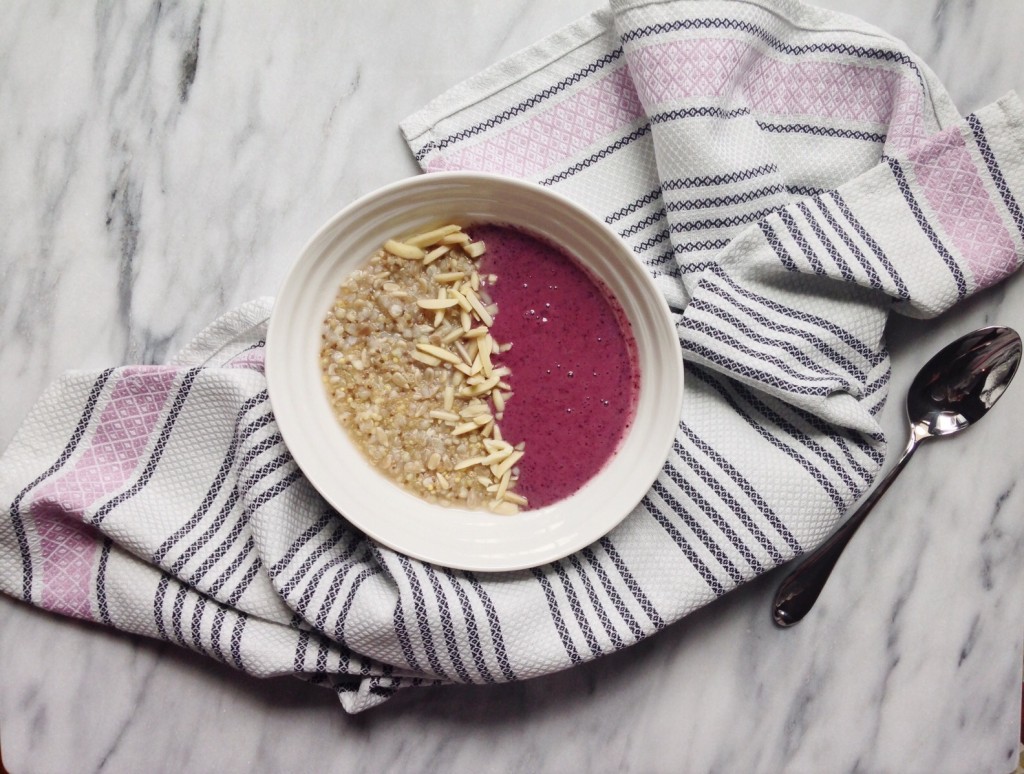
Super Cereal Smoothie Bowl

Super Cereal Smoothie Bowl

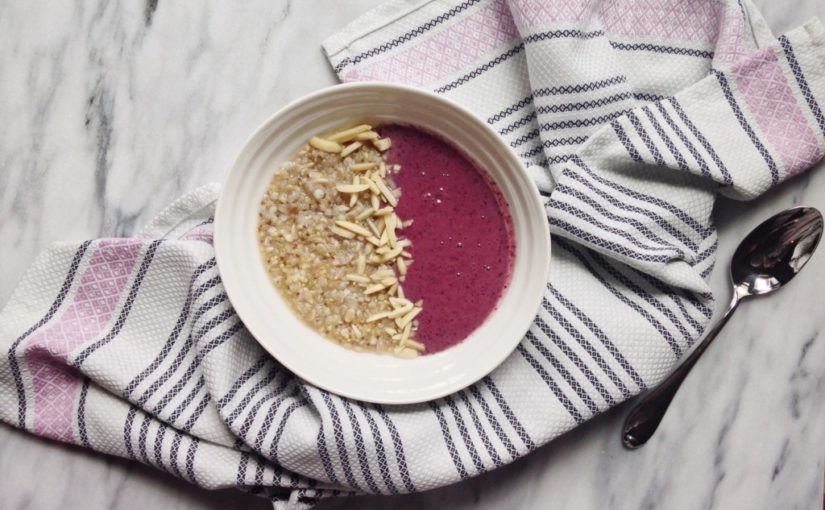
I spend a good amount of time researching to get inspired with new recipes and ideas. I came across a grainy, seedy all natural breakfast cereal recipe and had to try it. Surprisingly, it keeps me full for hours until lunch time!

Every morning I make some kind of berry variation smoothie. It never fills me up and I’m hungry in an hour. So this morning, I put the cooked super cereal in the bowl and tilted it then poured in my morning smoothie= morning super cereal smoothie bowl! The hot cereal mixed with the cold smoothie was just perfect, I highly recommend making these 2 recipes for your next breakfast.

Print Recipe
Super Cereal Smoothie Bowl
Berry Banana Soothie
Prep Time 5 minutes
Servings
1
Ingredients
Prep Time 5 minutes
Servings
1
Ingredients
Instructions
  1. Blend until smooth

Valentines Sprinkle Popcorn

VdayPop1

My new years resolution was to post more often so here I am. I haven’t made it a priority to make weekly posts but I’m going to try to!

I’ve finally realized what I am, a healthy cook by day with a LARGE sweet tooth by night. I have had such a sweet tooth lately and I came across a recipe for sprinkles covered popcorn. It just looks so pretty and tasty, I had to try it!

A few weeks ago I hosted a little blogger party with Julie, From Prosecco To Plaid and Lindsey from Lindsey Steinberg Events. As we were coming up with the menu, this very popcorn recipe was pinned to our hidden group pinterest page. It looked a little intimidating so we figured we could purchase it at the specialty popcorn shop. As I read the recipe, I realized just how easy it was. There was absolutely no need to purchase when I can make it 🙂

With my pastry background, my first idea is to use quality white chocolate. After all of my training I’ve become such a purist and maybe a little snobby with my ingredients. I’m not super proud of it but secretly I am. When I make cakes I most definitely use the best possible ingredients.

In this instance, I took the easy way out (*ahem*, which is not always the best). If you’ve ever tempered chocolate, you know what I mean. It’s just annoying. I have much respect for chocolatiers and I enjoyed taking a chocolate class but I’m done with the days of tempering chocolate. If I had a tempering machine, that’s another story.

This time I used the infamous white bark coating. I say infamous because it has absolutely no trace of cocoa butter in it which is the main ingredient in real white chocolate. I use this product for complete ease of use. It’s no joke, so easy. All you do is pop a handful in a microwave safe bowl and heat for 30 second increments while stirring in between. By 1 min 30 sec it should be nice and smooth and ready to pour on the popped popcorn!

Be very meticulous and remove all of the unpopped kernels. No one wants to eat those. I suggest laying a silpat in the sheet pan or parchment paper. This will be for a super easy clean up.

I like using nonpareils for sprinkles. But for Valentines day, I use these.

Here are the steps:

Pop popcorn (plain, no salt and no butter) according to directions

Lay parchment or silpat in sheet pan

Empty popped corn onto sheet pan then remove kernels

Heat about 6 white bark coating bars in a microwave safe bowl. Do this in 30 second increments stirring in between. You will know it’s done when it’s smooth and not clumpy.

Vdaypop3

*I suggest using food safe gloves on this next step:

Pour the melted coating over the popped corn then mix quickly with hands. Be gentle not to crush the delicate popcorn then press into an even layer.

Once you’re done, sprinkle away! Do this kind of quickly before the coating melts.

VdayPop2

Now, step away and let it cool for at least 20 minutes then enjoy!

Vdaypop4