Blueberry Crumb Bars

Blueberry Crumb Bar 5

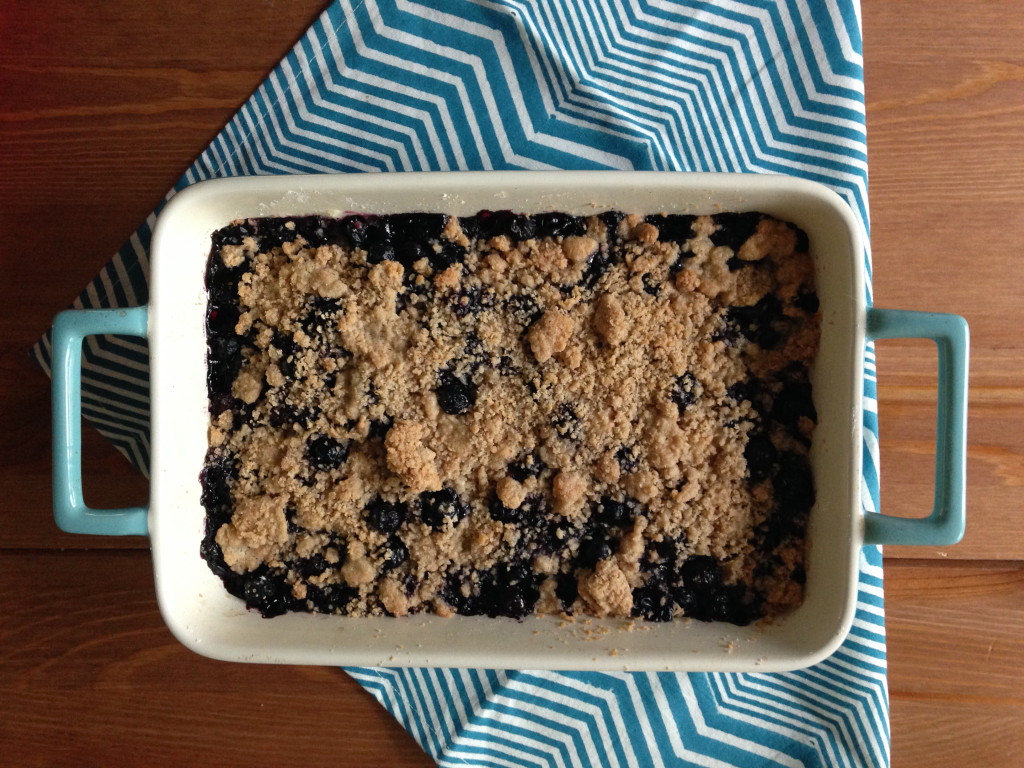
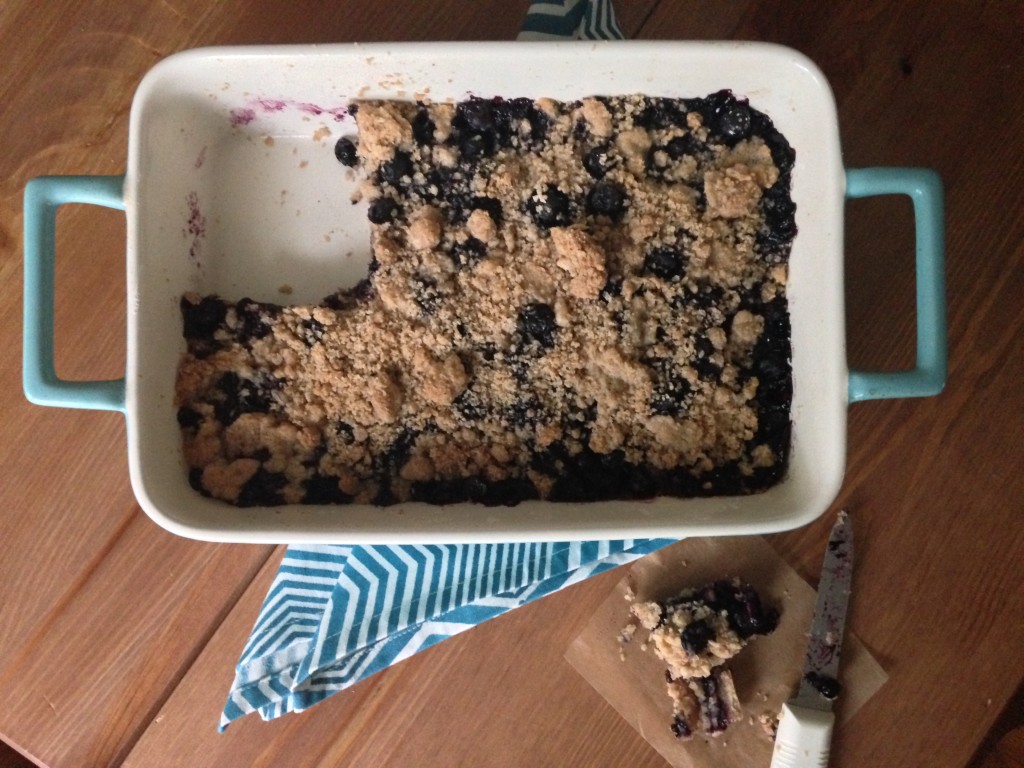
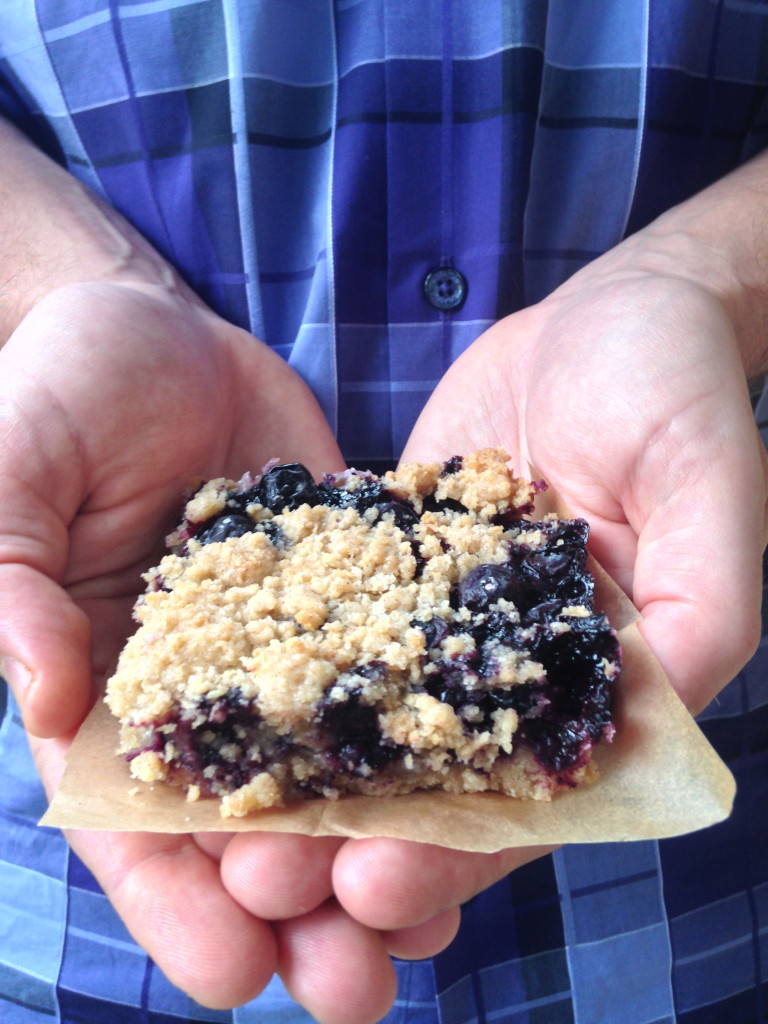
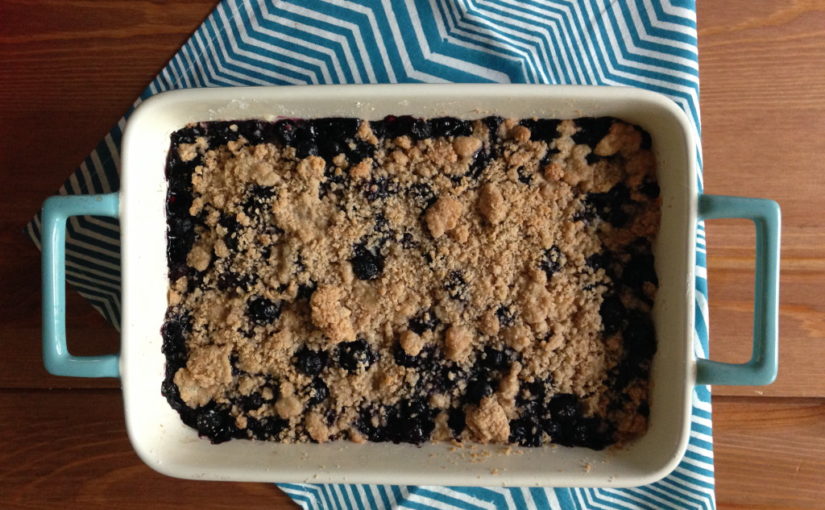
On most mornings, I drink my healthy smoothie but sometimes I just want something sweet that resembles a muffin. That’s how I came up with these crumb bars. They’re maybe more like a dessert but sufficient enough for breakfast, in my opinion. They have a great spice blend with a hint of cardamom. I really like this spice. I’m not a huge fan of Indian food but this spice which is prevalent in Indian cooking is one of my favorites. I love to combine it, when fitting, in my baked goods. Give it a chance and I promise you’ll fall in love too 🙂

Blueberry Crumb Bar 1 Blueberry Crumb Bar 4
Print Recipe
Blueberry Crumb Bars
Prep Time 15 minutes
Cook Time 40 minutes
Servings
Ingredients
Prep Time 15 minutes
Cook Time 40 minutes
Servings
Ingredients
Instructions
  1. Combine ½ c sugar, baking powder, flour, cinnamon, cardamom, nutmeg, and salt. Mix with whisk. Add lemon zest, juice, vanilla, egg, and mix. Once combined, butter with flour mixture with hands until combined. You can use a standing mixer or pastry cutter to get the texture faster. It will be grainy and not full combined.
  2. In a separate bowl, mix ¼ c sugar and cornstarch. Add blueberries and mix to cover.
  3. In a 13x9 pyrex, cover with cooking spray then add half of the flour mixture and press down. After, add the blueberries and spread evenly. Spread the rest of the flour mixture on top of the blueberries. Bake at 350 convection for about 40 minutes. Let cool before you cut.

Peanut Butter Ganache Cookie Sandwiches

Peanut Butter Cookie 6

The other day I got a call to make a yellow cake with milk chocolate frosting. It had been a while since I’ve made chocolate frosting since I’ve been on my whipped cream cheese kick. It’s literally the best thing I’ve tasted and maybe needed a break from it. I messaged a fellow chef/mentor of mine for some advice. He immediately sent me a whipped chocolate ganache recipe from a textbook. The recipe itself is really simple but I imagined it would be something a bit different.

When I learned the ganache technique in school, there was more chocolate to cream ratio resulting in a thicker ganache. (generally a different recipe to make truffles and such) This recipe has more cream than chocolate which makes it more liquidy. Once cooled then whipped, it’s like chocolate whipped cream! It’s oh so good and can be made with milk or dark chocolate.

Ah hem, long story short, I had extra whipped ganache so I bought the packaged peanut butter cookie mix. I know, this is against my values of scratch made food but it was my quickest option!

Peanut Butter Cookie 1
Peanut Butter Cookie 2

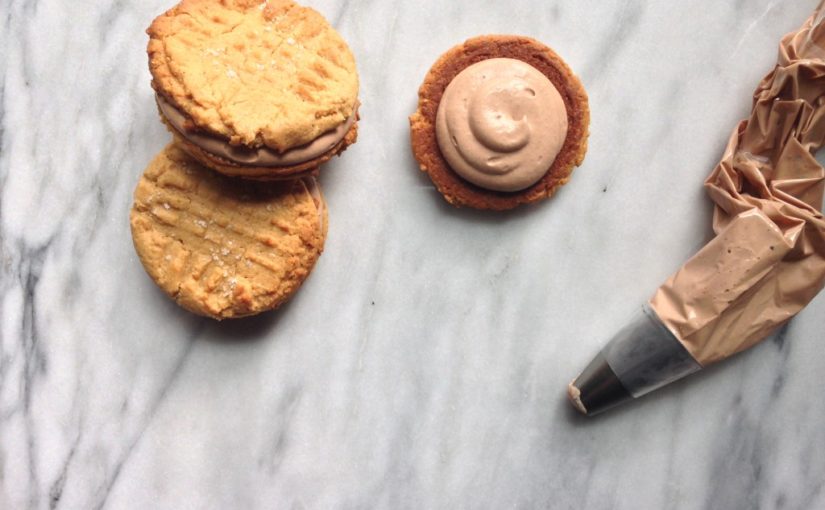
Once the cookies cooled, I piped the ganache on one side then sandwiched the other over it pressing gently. I put them in the fridge until serving them. They will melt and not hold if left at room temp, just fyi. Now, you can eat them right away, like I did 🙂

Peanut Butter Cookie 3
Peanut Butter Cookie 5


Peanut Butter Cookie 4
Print Recipe
Peanut Butter Ganache Cookie Sandwiches
Whipped Chocolate Ganache Frosting
Prep Time 10 minutes
Cook Time 5 minutes
Passive Time 7 hours
Servings
Prep Time 10 minutes
Cook Time 5 minutes
Passive Time 7 hours
Servings
Instructions
  1. Put chocolate in bowl.
  2. Bring heavy cream to a simmer
  3. Pour hot cream over chocolate and let sit for 1 min.
  4. Gently stir to blend, strain and cool.
  5. Cover with plastic wrap and refrigerate over night.
  6. Whip ganache in standing mixer to desired peak.

Valentines Sprinkle Popcorn

VdayPop1

My new years resolution was to post more often so here I am. I haven’t made it a priority to make weekly posts but I’m going to try to!

I’ve finally realized what I am, a healthy cook by day with a LARGE sweet tooth by night. I have had such a sweet tooth lately and I came across a recipe for sprinkles covered popcorn. It just looks so pretty and tasty, I had to try it!

A few weeks ago I hosted a little blogger party with Julie, From Prosecco To Plaid and Lindsey from Lindsey Steinberg Events. As we were coming up with the menu, this very popcorn recipe was pinned to our hidden group pinterest page. It looked a little intimidating so we figured we could purchase it at the specialty popcorn shop. As I read the recipe, I realized just how easy it was. There was absolutely no need to purchase when I can make it 🙂

With my pastry background, my first idea is to use quality white chocolate. After all of my training I’ve become such a purist and maybe a little snobby with my ingredients. I’m not super proud of it but secretly I am. When I make cakes I most definitely use the best possible ingredients.

In this instance, I took the easy way out (*ahem*, which is not always the best). If you’ve ever tempered chocolate, you know what I mean. It’s just annoying. I have much respect for chocolatiers and I enjoyed taking a chocolate class but I’m done with the days of tempering chocolate. If I had a tempering machine, that’s another story.

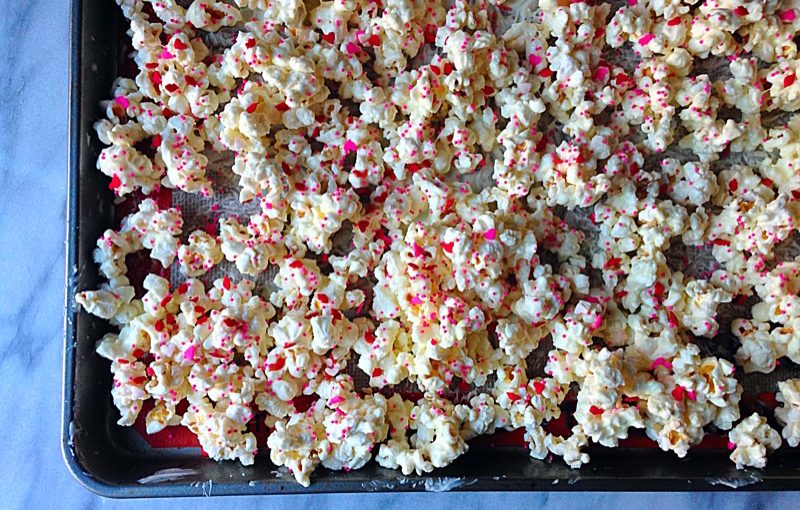
This time I used the infamous white bark coating. I say infamous because it has absolutely no trace of cocoa butter in it which is the main ingredient in real white chocolate. I use this product for complete ease of use. It’s no joke, so easy. All you do is pop a handful in a microwave safe bowl and heat for 30 second increments while stirring in between. By 1 min 30 sec it should be nice and smooth and ready to pour on the popped popcorn!

Be very meticulous and remove all of the unpopped kernels. No one wants to eat those. I suggest laying a silpat in the sheet pan or parchment paper. This will be for a super easy clean up.

I like using nonpareils for sprinkles. But for Valentines day, I use these.

Here are the steps:

Pop popcorn (plain, no salt and no butter) according to directions

Lay parchment or silpat in sheet pan

Empty popped corn onto sheet pan then remove kernels

Heat about 6 white bark coating bars in a microwave safe bowl. Do this in 30 second increments stirring in between. You will know it’s done when it’s smooth and not clumpy.

Vdaypop3

*I suggest using food safe gloves on this next step:

Pour the melted coating over the popped corn then mix quickly with hands. Be gentle not to crush the delicate popcorn then press into an even layer.

Once you’re done, sprinkle away! Do this kind of quickly before the coating melts.

VdayPop2

Now, step away and let it cool for at least 20 minutes then enjoy!

Vdaypop4

Chocolate Peanut Butter Truffles (Paleo)

Last week I was planning a meal for a new client who keeps kosher and is on the paleo diet. The couple wanted a sweet treat after their meal so I was on a mission to find the perfect dessert! I thought chocolate could be a good start. Let’s be honest, who doesn’t like chocolate?  I found a few recipes online using ingredients like coconut milk, coconut oil and chocolate. I had to add peanut butter because, selfishly, I think it makes a dessert and it adds protein ;).  The dessert is completely dairy free and tastes just like a regular decadent truffle. It’s perfect for diets such as kosher, paleo, and just trying to be healthy.

Truffles 5

Truffles

Portion out the above ingredients, microwaves in 1 minute increments, then mix.

Truffles

Freeze the above mixture until it’s solid.

IMG_6790

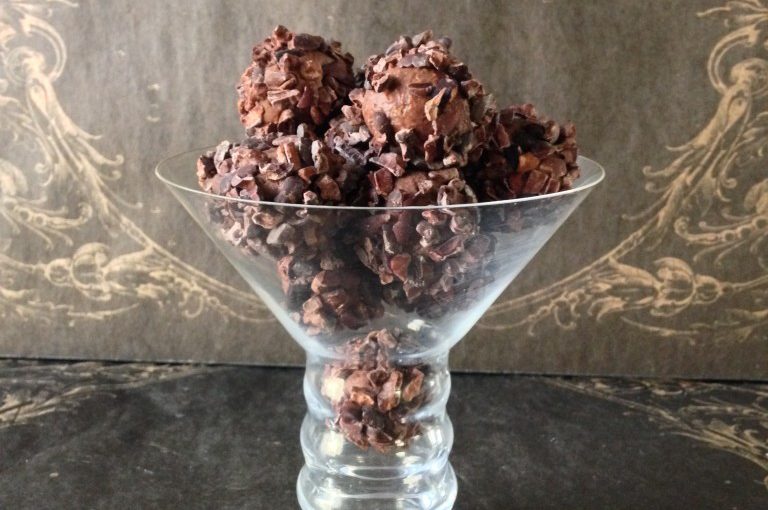
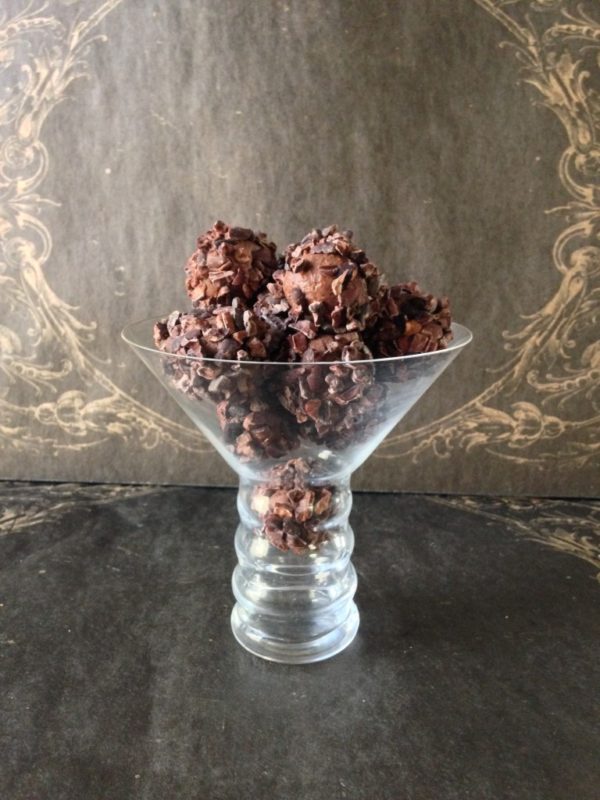
Scoop using a pastry scoop. I used a teaspoon size but you can use a bigger one if you want. After you scoop them all, roll into balls in your hand. After, cover the truffles in cocoa nibs.

Truffles 3

Truffles 3

Truffles 4


Print Recipe
Chocolate Peanut Butter Truffles (Paleo)
They are oh so good and taste just like regular truffles! No joke, these are legit and a must try!
Prep Time 15 minutes
Servings
9
Ingredients
Prep Time 15 minutes
Servings
9
Ingredients
Instructions
  1. Put all ingredients in bowl.
  2. Microwave until melted and mix with a spoon.
  3. Cover and freeze until solid.
  4. Spoon mixture onto cookie sheet then shape into balls.
  5. Roll in cocoa nibs.
  6. Make sure to use the thick milk part of the coconut milk and not the liquid.

Cinnamon Toast Cupcake

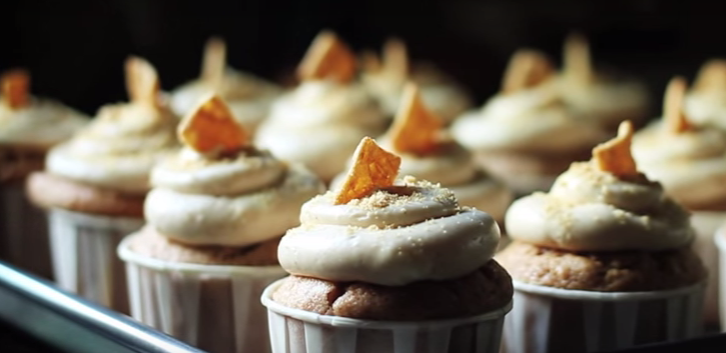
Hello foodies! I have such fond memories (i’m sure you do too) of  eating a huge bowl of cinnamon toast crunch cereal and enjoying the sweet milk that follows. I love the flavors { sugary, cinnamony, crunchy, sweet, and slightly salty. }  Combining this delicious cereal with a fluffy cupcake is the perfect combination.  I assure you, you will be very satisfied once you bite into one of these lovlies.


Hope you enjoyed the video!

Print Recipe
Cinnamon Toast Cupcake
Servings
12
Ingredients
Cream Cheese Icing
Servings
12
Ingredients
Cream Cheese Icing
Instructions
  1. Mix eggs and sugar in standing mixer.
  2. Add buttermilk, sour cream, oil, and vanilla.
  3. Then add dry ingredients sifted in: ap flour, baking powder, salt, and cinnamon
  4. For the icing: Mix cream cheese and butter then add sifted powdered sugar and cinnamon.
  5. Sprinkle crushed cereal on top.


{Blueberry Lemon Cardamom Donuts}

Donuts!

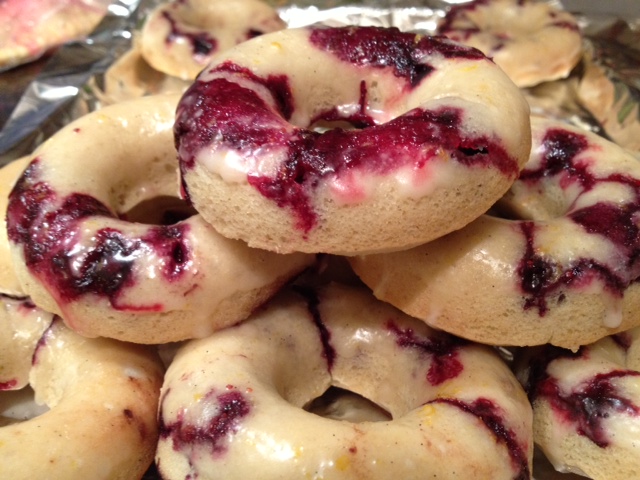
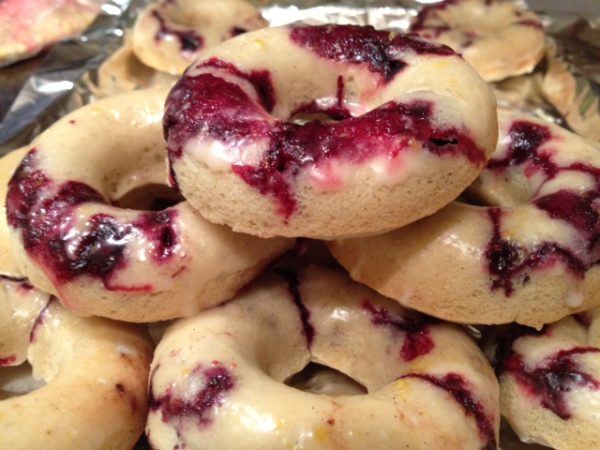
A friend joined me in making donuts for :: Valentines Day :: We landed on the lemon blueberry flavor with spicy cardamom because you always need something sweet in your life.  These aren’t your usual fried , crunch yet fluffy donuts.   They’re more like muffins in the shape of donuts.  The Meyer lemon glaze really balances out the sweetness of the  sugar.  I hope you enjoy something sweet in your life this Valentines Day!

image


Blueberry Lemon Donut


Print Recipe
{Blueberry Lemon Cardamom Donuts}
Servings
12
Ingredients
Doughnuts
Blueberry Jam
Glaze
Servings
12
Ingredients
Doughnuts
Blueberry Jam
Glaze
Instructions
  1. Preheat your oven to 425F.

  2. In small saucepan over medium high heat, add blueberries, sugar and lemon juice. Mash blueberries until only a few remain whole. Heat and stir until boiling. Remove from heat and allow to cool and thicken. Set aside.
  3. In a large bowl, whisk together flour, sugar, baking powder, and salt.
 Beat in greek yogurt, eggs, vanilla, milk and melted butter until fully incorporated.
  4. Spray doughnut pan with non-stick spray, filling each cavity with ¼-1/3 cup doughnut batter. Dollop two to three tsp of blueberry jam on top doughnut batter in each doughnut pan cavity. Using a knife swirl the jam into the doughnut batter. Bake in oven for 9 minutes, or until light golden brown.
  5. In small bowl, whisk together powdered sugar, lemon zest, milk and vanilla bean caviar until sugar is dissolved and mixture is runny.
 Dunk tops of doughnuts into glaze and turn right side up to set. Serve while still slightly warm.

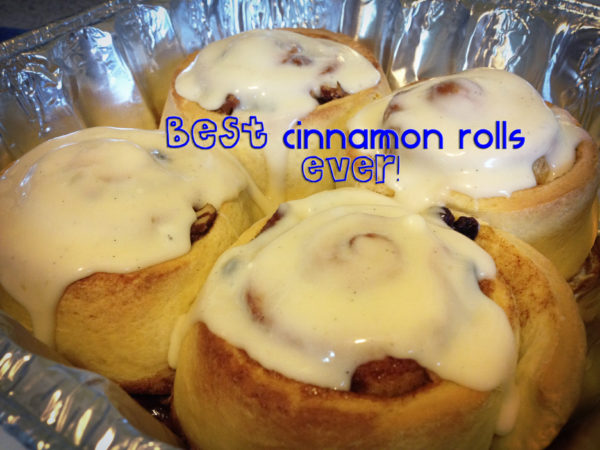
Best Cinnamon Rolls Ever

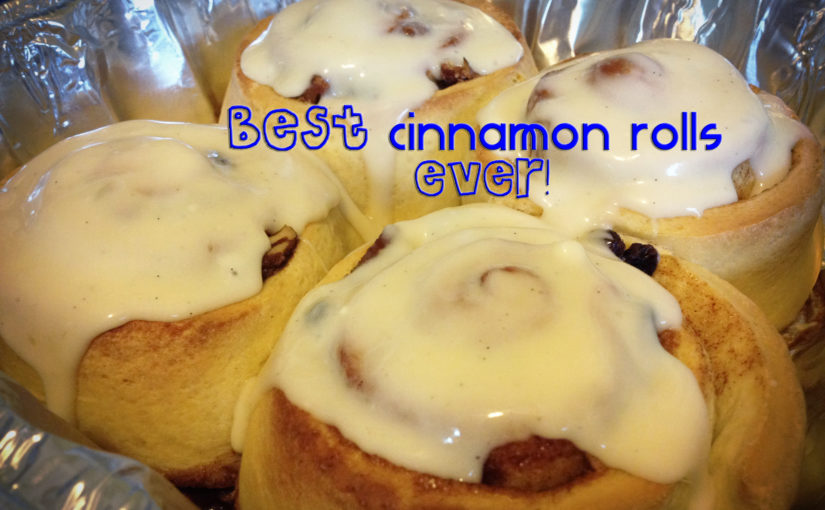
One day I was searching for the best cinnamon roll recipe. I could have easily bought the pillsbury stuff but that’s too easy. Homemade dough is always better. I searched through pinterest and found this great recipe that had a secret ingredient. This ingredient was the key  to the moist, fluffy, delicious texture and flavor. They were a hit at the brunch I went to. So if you want to wow your friends, I suggest you make these.


Print Recipe
Best Cinnamon Rolls Ever
Servings
4
Ingredients
Cream Cheese Icing
Servings
4
Ingredients
Cream Cheese Icing
Instructions
  1. Preheat over to 350.
  2. In a small bowl, combine water and yeast. Stir until dissolved, about 5 minutes.
  3. After, mix pudding according to the packaged instructions with milk.
  4. Then add sugar, 1/2 cup melted butter, egg, and salt. Mix well.
  5. Gradually add flour and mix with dough hook. After, knead by hand into a ball.
  6. Place the dough into a large greased bowl. Then cover and let rise in a warm place until it doubles in size.
  7. Punch down and let rise again for a second time.
  8. Roll dough on a very large floured surface.
  9. Dough should roll out to a long rectangle, about 34 x 21"
  10. Take 1 cup of melted butter and spread over entire dough surface using a pastry brush.
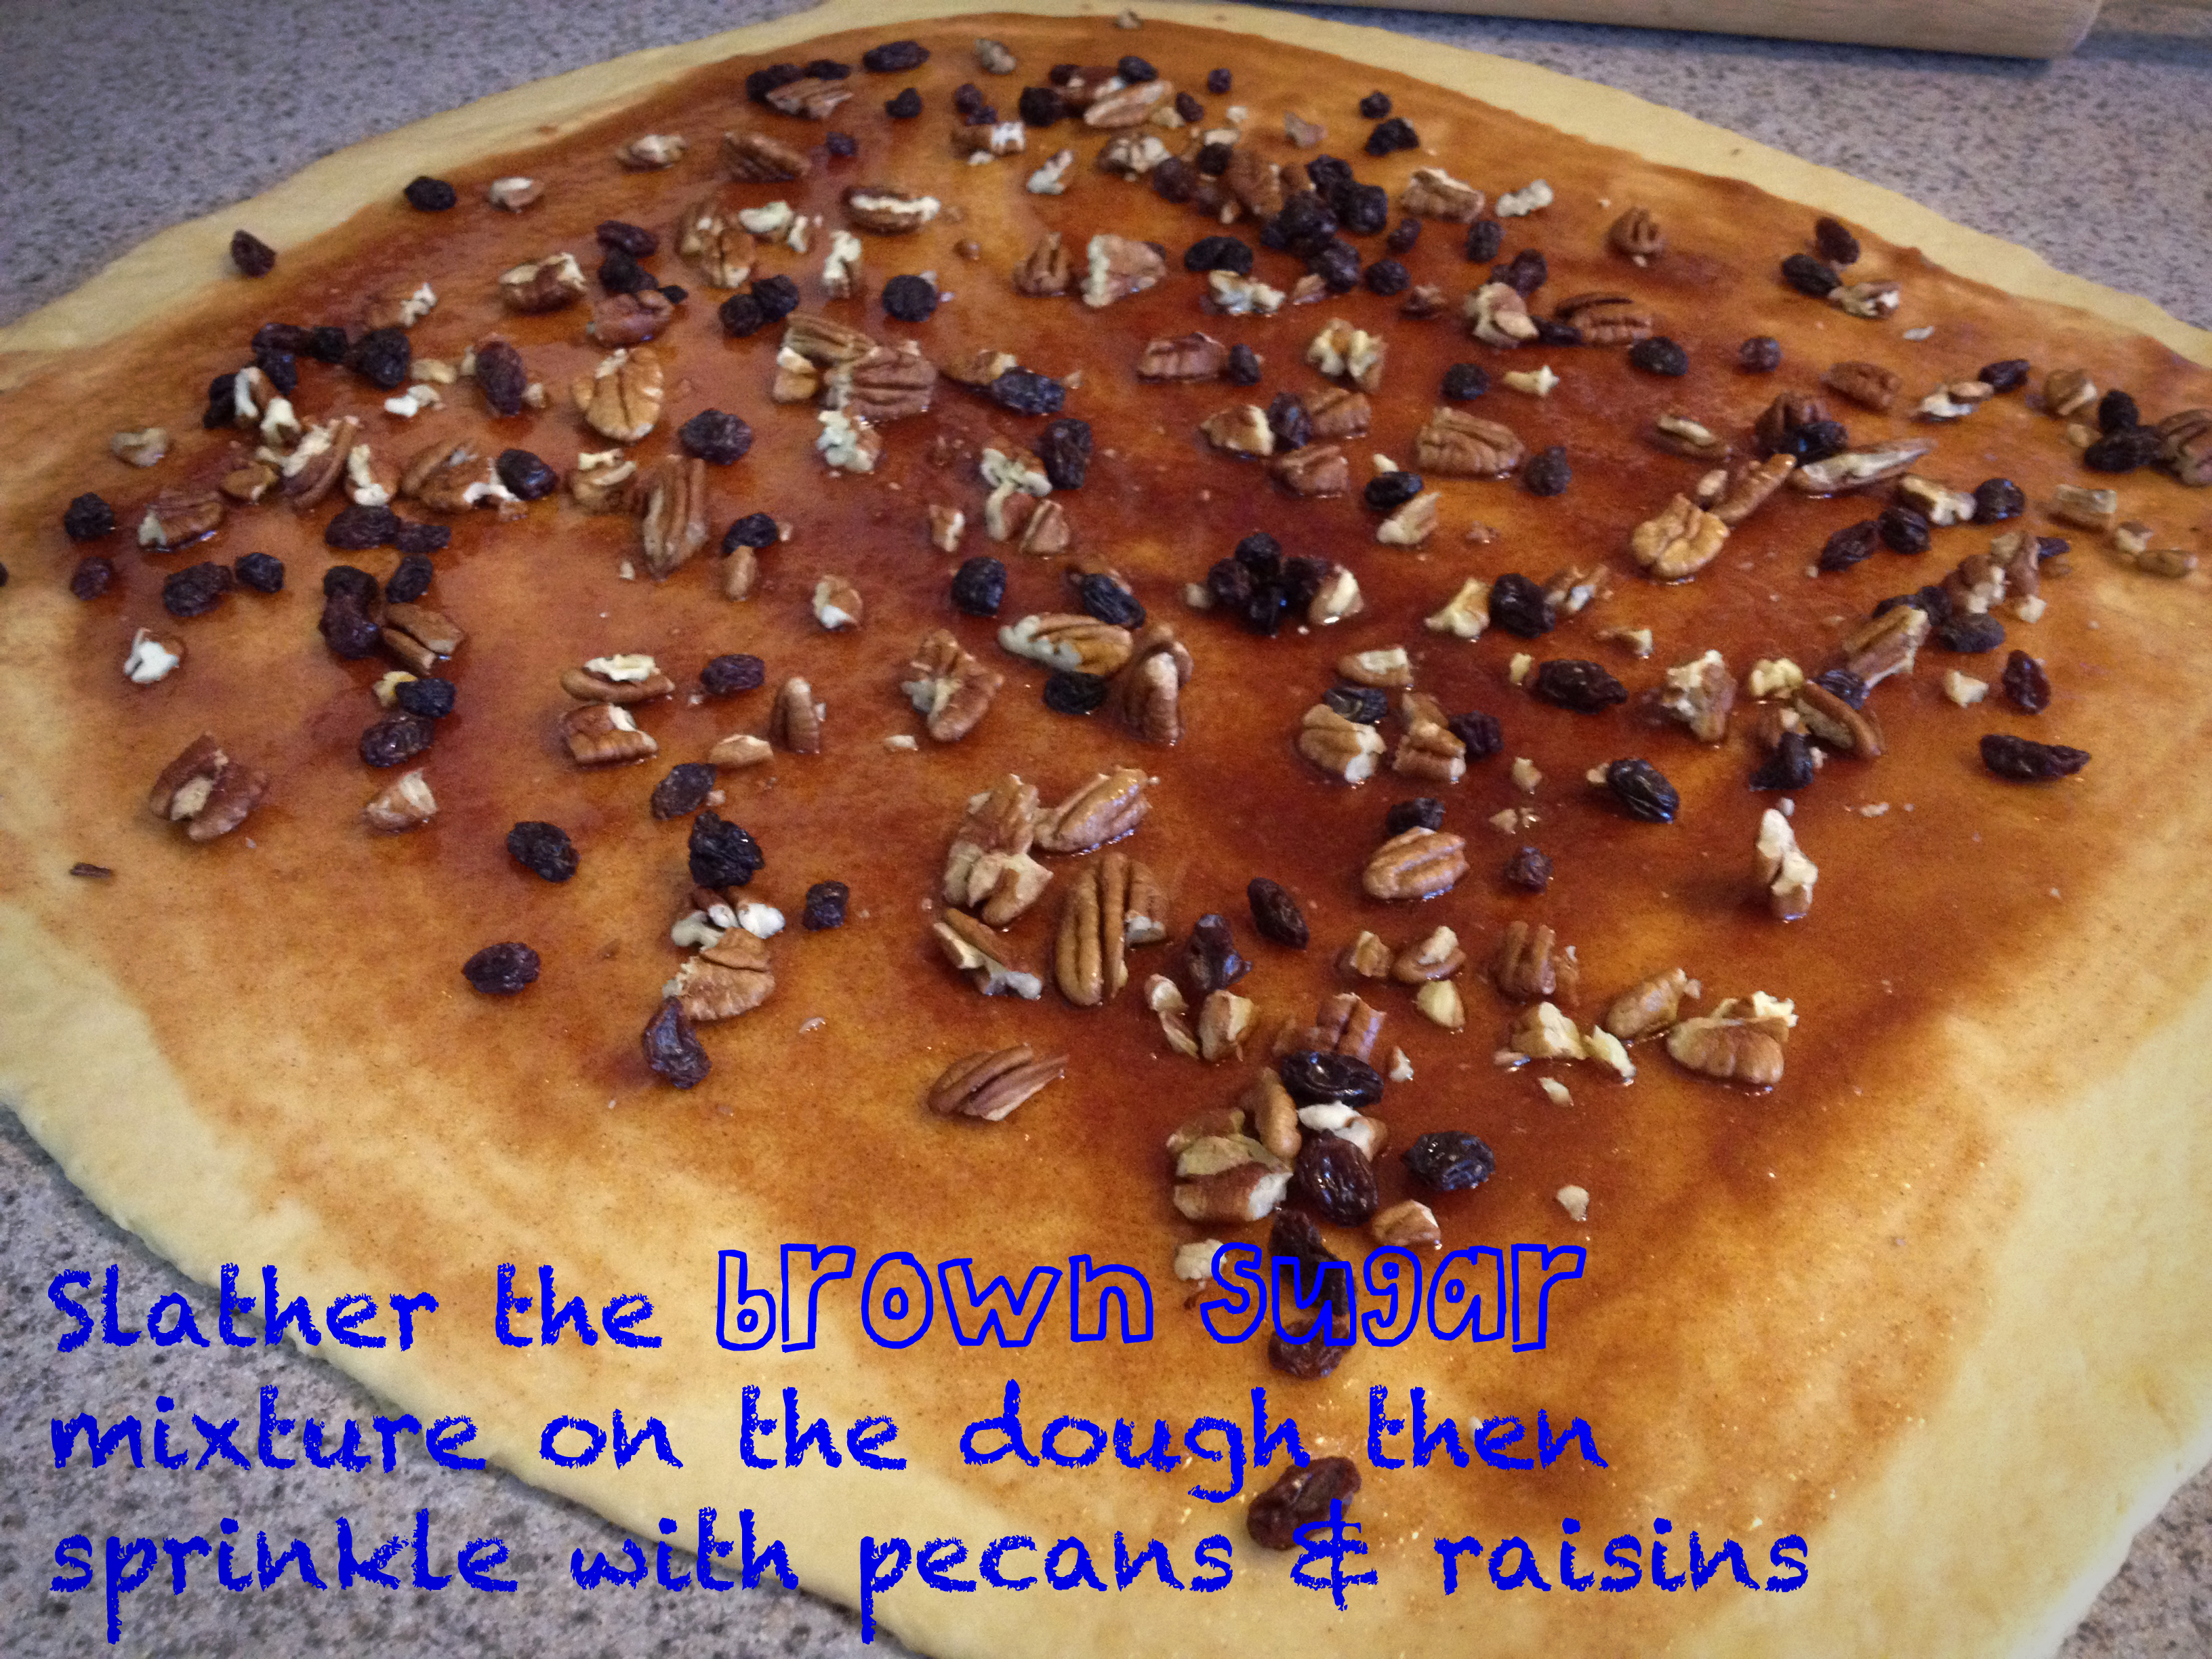
  11. In a small bowl, combine brown sugar, cinnamon, and raisins.
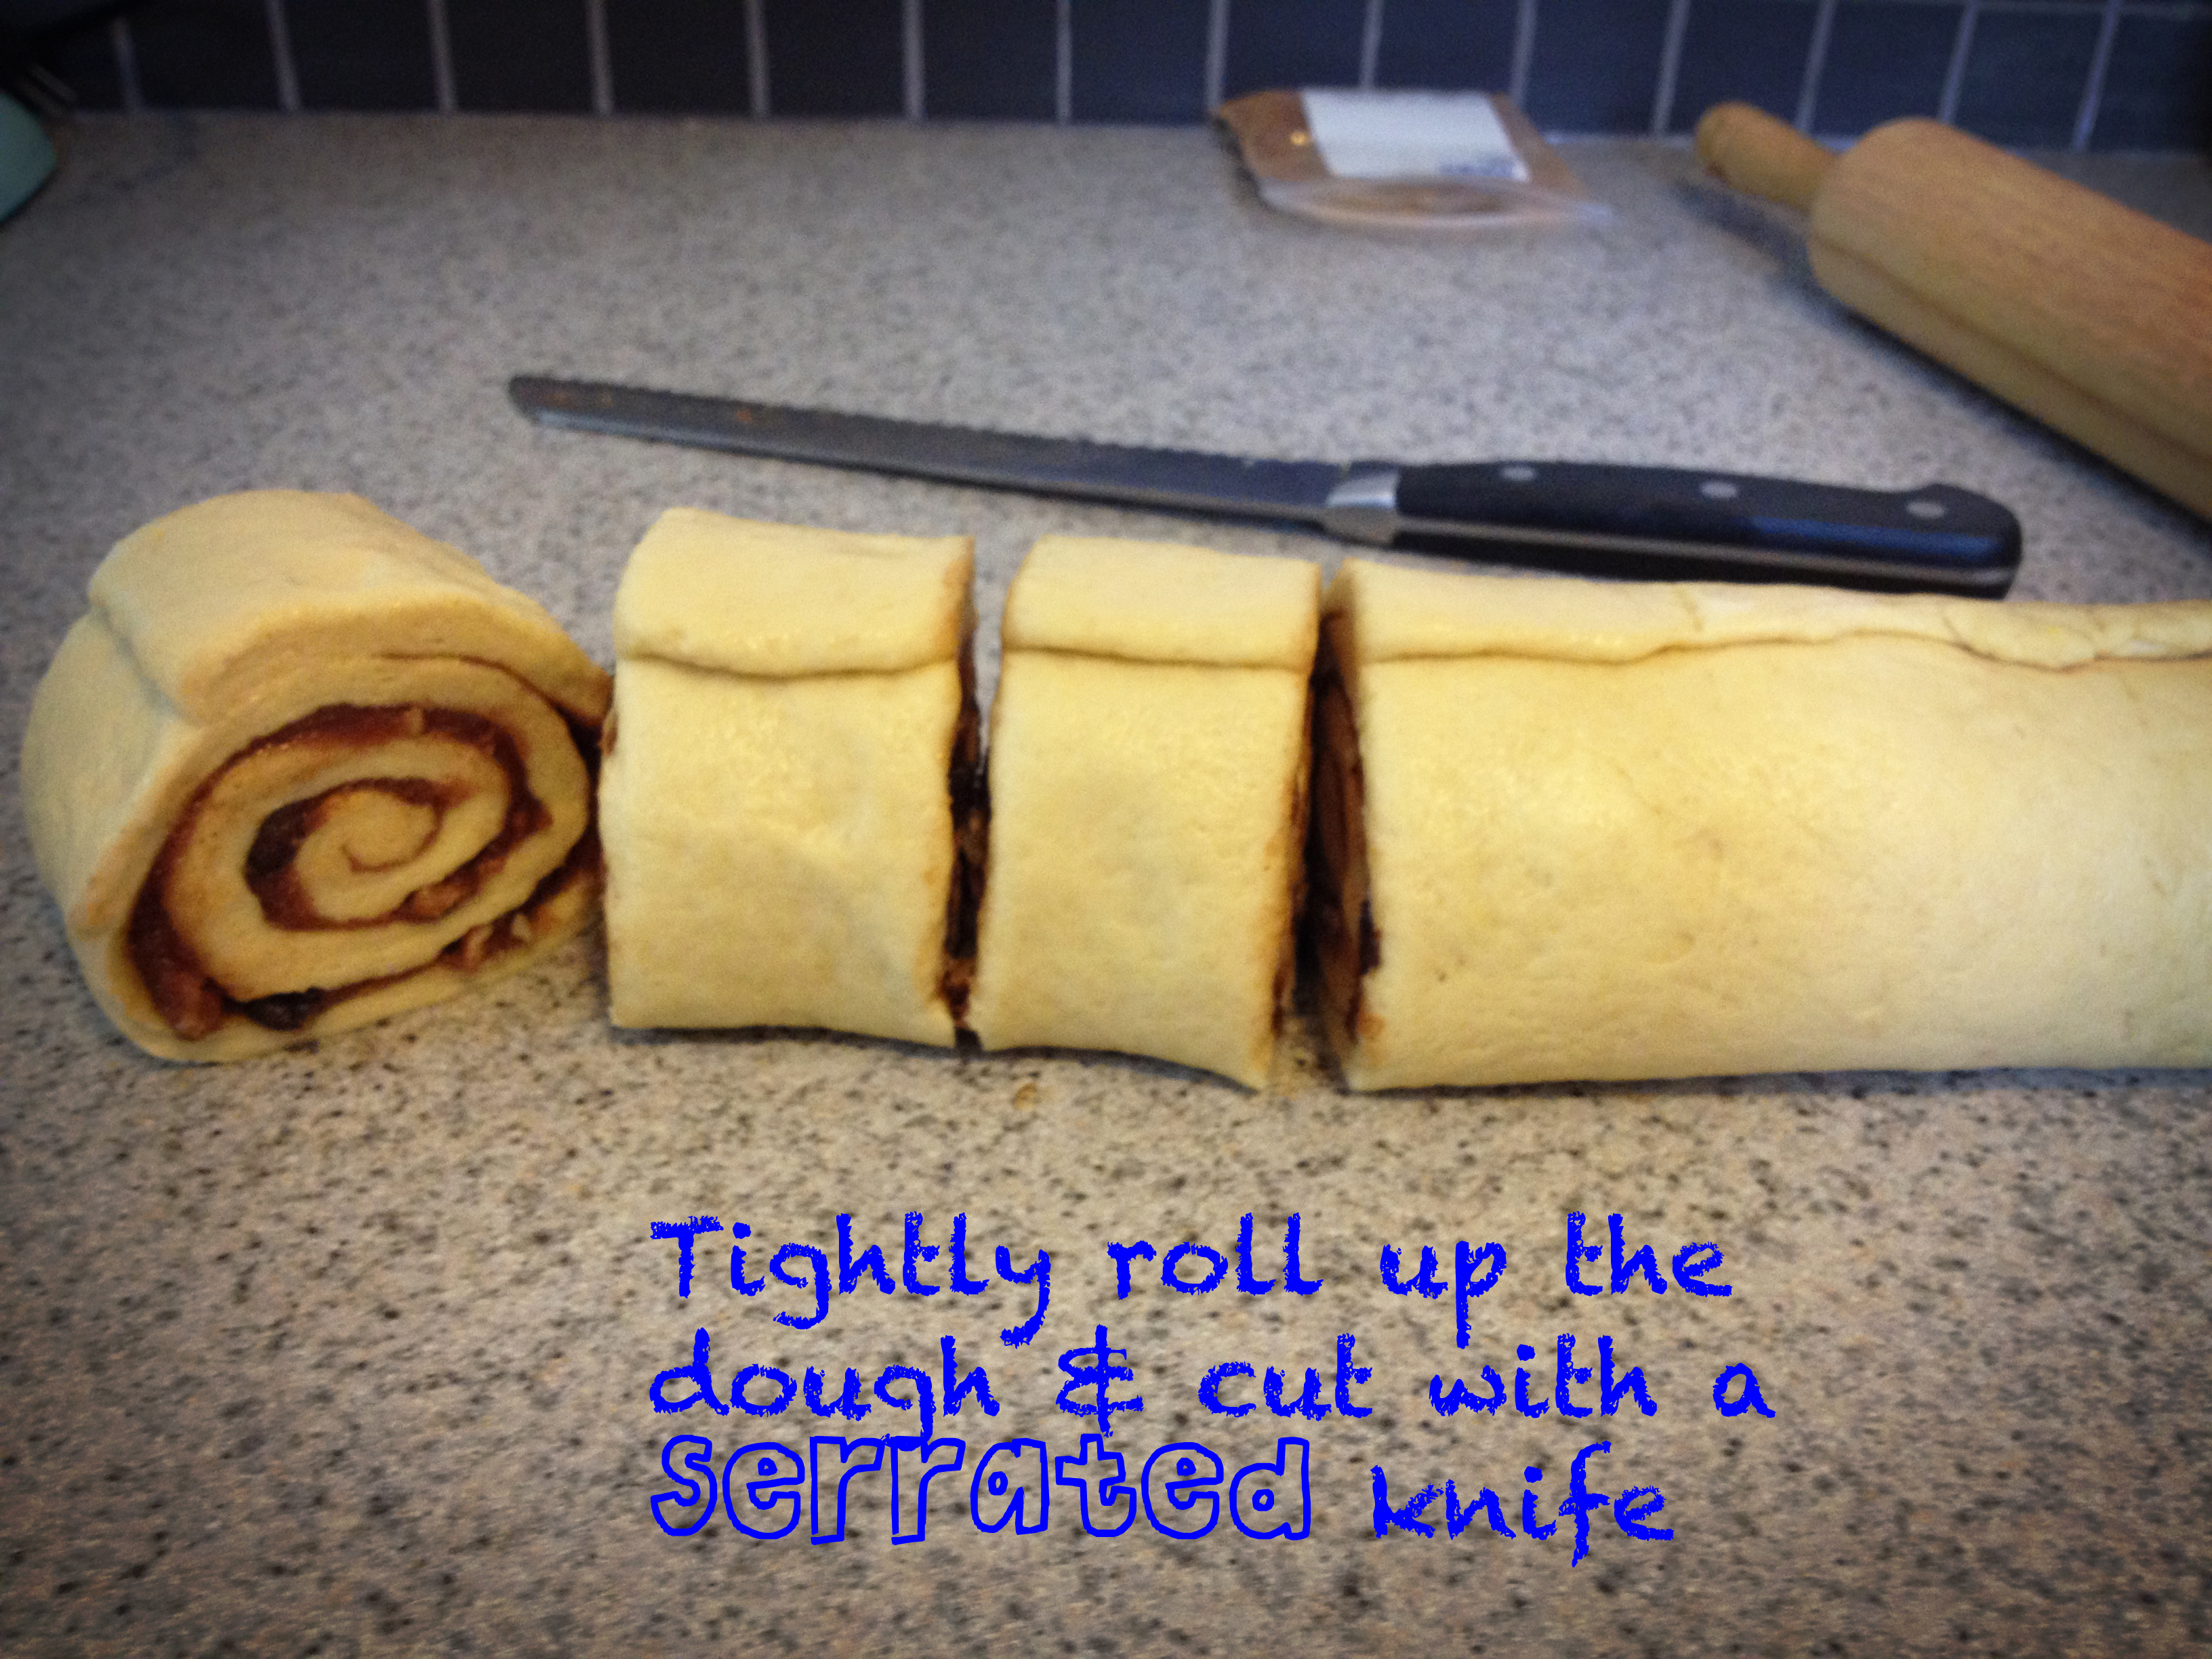
  12. Sprinkle mixture over top of buttered dough. Roll dough up like a jelly roll.
  13. Measure dough every 2 inches and cut with a knife.
  14. Place each roll in a buttered baking pan and allow to rise in a warm place for about 20 minutes.
  15. Bake in a preheated oven and bake until golden brown, about 15-20 minutes.
  16. Once out of the oven, slather the cream cheese mixture on top.
Recipe Notes
Enjoy these warm 🙂

:: Donut Breakfast Sandwich ::

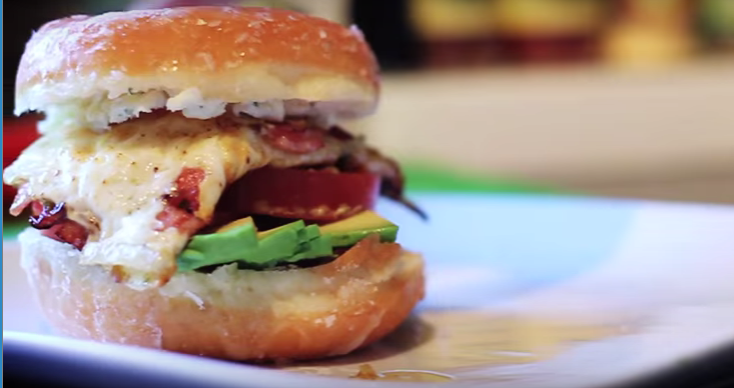
Happy New Year! I know, I know, everyone starts their diets in the beginning of the new year. It’s the time to say bye-bye to sweets and treats.  Do you really keep to this? I like to trick myself and eat more greens yet still have treats! I mean, come on, it’s not fun cutting out scrumptious desserts. It’s so hard to resist delicious sweets, especially a donut egg sandwich. Besides, you’re only eating one donut and one isn’t that bad, right?

I came up with this idea when the donut burger was all the hype. I thought it would be a grand idea to cook some canadian bacon, onions, and garlic then add a fried egg to it. It’s the perfect balance, you get the sweet from the crunchy yet soft glazed donut, the saltiness from the garlicy fried egg, and the creaminess from the avocado and Boursin cheese.  Watch the video to see how it’s made. I’m positive that it will blow your socks off.

Print Recipe
Donut Breakfast Sandwich
Instructions
  1. Preheat pan and add butter.
  2. While the butter is melting, cut the donut in half and spread boursin cheese on one side and jam on the other.
  3. Spread sliced avocado and tomato on top of the cheese.
  4. Add the onion and shallot to the pan and cook until translucent. Then add the canadian bacon.
  5. Once the the bacon is slightly crisp, add an egg and fry topping with salt and pepper.
  6. When the egg is flipped and cooked to medium.
  7. Place egg on top of tomato, put the other half donut on top- ta da!
Recipe Notes

If you're feeling funky, try making it with a specialty { blueberry cake, apple fritter } donut. Let me know how that is!

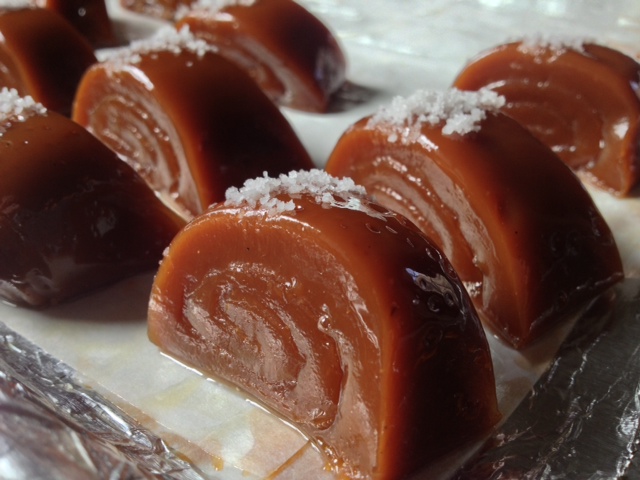
Fleur de Sel Caramels

//Perfect for Holiday Gifts //

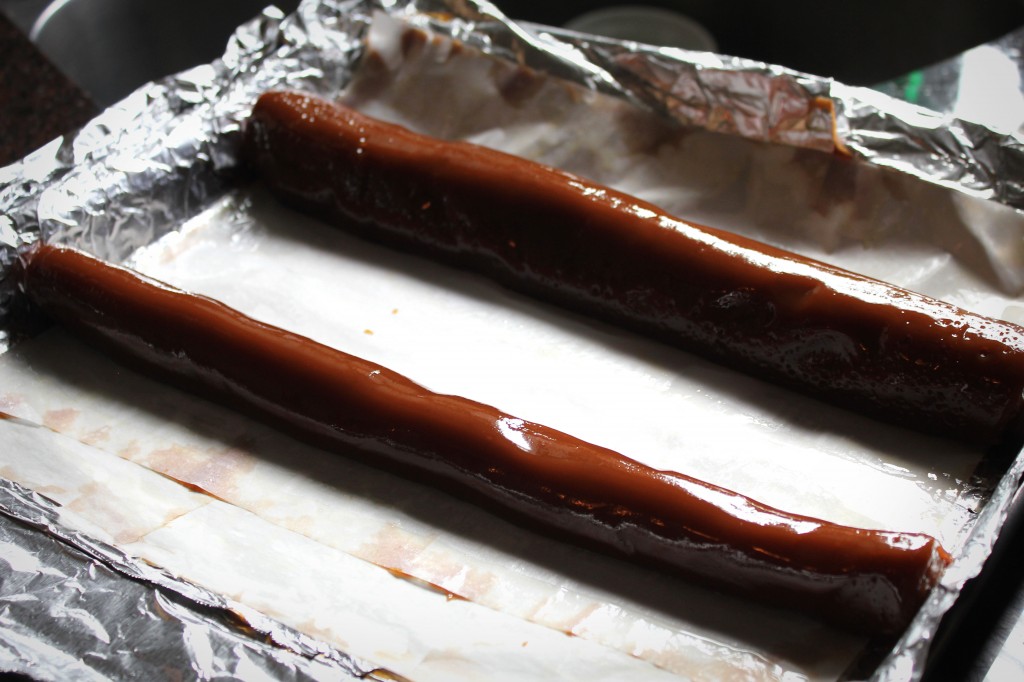
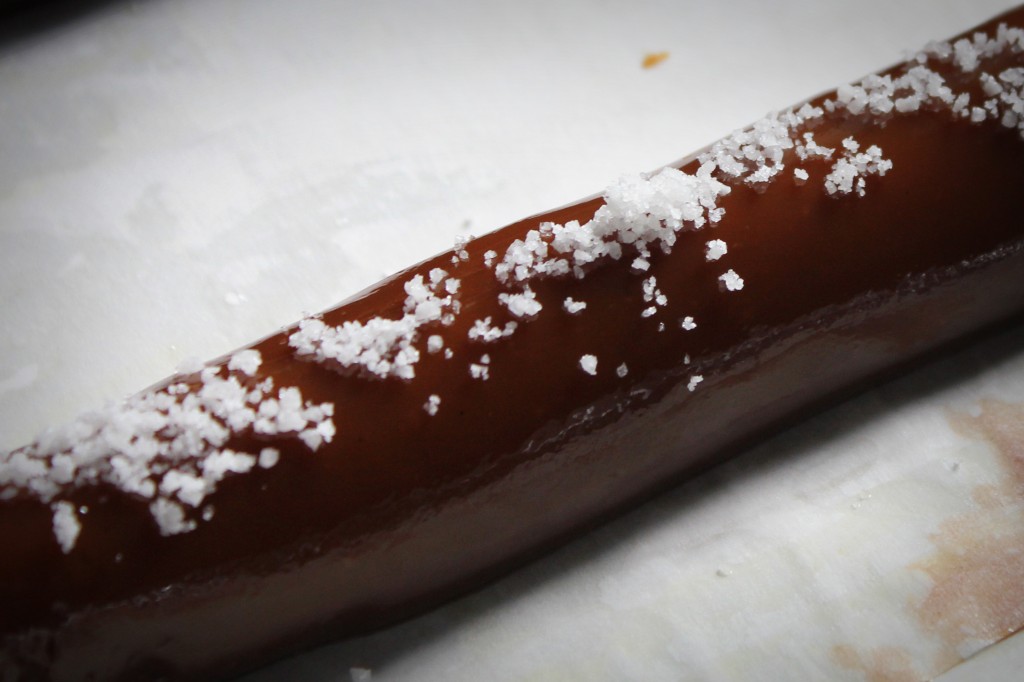
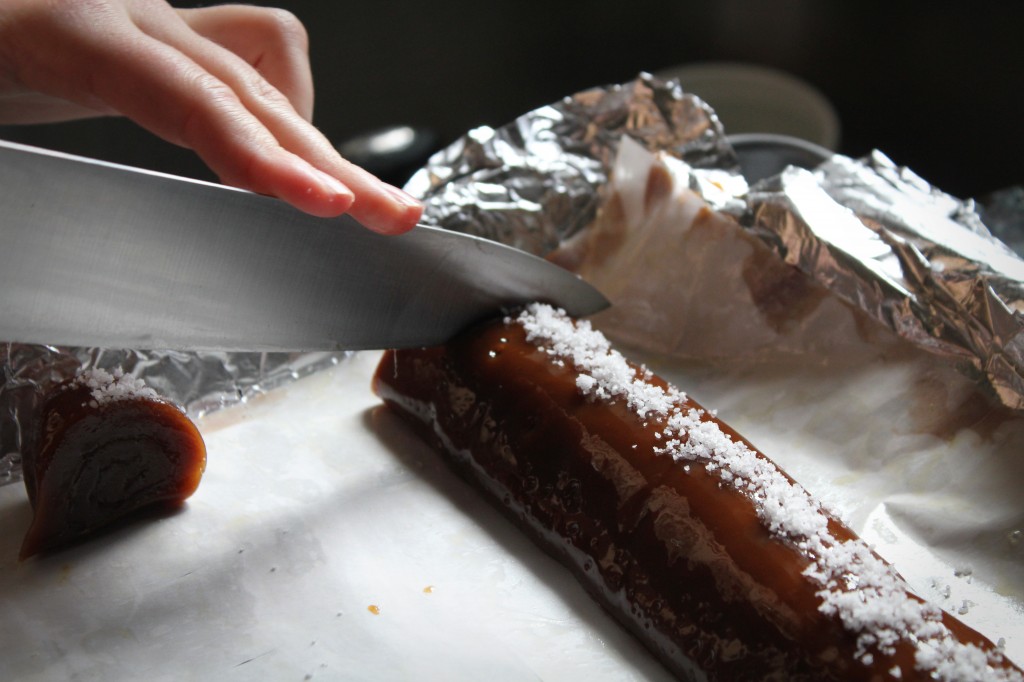
Chewy caramel is a nostalgic flavor for me ever since I tasted a milk dud.  I have many memories of my dad and myself devouring an entire box while watching movies. You can’t help but remember all of the clusters of sugar that get stuck in your teeth. It’s so worth it because they are just that delicious. This is by far the best caramel recipe I have tried. It’s definitely the perfect balance between salty and sweet. I have won many tastebuds over and you can too. Here’s a peak on how I made them.

Thanks for the guest photog, Amy Blose.


Cookie Monster Birthday Cupcakes!

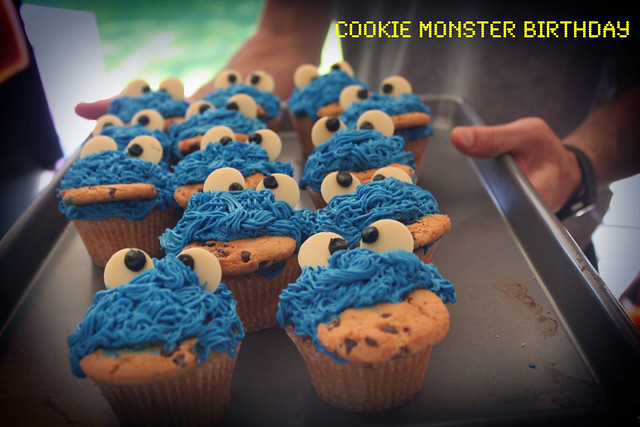
The inspiration of these adorable cupcakes came from nothing but several google images. My sister called me one day trying to plan her precious child’s birthday. She wanted sesame street themed cupcakes so we quickly agreed on cookie monster! I did use a few tricks that helped with both the timing and look of them. Read on for pointers to help make these delicious coooookie monster cupcakes in your own kitchen 🙂

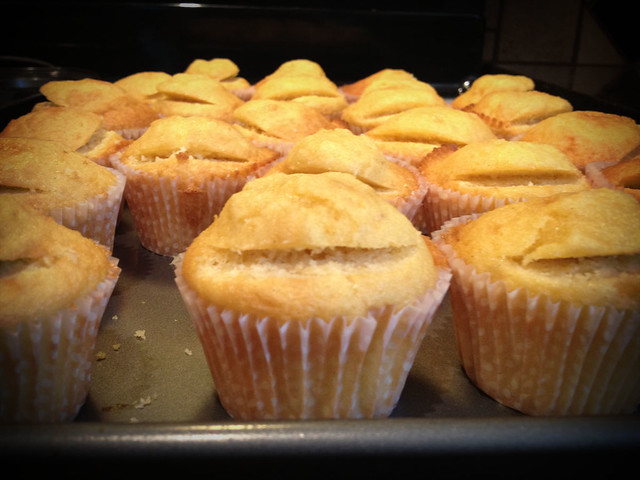
I started with (so embarrassed to say)a box of yellow cake mix, eek! The purist in me completely frowns upon this but it really does cut the time in half! It tastes just as good too. After baking, I used a pairing knife to cut a “v” shape to hold the cookie.

Then, I used a wilton #233 piping tip to pipe the delicious blue colored cream cheese icing.

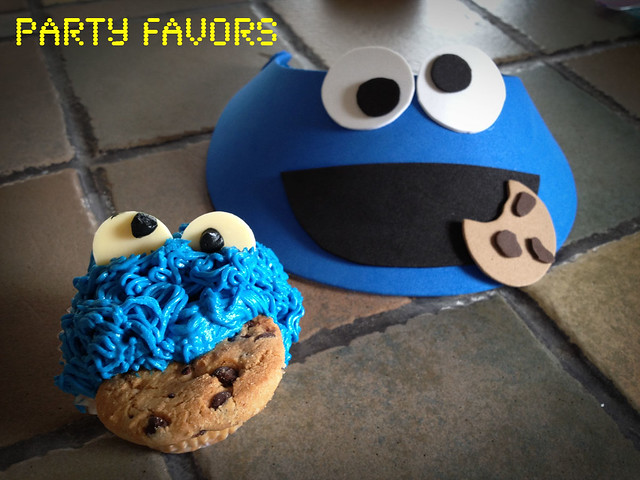
For the eyes, I used white chocolate disks.  Then, I colored a bit of the icing black and piped on the eyes.  My sister made the adorable visors for party favors, such a great idea!

The birthday girl 🙂

Don’t you just want to dig into one?

Follow my blog with Bloglovin