Valentines Sprinkle Popcorn

VdayPop1

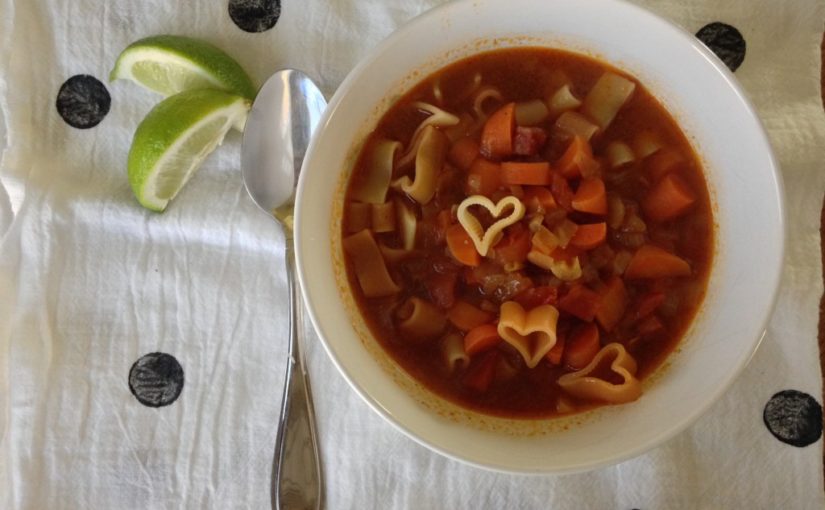
My new years resolution was to post more often so here I am. I haven’t made it a priority to make weekly posts but I’m going to try to!

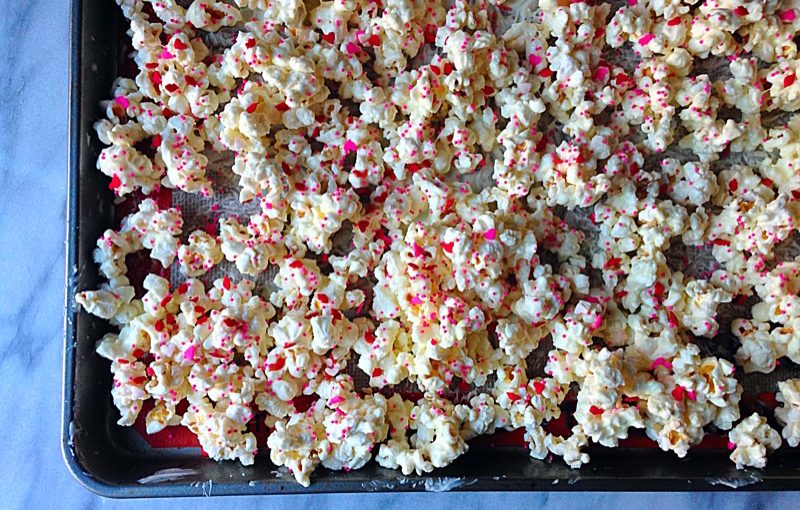
I’ve finally realized what I am, a healthy cook by day with a LARGE sweet tooth by night. I have had such a sweet tooth lately and I came across a recipe for sprinkles covered popcorn. It just looks so pretty and tasty, I had to try it!

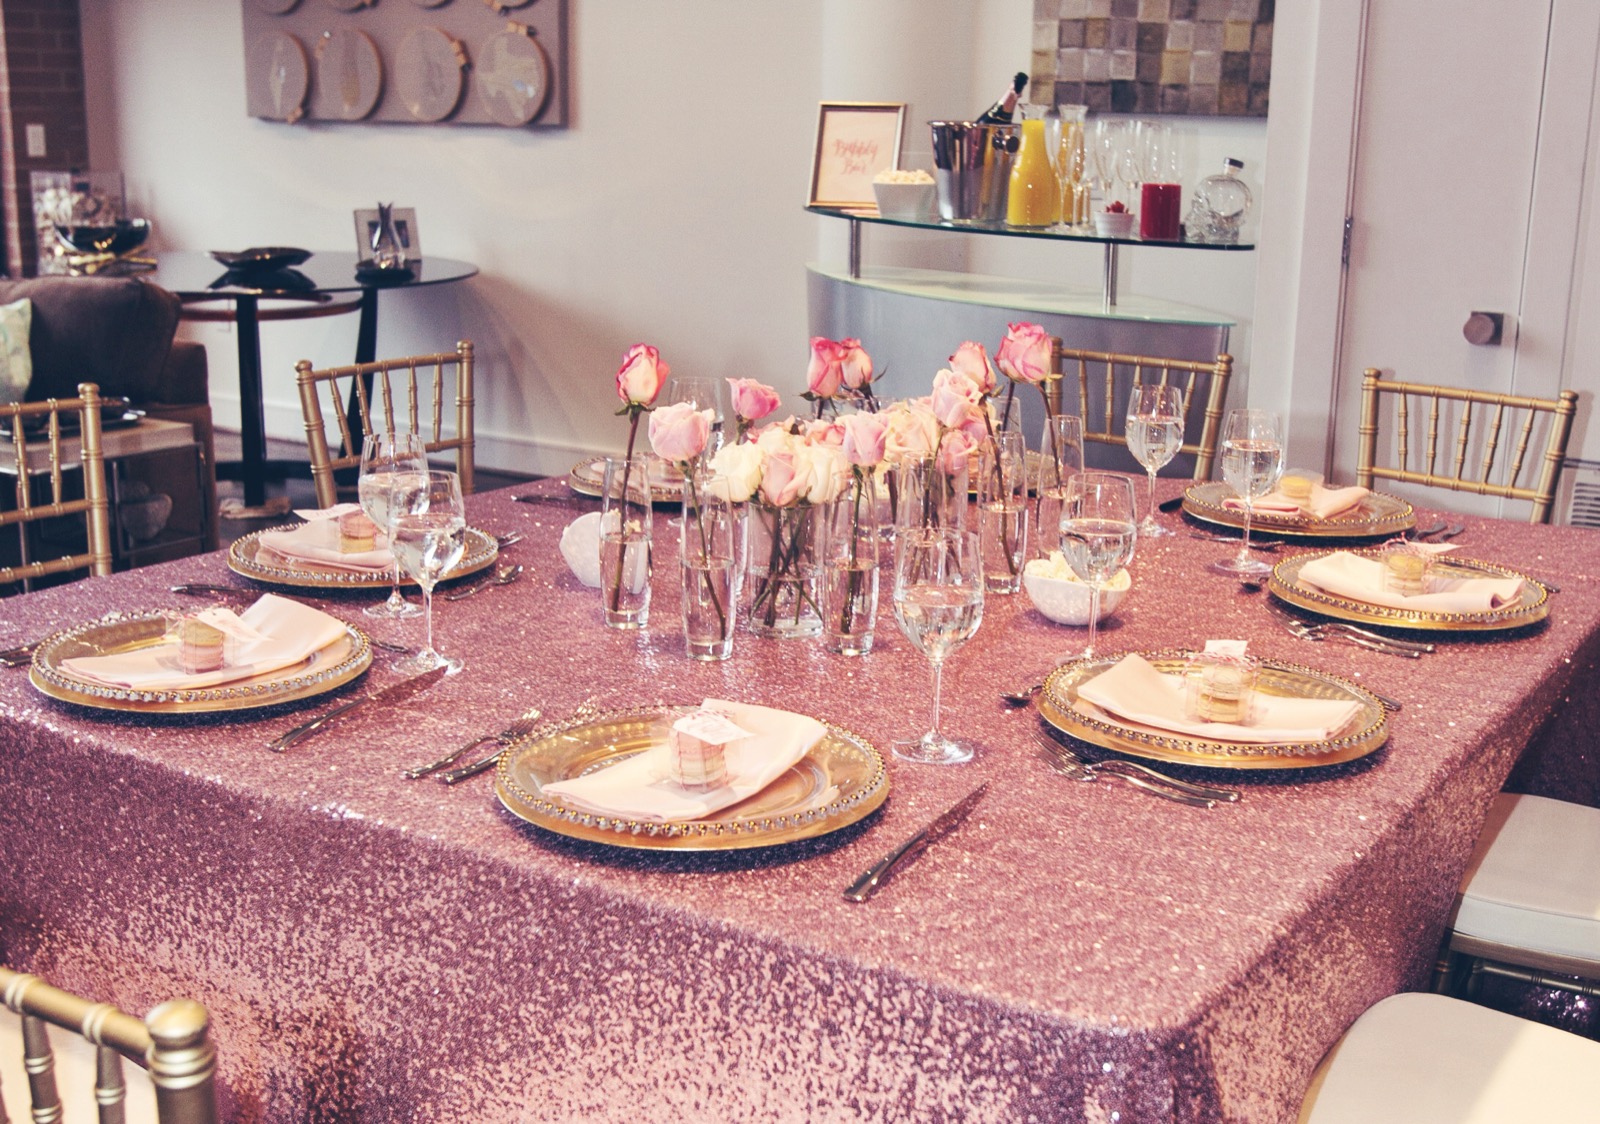
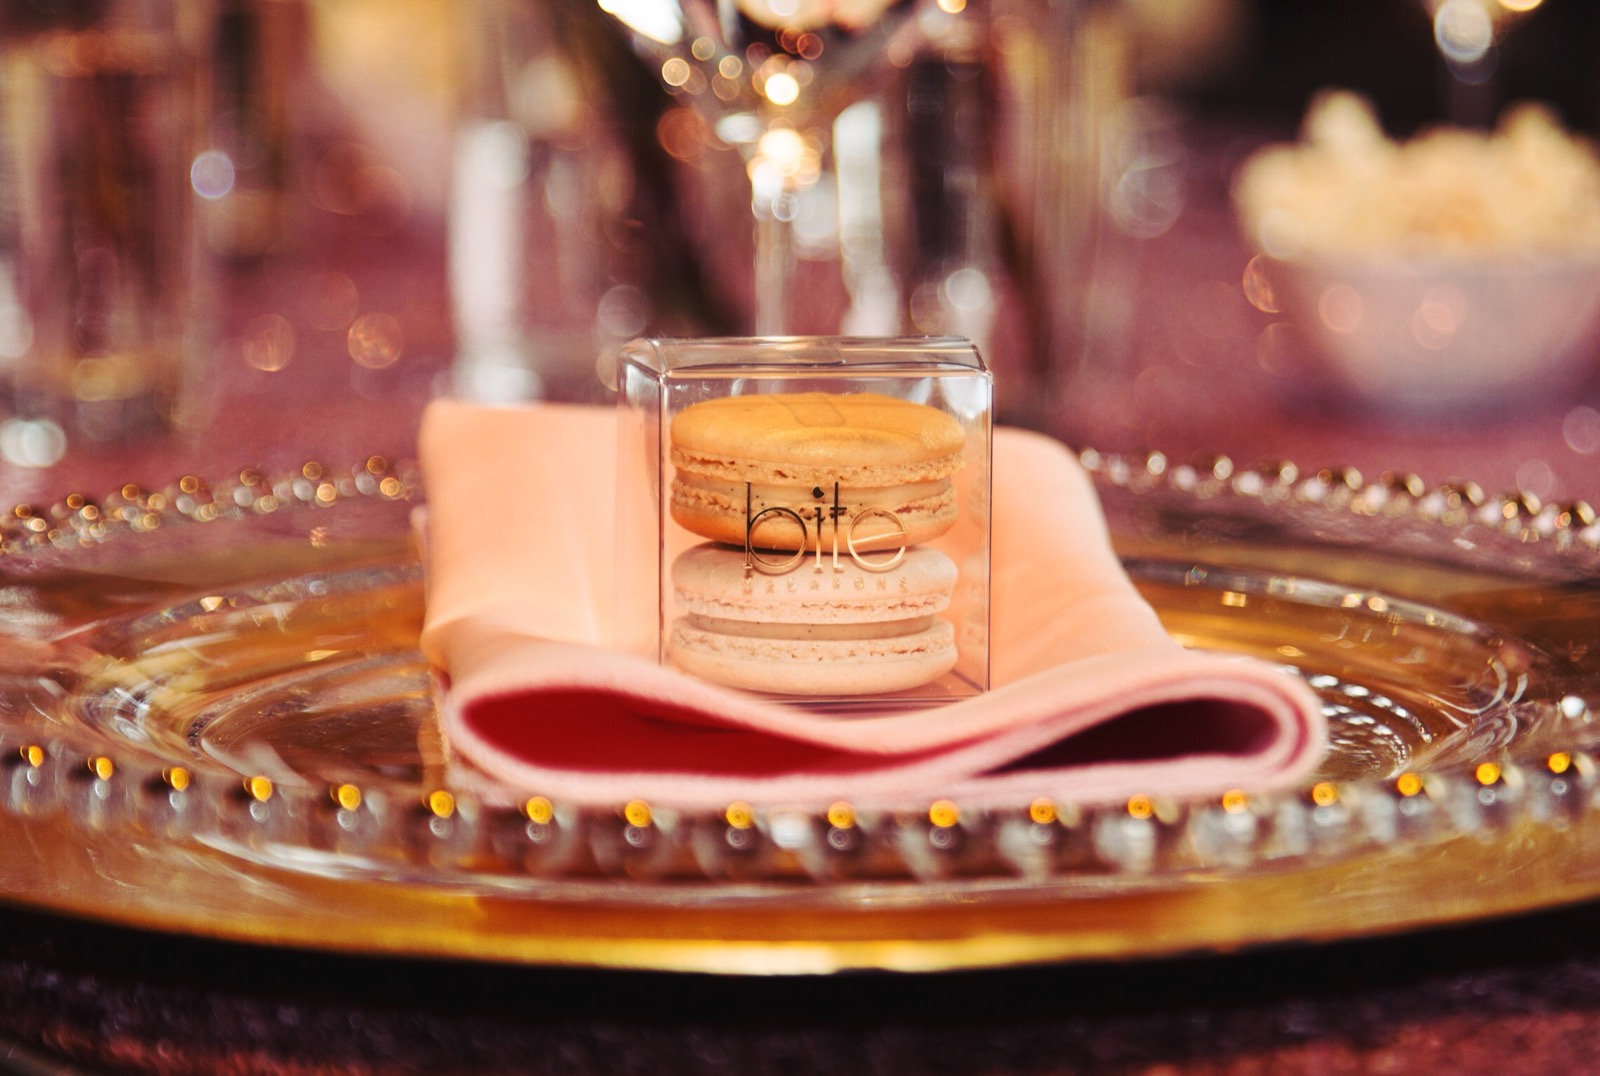
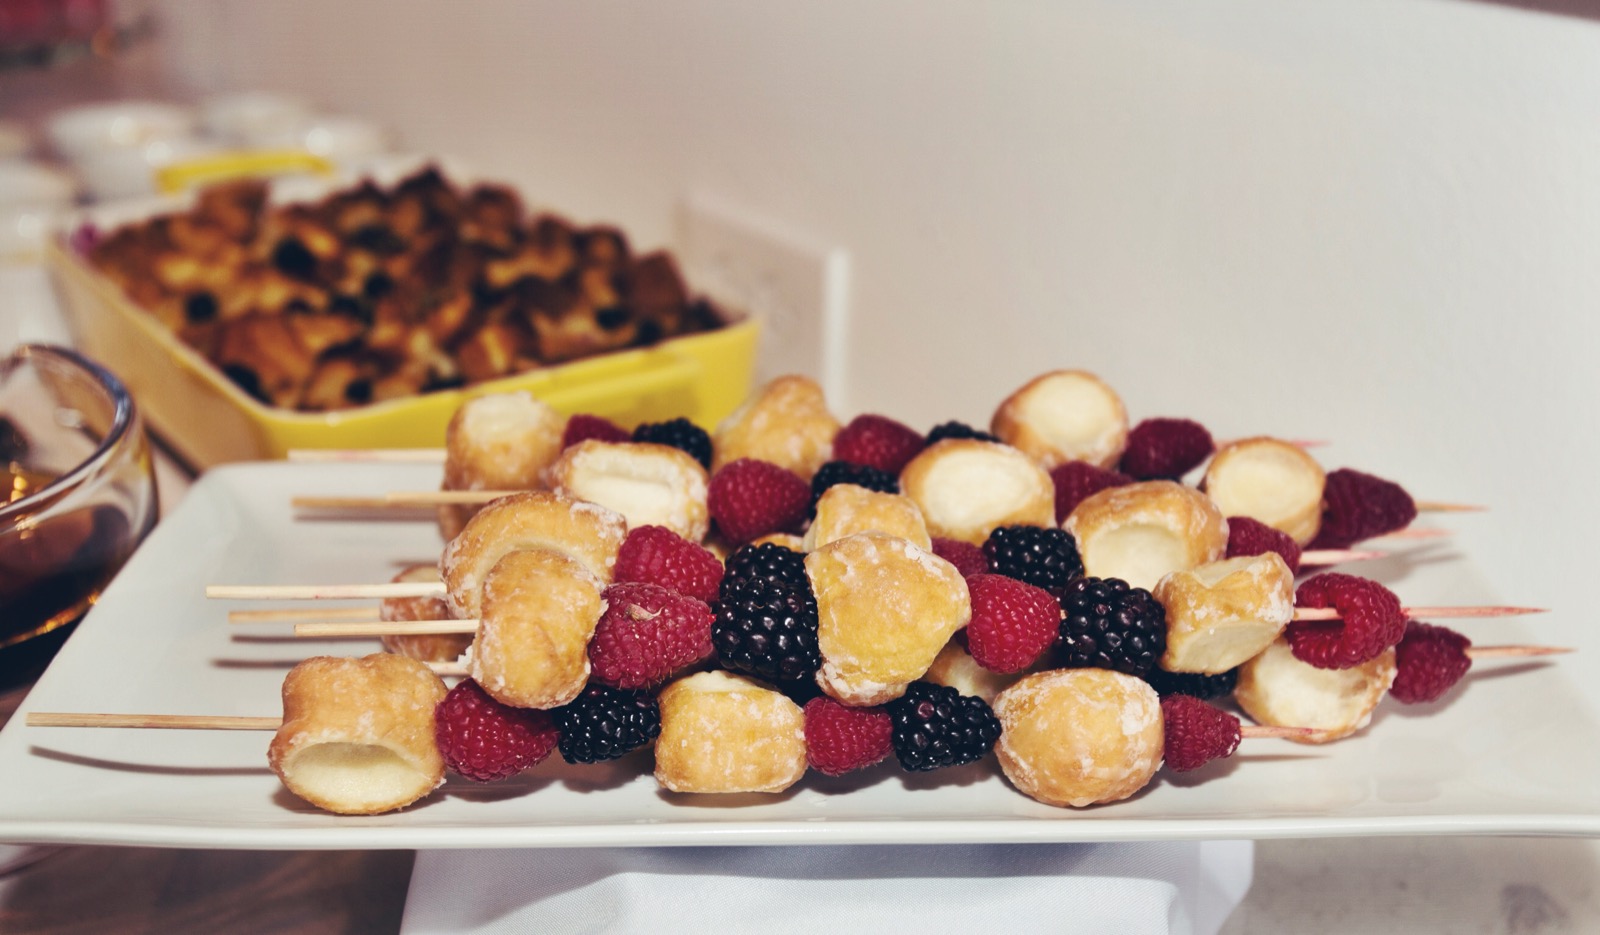
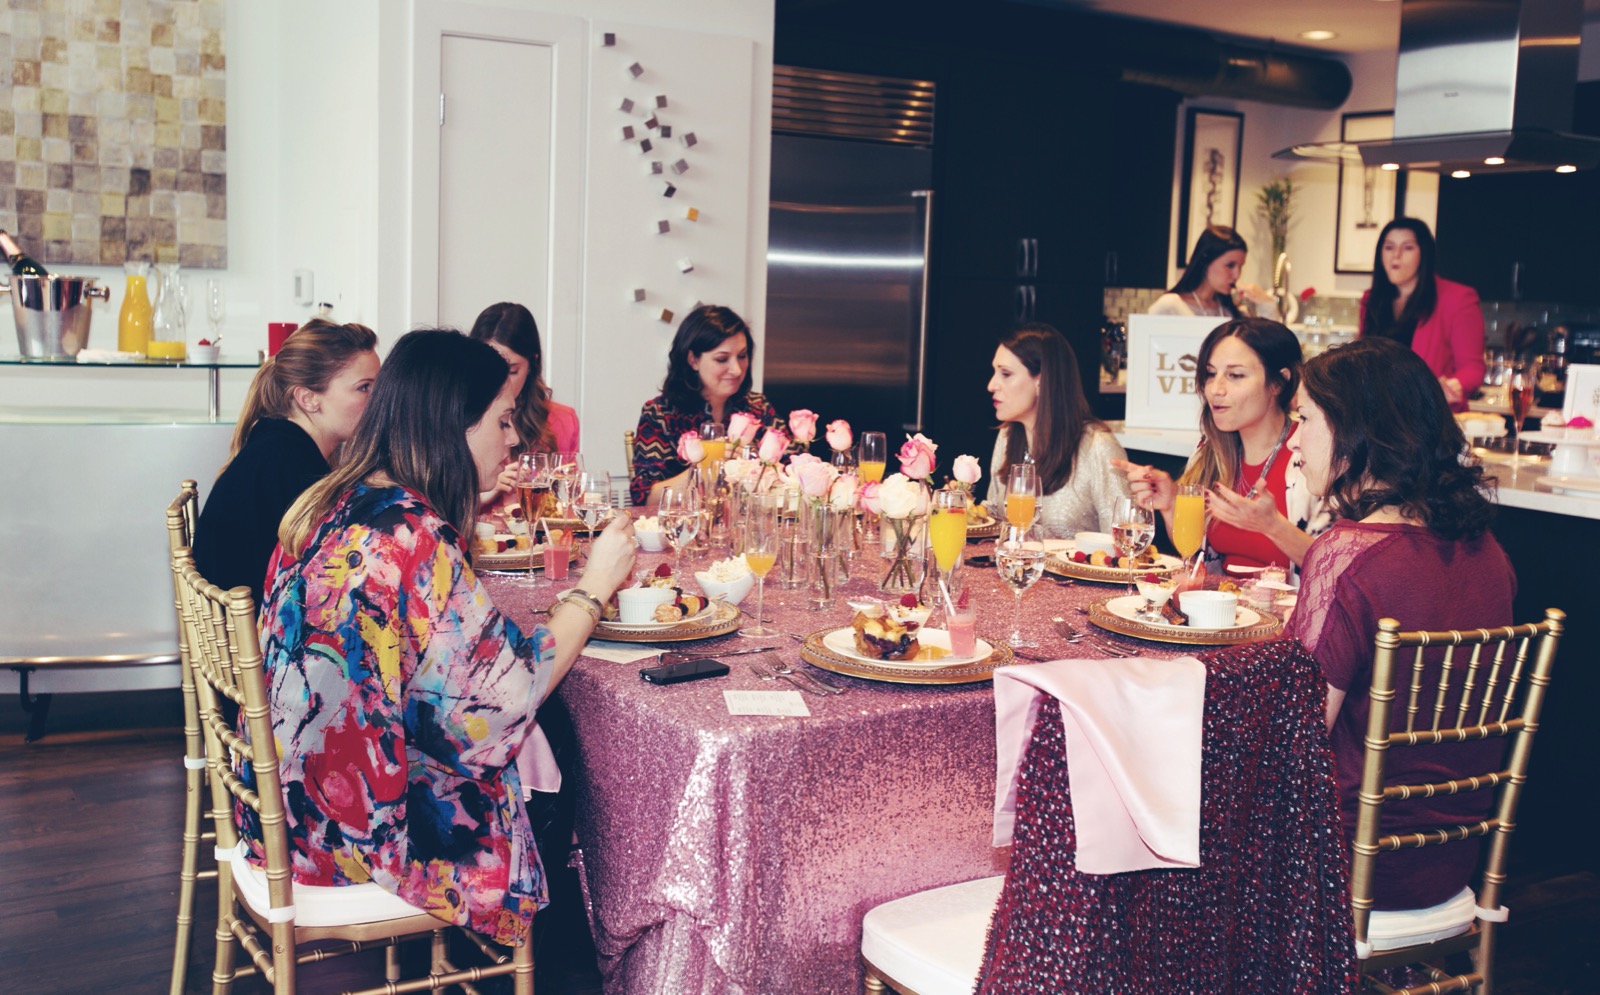
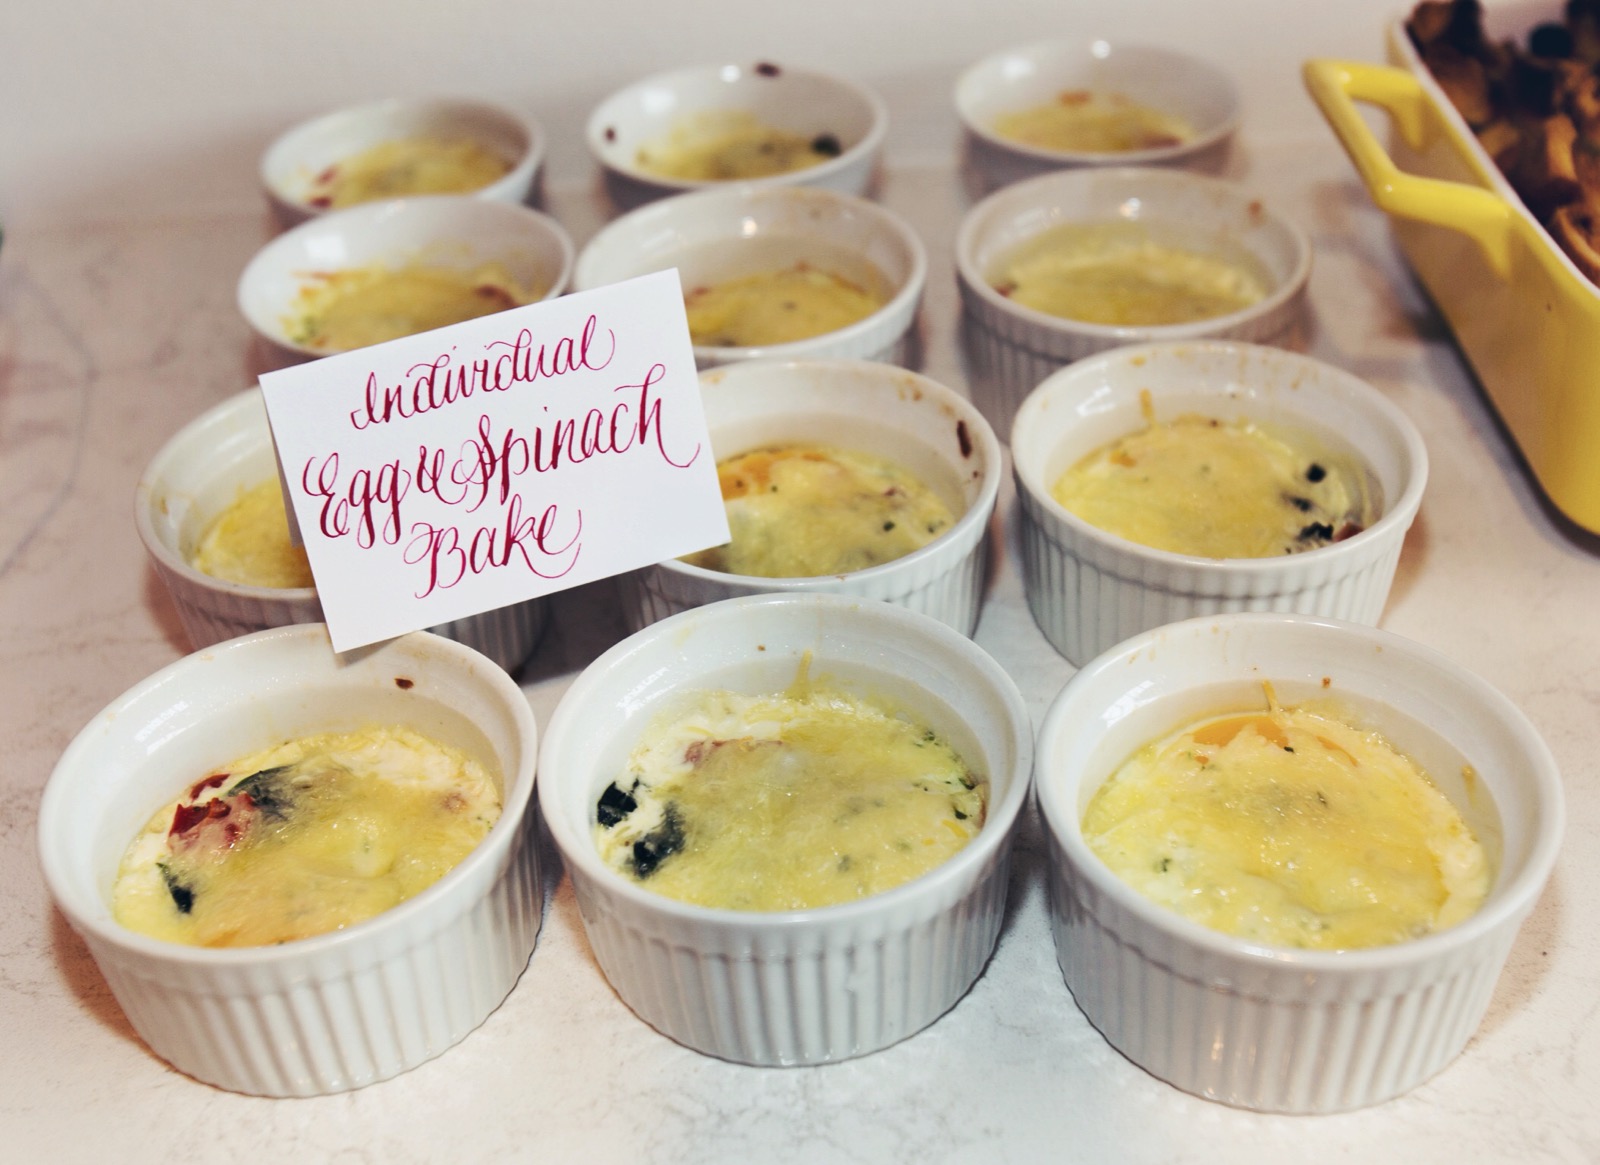
A few weeks ago I hosted a little blogger party with Julie, From Prosecco To Plaid and Lindsey from Lindsey Steinberg Events. As we were coming up with the menu, this very popcorn recipe was pinned to our hidden group pinterest page. It looked a little intimidating so we figured we could purchase it at the specialty popcorn shop. As I read the recipe, I realized just how easy it was. There was absolutely no need to purchase when I can make it 🙂

With my pastry background, my first idea is to use quality white chocolate. After all of my training I’ve become such a purist and maybe a little snobby with my ingredients. I’m not super proud of it but secretly I am. When I make cakes I most definitely use the best possible ingredients.

In this instance, I took the easy way out (*ahem*, which is not always the best). If you’ve ever tempered chocolate, you know what I mean. It’s just annoying. I have much respect for chocolatiers and I enjoyed taking a chocolate class but I’m done with the days of tempering chocolate. If I had a tempering machine, that’s another story.

This time I used the infamous white bark coating. I say infamous because it has absolutely no trace of cocoa butter in it which is the main ingredient in real white chocolate. I use this product for complete ease of use. It’s no joke, so easy. All you do is pop a handful in a microwave safe bowl and heat for 30 second increments while stirring in between. By 1 min 30 sec it should be nice and smooth and ready to pour on the popped popcorn!

Be very meticulous and remove all of the unpopped kernels. No one wants to eat those. I suggest laying a silpat in the sheet pan or parchment paper. This will be for a super easy clean up.

I like using nonpareils for sprinkles. But for Valentines day, I use these.

Here are the steps:

Pop popcorn (plain, no salt and no butter) according to directions

Lay parchment or silpat in sheet pan

Empty popped corn onto sheet pan then remove kernels

Heat about 6 white bark coating bars in a microwave safe bowl. Do this in 30 second increments stirring in between. You will know it’s done when it’s smooth and not clumpy.

Vdaypop3

*I suggest using food safe gloves on this next step:

Pour the melted coating over the popped corn then mix quickly with hands. Be gentle not to crush the delicate popcorn then press into an even layer.

Once you’re done, sprinkle away! Do this kind of quickly before the coating melts.

VdayPop2

Now, step away and let it cool for at least 20 minutes then enjoy!

Vdaypop4

Galentines

Teaching

I always have a hard time planning for Valentines day. This year, a few friends and I (Julie and Lindsy) put on a girls brunch and invited a few local bloggers. I have never done anything like this before and really loved getting to know the local bloggers (and cooking for them)!

We put together a menu, table setting and a cute little primp area. I made the food and enjoyed being creative with the valentines theme. Who doesn’t love pink and sweet things?The three of us gave the food items super cute names like “love potion smoothie” (see below). A Fine Flourish did an amazing job at writing the labels and name tags. I love her modern calligraphy style. If only I knew about her for my wedding…..

Lindsy did an outstanding job at styling the whole room. It was so fitting and just perfect. Julie did a great job communicating, organizing and hosting. I loved working with these two, it was so much fun!

After we ate our meal, I gave a little cupcake piping and decorating tutorial. I loved sharing my ideas and enjoyed watching everyone make their masterpiece! I decided on angel food cupcakes since they’re so light and airy, a perfect dainty dessert. I topped it with my favorite, whipped cream cheese (so heavenly).

Please feel free to use our ideas at your galentines brunch 🙂

Table Scape Table setting Candied Bacon Low Potion Smoothie Bow and Arrow   French Toast Bake Heavenly ParfaitEgg BakeGirls GalentinesIMG_0281Cupcake Decorating Station

The menu included sprinkle popcorn, candied bacon, strawberry banana smoothie, donut and berry skewers, french toast bake, yogurt parfaits, spinach and onion eggs with gruyere,  and angel food cupcakes.

A huge thank you to our fabulous vendors! They were really wonderful to work with and would definately work with them again.

Event planning and design: Lindsey Steinberg Events

Linen and Decor Rentals: What’s the Occasion Linens

Macaron Favors: Bite Macaron

Photography: Kay Bryan

Calligraphy and Invitations: A Fine Flourish

Pillows, Screen Prints, and Party Favors: Manor Blog

Bloggers: Classy and Fabulous, Greetings from Texas, Sugar & Cloth, Manor Blog, Cuteheads, From Prosecco to Plaid, LizzyW


CultureMap Holiday Pop Up Shop

Culture MapYou’re invited! #culturemappopup is happening this Sunday from 12-6 at Silver Street Studios in Houston. There will be awesome retailers to get your favorite gifts for friends and family, click here to see who’s coming!

There’s just a few free tickets left! Click here to grab your ticket. Use my special code: foodiechef  See you there!


Parmigiano Reggiano Tour in Parma, Italy

cheesemaking 4

I’m still dreaming about the most amazing honeymoon my husband and I went on 2 months ago. Halfway through our journey we dropped our rented car off in Parma and cabbed to our airbnb in the center of the city. We had zero expectations and nothing planned. Our amazing host, who happens to be a professional basketball player, helped coordinate a parmesan tour. She had never done this but apparently, all of the American visitors want to do all of these crazy food tours. There was a little miscommunication and awkward translation to describe how to get to the tour so our host drove us there.

We had no idea what to expect.  We were dropped off at a house in the middle of no where with a farm in the back filled with cows. There was a pretty bad stench of cow manure but we went with it. Not to long after, an energetic woman approached us, speaking in Italian, telling us to get in her car. We hopped in hoping we would end up at the factory tour. About 10 minutes later and a scary ride, we finally arrived at the factory, Ciao Latte.

We were warmly welcomed with a hot cup of espresso and small talk in Italian which we didn’t understand. The energetic lady who welcomed us turned out to be the owner of the small parmesan factory. Her sons work there, see the pic below. They really have the process down to a t and it was interesting to see the process happen before our eyes. The best part is that everything: cows, milk, butter, etc are all made/cared for in house. It’s tough to say this happens often in the US.

Cheese making 1


Cheese making 2

Have you ever wondered how the parmigiano reggiano name gets imprinted into the rind of cheese? The picture below is the official stamp that gets wrapped around each of the rounds. There was so much said but unfortunately it was hard understanding with the language barrier. Nonetheless, we successfully tried, bought, and toured a parmigiano reggiano factory in Parma, Italy. We had an interesting time getting back to our apartment but that’s a story for another time.

Cheese making 3

 ciao latte

Cooking Class in Bologna, Italy

Cooking Class Apartmen

After a year long engagement, my fiance and I finally tied the knot! It was a magical evening and everything we could have asked for surrounded by family and friends. A few days later, we embarked on our Italian honeymoon, #jankcation as we call it.

Our first stop was in Venice, the most romantic place possible. Unfortunately, George Clooney was getting married at that time and it was oh so busy in Venice. It was uncomfortably packed in this city 🙁 We made the best of it and wandered through the town peering out on canals.

Next, we rented a car and drove to Monte San Pietro, Emilia-Romagna which is about 15-20 minutes outside of Bologna. This was was absolutely breathetaking! The area was filled with Fattoria’s (agrotourismo) and unpretentious vineyards. We stayed at an airbnb that was decorated 70’s style named Cool Cat that looked out to other hill towns.

We arranged a market tour and cooking class for beginners (husband) and experienced (me). We started out by finding the teacher at a specific coffee shop. It was interesting finding it in a city we had never been to nor do we speak the language. After asking a few people and staring at our map, we found her!

She then took us to this amazing market that’s only held on weekends. Everything is grown locally and looked so fresh and beautiful. The market was surrounded by bakeries, meat stores, small grocery shops, convenience stores, and specialty stores. I was in heaven. After we gathered all of our ingredients and got all of my questions answered, we went to the teachers apartment to start cooking!

fresh produce Fresh produce

We started out making fresh pasta. The eggs that we used had bright fresh orange yolks.  If only I raised chickens in my backyard… I learned in school to make it by hand then roll it through a pasta machine. This time, we did it all by hand which took a bit of time but was worth it.

pasta we made M&Z with pasta

We then stuffed squash blossoms with ricotta and parsley.

Stuffed Squash Blossoms

Now it was time to get all of the sauces together: Bolognese, porcini marsala, and butter. Everything we made was very simple with simple ingredients but all were very fresh. The tomatoes, tasted like actual sweet and delicate tomatoes!  I feel like the tomatoes we get here in US are bland, picked before ripe and just have no taste.  This is really unfortunate.

We cooked up our pumpkin tortellini then sauteed it in butter then it got a fab drizzle of 25 year aged balsamic vinegar. Next, our over an hour simmering bolognese sauce was topped on our freshly made tagliatelle. Then of course we grated fresh parmesan from Parma.

pumpkin tortellini Bolognese

I’m pretty sure my husband and I agree on this, our cooking class in Bologna was by far the best meal we shared together in Italy. It’s no joke that Bologna is the food capital of Italy, it is the real deal.


Austin Foodie Adventures

Franklin BBQ

My fiance and I are lucky enough to have to visit Austin multiple times this year in preparation for our wedding there. On this particular trip, we had time to explore restaurants we’ve been wanting to try. One of which is the world famous Franklin BBQ. Especially since it made a juicy appearance in the movie Chef and Obama visited the restaurant recently.

We didn’t want to wait in line so we had two failed attempts of hiring someone to wait in line for us. The third time was a charm due to taskrabbit and it’s reliable people. In the meantime, we tried another bbq spot, Micklethwait, during the two failed attempts. The ribs and moist brisket definitely satisfied us for the time being.

Micklethwait BBQ

Finally, on our last day, we had success in someone waiting in line for us. No, we’re not lazy, we’re just efficient 🙂 We ended up waiting an hour on top of the taskrabbit person waiting 3 hours. It was well worth it, see below. We went a bit crazy and ordered something like 5 pounds of brisket, 2 pounds ribs, 2 pounds, sausage, 2 pounds turkey, small scoop of potato salad and a pint of cole slaw. We made a dent in this but we were able to take a lot home to Houston and share with family (lucky them!)

Franklin BBQIn comparing the two bbq places, they were pretty close. Franklin does have crazy hype for good reason but Micklethwait was pretty amazing too. Their ribs fell off the bone and the brisket was moist, juicy and had a nice smoke ring. I think both are worth trying. If you don’t mind waiting 4 hours, try Franklin BBQ. If you don’t care about the name and hype, definitely try the later bbq place. You won’t be disappointed.

Paloma at Josephine House

After having many wedding planning meetings, we needed to cool off with a refreshing drink. Josephine House was our pick and it was so adorable. Not only was the design perfect but the attention to detail with the wait staff and presentation was comfortable yet chic. I would love to go back and have a meal there but this time I got the paloma which was perfectly crafted and refreshing on a hot summer day.

I secretly (not such a secret) want a slate of this marble…. this would be perfect for future foodie chef pics.

Ramen Tatsuya

Since we had a reputation of waiting in lines on this trip, we thought, what the heck, what’s one more line?

I’ve been hearing about Ramen Tatsuya for quite some time now. A friend of mine raves that it’s the best ramen in the US, aside from Ippudo in NYC. I agree, Ippudo is hands down the best I’ve ever had.

The ramen was tasty yet it was missing something. Compared to a local place in Houston, Kata Robata, I liked theirs better. Kata’s creamy soup is just indescribable. Tatsuya was missing that umami flavor. Don’t get me wrong, I was full and happy but locally, Kata Robata, is more my thing.

Sugar Mama's

Lastly, we had our cake tasting. At this point we were just full of red meat and soup. Just a bite was enough for us which is not my normal mo. Sugar Mama’s was our place of choice and it is on point.

Having gone to pastry school, I’m really picky with my desserts. I don’t like them too sweet or dry and these were just right. They have a valrhona cupcake, I was sold immediately! They also have flavors named the elvis and baklava which I love the interesting variety. We quickly chose our cake flavors and can’t wait to enjoy them at our wedding!


Cantaloupe Gazpacho

Cantaloupe Gazpacho

In honor of summer and our new look 🙂 I’m sharing one of my favorite recipes and memories that I’ve held onto for a few years.  I learned to make this soup at my very first internship in a kitchen. When I tasted it, I never forgot the delicious sweet yet complex taste it had. Summer always deserves a delicious cold soup, especially when it’s 100+ degrees out.

Thinking back, I was helping the Chef de Cuisine prepare this soup for his appearance on the Deborah Duncan Show. We went back stage, he got a little make up and hair action and I waited patiently as his assistant. Once he was on, I anxiously waited backstage, watching on the small tv to see the hosts reaction. She loved it! I felt honored to be invited to be his assistant as I was just the novice intern in his tiny kitchen.

Anyone can make it, it’s really simple. This soup is indeed raw so watch out all of you special dieters. This is an extremely healthy soup chalk full of veggies!  If you want to add a protein, shredded chicken is the perfect match. You can see how I made it below!

Print Recipe
Cantaloupe Gazpacho
Inspired by Chef Jose Vela
Instructions
  1. Cut up all ingredients into small pieces, a rough chop
  2. Pulse all fruit and veggies in a food processor. I suppose a vitamix would work well too.
  3. While blending, slowly pour the olive oil and sherry until blended well.
  4. Add salt and pepper to taste.
  5. Once finished, taste to double check the flavor. It may need a bit more sherry vinegar.
  6. Bon Appetit!
Recipe Notes

*Feel free to take out a veggie if you're sensitive to it. I tend to go light on the red pepper.

Preserved Meyer Lemons

Meyer Lemon

We have an amazing meyer lemon tree in our front yard. When we first moved in, it was summer time and I thought they were limes. I got so excited that I pulled one fruit off the tree, anxiously cut it open and tasted it. It was sour but slightly sweet yet didn’t taste anything like a lime. I thought, how can a green colored fruit that looks like lime taste like a sweet lemon? After doing alittle research online, I figured out it was a meyer lemon tree! How lucky are we!! If you haven’t tried one before, they are absolutely amazing. I introduced them to a friend the other day and she can’t stop squeezing them in her water. They do make the best lemonade. Not to mention their zest is pretty tasty too. Ahhem- lemon zest cookies! Now that I had a plethora of fruit, I had to preserve them in some way. Once again, I researched and found an easy recipe for preserved lemons. I recommend waiting for the fruit to ripen in the winter, don’t preserve these gems in the summer time. I could have waited a few more months but I couldn’t wait any longer!

Preserved Lemon


Meyer Lemon


Preserved Lemon


You can also slice them too

Meyer Lemon

Preserved Lemon

These cute mason jars filled with delicious lemon goodness are great as gifts for the holidays.

Once opened, they are great cut up on top of fish, in a salad, fish tacos, in cous cous- the options are endless and so flavorful. Don’t forget to wash the preserved lemon under cold water before cutting and serving- they can be very salty.

Recipe from Martha Stewart

Place salt in a large bowl; set aside. Stand lemon on its stem end on a cutting board; cut down the center as though you were going to cut in half, but stop about 1/2 inch above the stem. Make a perpendicular cut, stopping about 1/2 inch above the stem, so the lemon is quartered but still in tact.

Holding lemon over bowl of salt, spread four quarters open and pack as much salt as you can, allowing excess to fall back into bowl. You should be able to pack about 2 tablespoons into lemon. Place lemon, cut side up, in a 1-quart sterile, dry glass jar, preferably with a neck that is narrower than the jar, with a lid or a clamp closure. Repeat process with as many lemons as the jar will hold (you may have to add some the next day when lemons are softer). Cover and let stand overnight.

Push lemons down with a clean spoon, add remaining lemons, if necessary, keeping in mind you may only be able to add another half or quarter. Add enough lemon juice to jar to completely submerge lemons. Cover with lid until just finger-tight or clamp closed. Place jar in a dark spot, but not the refrigerator.

Everyday, for the next week, turn and shake jar once a day to redistribute salt. Add more lemon juice if lemons are no longer submerged. Let lemons stand for 1 month before using.

Polenta Al Forno


Polenta 1

Polenta, oh, polenta. I have never been a fan of polenta aka grits or cornmeal. My mother, having been raised in the deep south, absolutely loves grits. She gets sheer enjoyment when grits are on the menu. So, this dish is slightly inspired by her. I came across this recipe in New York Times. It was unlike anything i’ve ever made so I thought i’d give it a shot. It was an experiment with success, though, I will do a few things differently next time.

Polenta 3

Polenta 7

Polenta 6

Polenta 5

Polenta 4

Polenta 2

This is a great vegetarian dish that’s low fat. I used low fat ricotta to reduce the fat but i’m sure the full fat version is wonderful too. The next time I make this, I won’t cook the polenta quite as long and I would make thicker layers. It really makes a difference when holding the middle spinach mix together. It would also be delicious with the acidic taste of marinara sauce spread on top. My mouth is watering just thinking about it.  This is a great side dish for #meatlessmondays.

Print Recipe
Polenta Al Forno
Gluten Free, Italian
Prep Time 15 minutes
Cook Time 45 minutes
Passive Time 10 minutes
Servings
6-8
Prep Time 15 minutes
Cook Time 45 minutes
Passive Time 10 minutes
Servings
6-8
Instructions
  1. Blanch spinach briefly in large pot of boiling water. 1 to 2 minutes. Drain and cool. Squeeze all excess moisture from spinach and roughly chop.
  2. In a large bowl, combine chopped spinach and ricotta. Season with salt and pepper, then add cayenne, lemon zest, half the Parmesan and all but 2 T of the fontina and stir well.
  3. Butter a 9x12 casserole dish. Ladle in half the warm, soft polenta and spread with a spatula to make a thin layer. Spoon spinach mixture evenly over it. Top with remaining soft polenta and spread to smooth surface. (may be made ahead up to this point, then covered and refrigerated. Bring to room temperate before baking.)
  4. Sprinkle with remaining Parmesan and fontina. Bake, uncovered, at 375 for 30-40 minutes, until nicely browned. Remove from over and let rest for 10 minutes before serving.
Recipe Notes

Adapted from the NY Times recipe

Spicy Mexican Soup


Spicy Mexican Soup

The weather has been nuts in Houston. One day it’s cold and then next day it’s hot. It just so happened to be cold for a few days and I was craving soup. Something spicy was perfect to help stop the beginning of my cold. I pulled together all of these ingredient that I already had on hand which is so convenient. Not only did I add flavorful Mexican spices  but I had a small piece of salami which really added meaty richness to the soup.

We had just finished celebrating a weekend of our friends wedding and got these cute heart shaped pasta- they made an appearance  in my soup.

I suggest making this soup when you have a spicy craving, it’s fulfilling and heart warming 🙂

 
Print Recipe
Spicy Mexican Soup
Dairy Free
Servings
4
Ingredients
Servings
4
Ingredients
Instructions
  1. Pour 2 Tbs grapeseed oil into soup pot.
  2. Once heated, add shallots, garlic, and onion.
  3. Cook until translucent and season with salt and pepper to taste.
  4. Add carrots , tomato, and salami.
  5. After a few minutes, add the chili in adobo sauce, tomato paste, chili powder, cayenne, cumin, and chipotle powder.
  6. Once everything is mixed well together, add the chicken stock and simmer covered for about 30 minutes.
  7. In a separate pot, cook pasta until al dente. Once drained, add the pasta to each serving bowl then cover with soup.
Recipe Notes

You will have extra chilies in adobo and tomato paste. Spoon a teaspoon of each onto a cookie sheet lined with parchment leaving space between. Freeze for 1 hr then put them in a plastic bag and place back in the freezer. Whenever your recipe calls for each of these ingredients, you can pull the exact amount right out of the freezer.