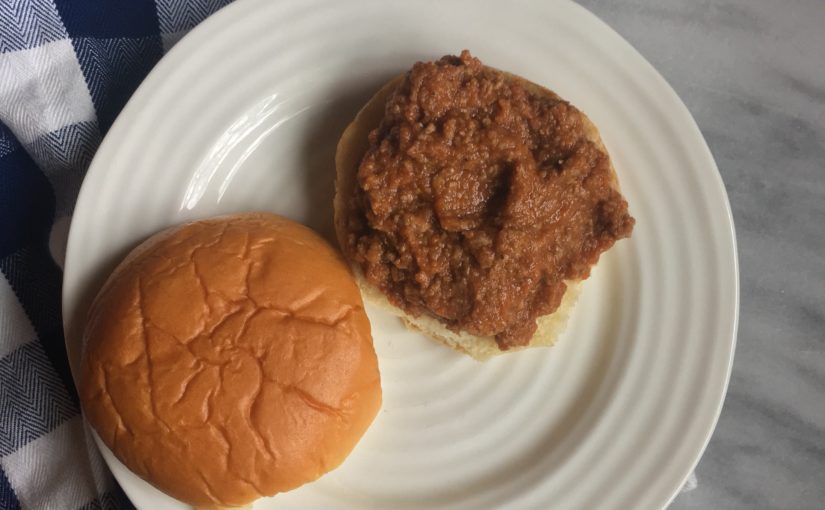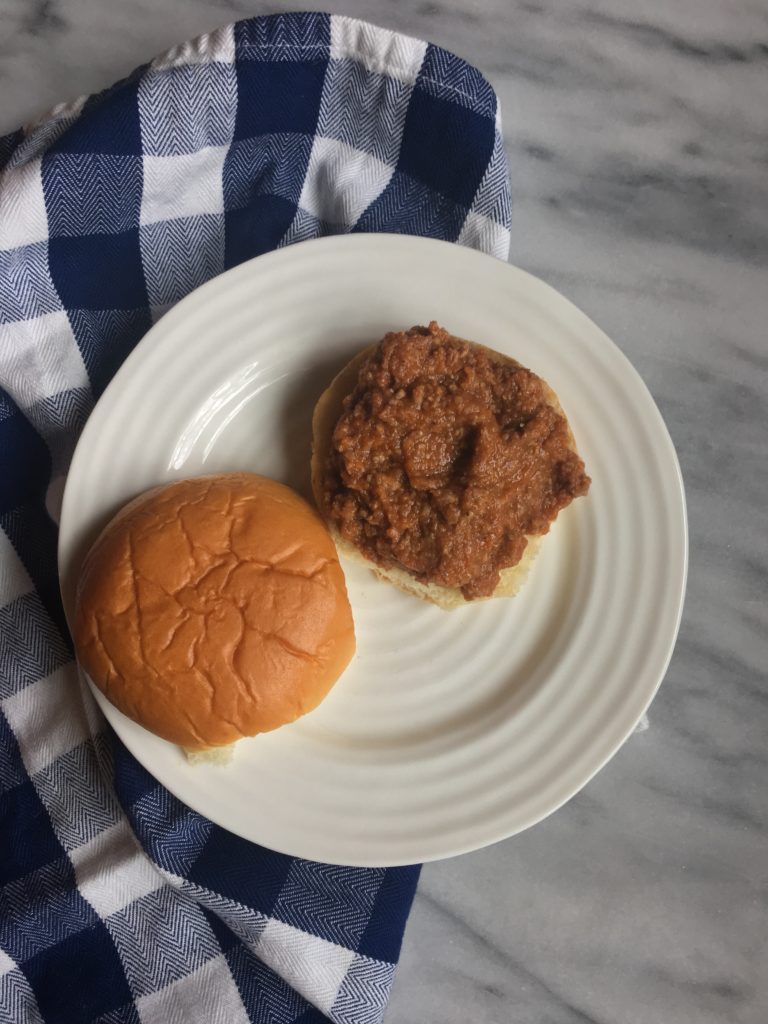
Slender Sloppy Joes


I’m totally embarrassed to realize that I haven’t posted a recipe in an entire year. This year has been filled with joy, fuzziness, changes and unable to be focused. That’s what a new baby does! (I had a baby!)

I finally realized I needed to take a break from being a personal chef and become a full-time mom (I feel so lucky and fortunate to do so.) I’m extremely happy to say that I will be sharing some of my tried and true recipes!

I’m pretty sure I made this slender sloppy joe recipe every other week for about 2 years. There was a family that I cooked for, for over 2 years and they requested it biweekly.  I don’t blame them because it’s so good while packed with hidden veggies (I promise, your kids or husband will have no idea)! It also meant that I had to eat it myself because I would cook for my family at the same time.

Lucky you, I’m finally sharing it! I hope you enjoy it as much as my clients did.

Print Recipe
Slender Sloppy Joes
Course Main Dish
Prep Time 15 min
Cook Time 30 min
Servings
7 servings 1/2 c portions
Course Main Dish
Prep Time 15 min
Cook Time 30 min
Servings
7 servings 1/2 c portions
Instructions
  1. Chop all the vegetables using a food processor until blended completely.
  2. Heat a large skillet over medium high heat and add a teaspoon of grapeseed oil, the onion, garlic, carrots, mushrooms and red peppers to the pan. Cook until a lot of moisture has been evaporated.
  3. Mix in the tomato paste then add the beef. Cook until you have broken it up and it’s cooked through.
  4. Reduce heat to medium and add red wine vinegar and Worcestershire sauce, tomato sauce, stir to combine.
  5. Reduce heat and bring to a simmer, cooking for 5 more minutes.
  6. Using a measuring cup, pile 1/2 cup of sloppy meat onto toasted buns.

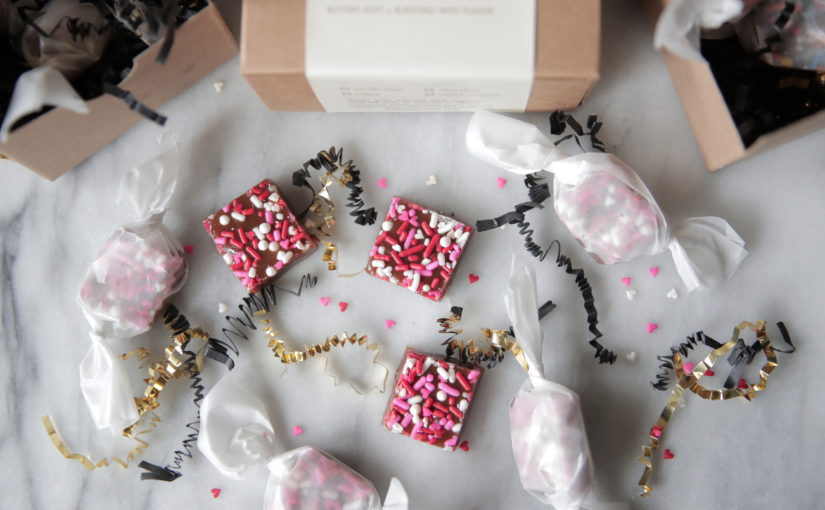
Valentines Sprinkle Caramel

I’m so excited to announce that I opened an etsy shop! Last year I created these cute sprinkle caramels. As you may know (or may not) I went to pastry school back in 2010. My first job out of school was a pastry cook where I mostly made tons of cookies.  At times, I was put on special projects like making candy and chocolate treats. This is where I fell in love with making (and eating) caramel.

Last year I took the plunge and I created packaging to eventually sell them online. Well here they are, a year later, just in time for Valentines day.

Want your own custom sprinkle blend? I can customize to your liking! Whether you need colors for your favorite sports team, company colors, themed party or wedding, I can make it happen! Also, look out for special sprinkled caramels for every holiday!! Send me a message here and we can get started!

Buy them here! The Foodie Chef Etsy Shop

Homemade Peanut Butter 2 Ways


Recently my amazing friends put on a baby shower for my future little. I wrote down tons of ideas for hostess gifts and buying some trinket wasn’t doing it for me. I wanted them to give something special to show them how grateful I am for the time, effort and money they put into the shower.

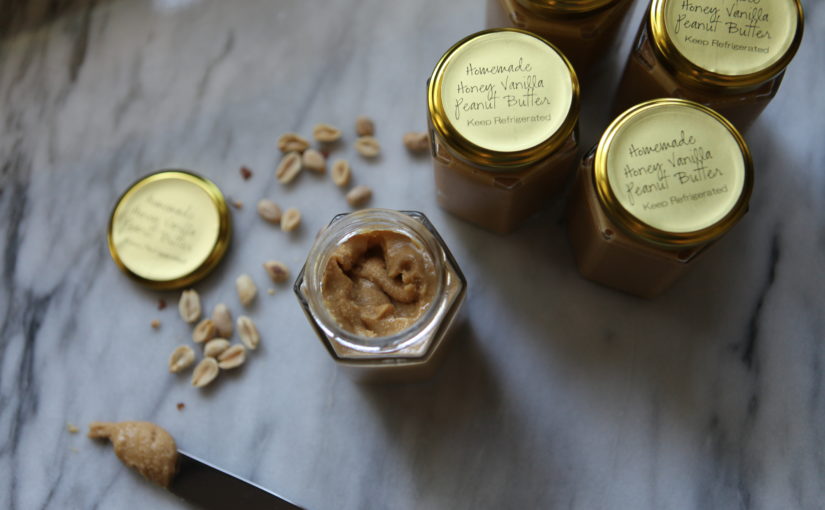
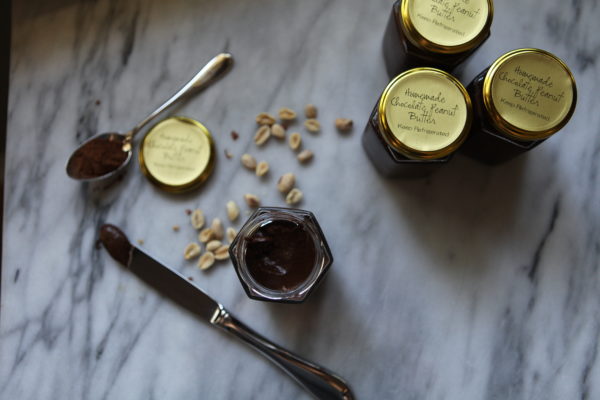
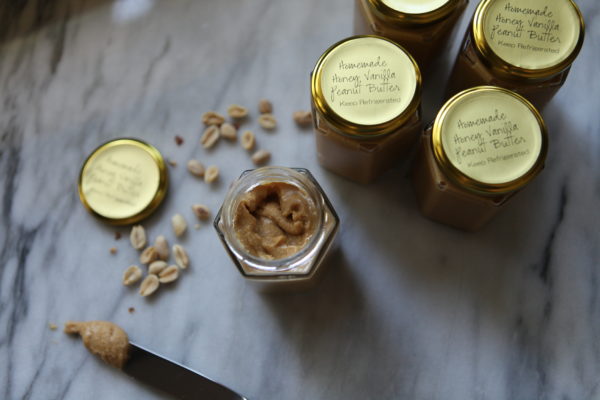
After eliminating items on the list, I ended up with homemade jarred peanut butter. I couldn’t stop at 1 flavor so I had to do two: Chocolate Peanut Butter and Vanilla Honey Peanut Butter 🙂

I found the perfect glass jars and printed my own label with these labels.

Now, I had never made peanut butter before but after looking through various recipes, I found that it was pretty easy. I typically like to test a small batch before I make something for multiple people but I didn’t have the time. My first go around had to be it. So I tasted as I made and wrote down every detail to share with you. At this point, I’m not sure I can go back to the store-bought kind!

I love either eating them with a spoon out of the jar for a quick snack or smearing them on cut up apples. It’s seriously the best snack.


Print Recipe
Chocolate Peanut Butter
The Foodie Chef Recipe adapted from Smitten Kitchen
Prep Time 20 minutes
Servings
6-7 6oz jars filled
Ingredients
Prep Time 20 minutes
Servings
6-7 6oz jars filled
Ingredients
Instructions
  1. Put peanuts in a food processor and grind them for about 5 minutes until they're more liquified opposed to a paste.
  2. Add the cocoa, sugar and salt then blend.
  3. Add oil a tablespoon at a time while the machine is running until you get to your desired consistency.
  4. add salt if needed.
Recipe Notes

I used a piping bag to fill the containers. This makes for easy filling. Make sure you clean the containers before filling them!


Print Recipe
Vanilla Honey Peanut Butter
The Foodie Chef Recipe
Prep Time 20 minutes
Servings
6-7 6 oz jars filled
Ingredients
Prep Time 20 minutes
Servings
6-7 6 oz jars filled
Ingredients
Instructions
  1. Add peanuts to food processor and blend for about 5 minutes until it liquifies
  2. Add oil, honey, vanilla, vanilla paste, and salt. Blend until combined and the desired consistency.
Recipe Notes

I used a piping bag to fill the containers.


Unicorn Challah

I have this constant to do list of things I must get done and things I want to get done. Some just keep getting transferred to the next weekly list and that was this challah. As soon as I had to slow down with my job because my pregnant body just couldn’t handle it,  I had some free time to do my little projects.

Ever since I took bread class in pastry school, I liked it but never loved it. I felt like it was slow moving and lots of wait time. This is all true but the key is patients. We did make challah once but I quickly forgot about it. Recently, I went to a challah making class and it intrigued me! The teacher taught us how to stuff it with ingredients like nutella. Once I tasted it, I thought, wow, I can totally play around with color, flavor, etc.

Though I haven’t found my favorite recipe yet, I will share with you my process of coloring and baking it. I’m still playing with the amount of egg yolks to master the perfect fluffy yet chewy texture that I love from my local bagel store who makes the best challah in my opinion. Though it seems like everyone has their own preference on texture. If you have a favorite, please share!

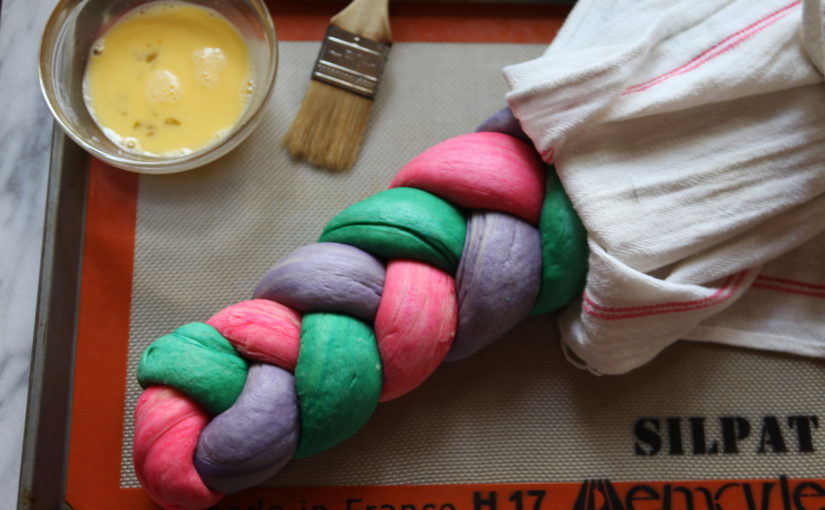
Follow your favorite recipe and mix dough for about 4 minutes. Take the dough out and cut into 3 pieces. Flatten each piece a bit and add color to each, pink, purple and a mixture of sky blue and yellow to make teal. You can use gloves at this point changing them between each color. Or fold it up, bringing each end together so that the color is enclosed in the center.

I added each one individually back into the mixer with the dough hook to finish being mixed making sure the color is distributed. You may have to take it out a bit to mix by hand. After, I put them in separate bowls with oil in them. Make sure to put some oil on top of the dough so that the wet paper towel doesn’t stick. Then cover with plastic wrap and let rise overnight.

The next morning, roll out each piece into a long rope. Braid then cover with a damp cloth for 30 minutes to rise one last time. Once the bread has risen, apply egg wash generously with a brush in every crevice and side. Bake according to your recipe instructions and viola! You now have beautiful unicorn challah!

One last thing: kids go crazy over the colors! My nieces absolutely loved it and they fought over what color they could eat. You can also slice and make into awesome french toast the following day. I have seen variations online to make it more sweet than savory with a sugary glaze over top with sprinkles.

Dark Chocolate Ice Cream

If you’ve noticed, my last several posts have been about desserts. I started my food career with pastry school then took a few classes in culinary. My first cooking job out of school was in pastry so you could say pastry was my first love. My day to day job now is about cooking up healthy meals so I miss making desserts and pastries. This is probably why I have only posted desserts in the last several months though I don’t think anyone is complaining!

On another note, I’m pregnant and have serious cravings for ice cream, chocolate ice cream in particular. I love store-bought frozen gelato but this time, I wanted to make my own. I found a recipe, slightly adapted it and it’s the darkest richest chocolate ice cream I’ve ever had. It’s really for the dark chocolate lover with fruity notes, kind of like wine. I’m only able to have small amounts at a time since it’s so decadent.


Print Recipe
Dark Chocolate Ice Cream
Recipe adapted from Max Falkowitz, Serious Eats
Course Dessert
Prep Time 1 hour
Cook Time 8 hours
Servings
1 quart
Ingredients
Course Dessert
Prep Time 1 hour
Cook Time 8 hours
Servings
1 quart
Ingredients
Instructions
  1. In a saucepan, bring milk to a simmer over medium-high heat, stirring frequently. Stir in cocoa nibs and salt, cover with plastic wrap, and let steep for 2 hours. (this step can be done the day before then left in the fridge overnight)
  2. In a clean saucepan, whisk together sugar and cocoa powder until no large lumps of cocoa remain. Then whisk in egg yolks until thoroughly combined.
  3. Strain milk into yolk mixture, pressing on cocoa nibs to squeeze out all possible dairy, then whisk dairy to combine. Set pan over medium heat and cook, whisking frequently, until custard reaches 170°F on an instant-read thermometer. Custard should coat the back of a spoon and a finger swiped across it should leave a clean line.
  4. Add chocolate and stir until thoroughly melted. Strain into a large measuring cup or bowl, and chill in refrigerator or ice bath until base cools to 40°F. Churn in ice cream maker according to manufacturer's instructions, then serve.
Recipe Notes

The most decadent, dark chocolate ice cream you will ever have!

Chocolate Coconut Macaroon Pie


Hello there! I apologize for the large lag time between this post and my last but I do have a great excuse though! I’m pregnant with my first baby (screams of happiness)!! I’ve been reluctant to post anything about my personal life but feel like it works here. I’ve had a huge aversion to trying new recipes, being creative in the kitchen and tasting certain foods. Now that I’m halfway through the pregnancy, I’ve got my creativity back! Hooray!

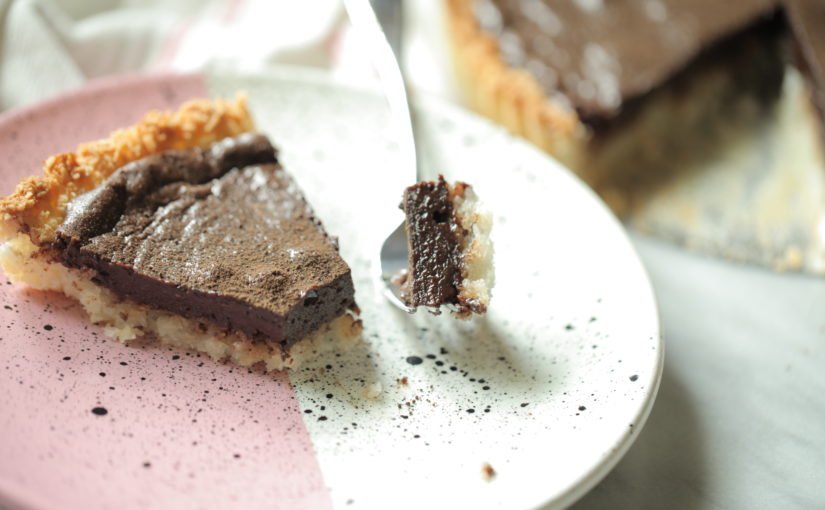
Passover is right around the corner and I wanted to create a delicious pie and oh man, did I! I got a little inspiration from a fellow blogger who made a macaroon pie crust. I thought, wow, that’s a spectacular idea! I’ll use my tried and true coconut macaroon recipe, fill it in a tart shell, bake it then add my other favorite chocolate pie recipe to it! It was a total no brainer and it worked out perfectly.

Now, I must say, this is not dairy free so for those who keep kosher, this is for a meatless meal. Though it is gluten free!

There are 2 things in this recipe that I’m a stickler on, for good reason.

  1. Always Always Always use good quality chocolate (examples: Guittard, Ghirardelli, Valrhona, etc)
  2. Never ever ever use that gross sweetened shredded coconut at the grocery store. That stuff made me hate coconut desserts until I tried desiccated coconut.


Print Recipe
Chocolate Coconut Macaroon Pie
Course Dessert
Prep Time 45
Cook Time 45
Passive Time 15
Servings
8
Ingredients
Macaroon Pie Crust
Chocolate Pie
Course Dessert
Prep Time 45
Cook Time 45
Passive Time 15
Servings
8
Ingredients
Macaroon Pie Crust
Chocolate Pie
Instructions
  1. Macaroon Crust: Mix all ingredients in a standing mixer on medium speed for 5-7 minutes until thoroughly mixed.
  2. Preheat oven to 400. Press the majority of the mixture into a greased tart pan. (There should be extra to make 7 cookies) Pressing gently up the sides to create a crust while keeping a thin layer on the bottom. Freeze this part for about 30 minutes until set before baking.
  3. Place the tart on a sheet pan covered in foil. This will prevent leaks directly on the bottom of your oven. Bake mixture for about 8 minutes making sure it doesn’t burn. Toasty brown is fine.
  4. Once done, drop the temperature down to 350.
  5. Melt butter and chocolate over a bain marie. (bowl over a saucepan with simmering water)
  6. Whisk in salt, sugar, cocoa powder, eggs, evaporated milk and vanilla. Pour mixture into crust and bake for 30 minutes. The center should have a slight giggle. Cool then serve or you can refrigerate.
Recipe Notes

[recipe]

My Top 20 Restaurants in Houston


Super Bowl is just around the corner and my hometown, Houston, will be filled with so many welcomed guests! I’ve lived in Houston my whole life except for my college days in Austin. I’ve watched Houston have incredibly diverse restaurants and more recently, within the last 10 years, it’s become a “foodie” city.

I’ve always been into trying the newest restaurants though I stand by the tried and true favorites of mine. I’m providing you my top 20 list of restaurants. Though I could go on forever organizing by neighborhood and type of cuisine but I will keep it general. I’ll also provide certain dishes that I like to order on the regular. The following are in no particular order.

  1. Prego– This place has been my favorite for over 15 years. I always order the smoked duck ravioli the old way. (The waiters that have been there forever will know what you’re talking about) Make sure you put your order in for the strawberry shortcake right when you sit.
  2. True Foods Kitchen– I love how fresh the ingredients are and this is the style I love to eat on the regular. Get the harvest salad, the mulberries will rock your world.
  3. NY Bagel Shop– I’ve been coming to this neighborhood place since I was a toddler. The bagels are excellent and the breakfast special is on point.
  4. Snooze– This place blows me away. I’ve liked every single thing I’ve ordered and I can’t wait to go back again. The only drawback is the epic line.
  5. Buffalo Grille– Another tried and true place. Get the Cream Cheese and Chive eggs with potatoes and a biscuit.
  6. Istanbul Grille– One word. lahmacun.
  7. Garson– Amazing grilled meat with flavorful rice. I love the fresh veggies and pide they provide
  8. Raven Grill– Anything on their mesquite grill is perfection.
  9. Fadi’s– I love the endless selection of options. Hint* you can order half portions, you’re welcome.
  10. La Guadalupana– Breakfast tacos all the way and their chilequiles AND churros are the best in town.
  11. Killens– Everything is amazing!
  12. Les Baguette– I love their BBQ pork vermicelli bowl and their Vietnamese coffee
  13. Pico’s– First of all, I miss their original location because I have memories of going there when I was a baby. Their salsas are perfect and I love their spinach enchiladas.
  14. Goode Co. Seafood– Campechana!!
  15. Coltivare– Everything I’ve had is excellent from the drinks to the pasta.
  16. Pax Americana– Fancy, small portions, expensive but oh so flavorful.
  17. 100% taquito– I love their authentic options
  18. Pizaros Pizza– Perfectly thin crust with high quality cheese.
  19. Golden Palace– Dim sum all the way.
  20. Lai Lai Dumpling House– Best dumplings in town and super cheap.

This was incredibly tough and I could easily add 20 more. Though it really came down to my personal favorites and the places I frequently crave. Eat your heart out 🙂


Easy Donut Croquembouche

Donut Croquembouche 2

A few weeks ago my sister and I were trying to come up with easy cute ideas for my nieces birthday.  In our research, I found donut croquembouche, topiary, whatever you want to call it. I thought it would be perfect to do one with a Halloween theme. If you’ve ever made a croquembouche before, they’re pretty time intensive. I remember in school we learned about them and made pate choux (the wet dough for the balls which is the same as eclairs).

I really wanted something that is quick to make and cute to bring to our friends Halloween party. This concept could be adapted to any theme- the options are really endless. All you need are donut holes, about 40-50, toothpicks cut in half, a foam cone (about 12 in), optional: sprinkles, white melting chocolate, colored gel, and cupcake toppers.

If you want perfectly round donuts, I would opt for the store bought kind at the grocery store. I know they’re not local and freshly made but they are perfectly round. I made the mistake of going to a local shop (which has the best donuts, in my opinion) but they had odd shaped holes. I asked and the sweet lady behind the counter said that I could special order them with enough notice. So keep that in mind if you make one of these.

Print Recipe
Easy Donut Croqembouche
Prep Time 45 minutes
Servings
40 1 per person
Ingredients
Prep Time 45 minutes
Servings
40 1 per person
Ingredients
Instructions
  1. First, you will need to cut all of your toothpicks in half. Once they're done, stick the pointy side into the foam cone with a little sticking out. The donut then needs to be pushed into the side that is sticking out. Next, place another toothpick in so that the next donut is very close to the next. You don't want any gaps here. Once you have the hang of it, repeat.
  2. If you want to add a stripe of donuts that have white chocolate and sprinkles, remove the donuts you want to enhance.
  3. Melt a handful of the white chocolate according to the packaged directions. Add a few drops of gel coloring to get the color you want. Working quickly, dip the donut into the white chocolate, shake it to remove excess and pour sprinkles over it. Repeat with the rest of the donuts you want to enhance.
  4. Once they are dry, put them back onto the foam cone sticking them into the toothpicks. Ta da! Enjoy 🙂
Donut Croquembouche1

Vegan Creamy Artichoke Dip

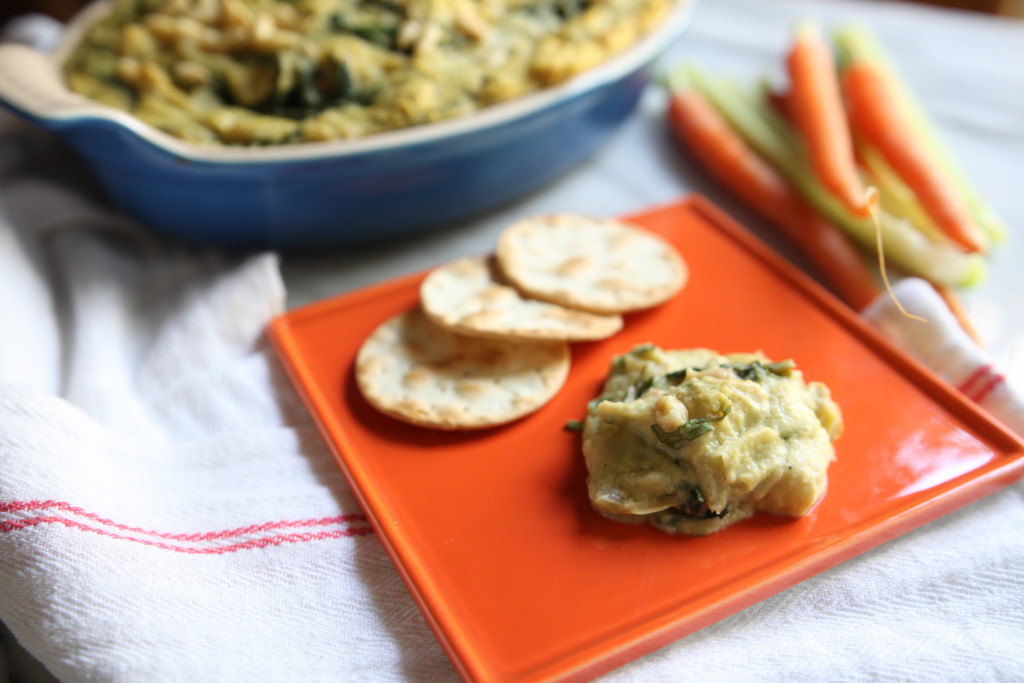
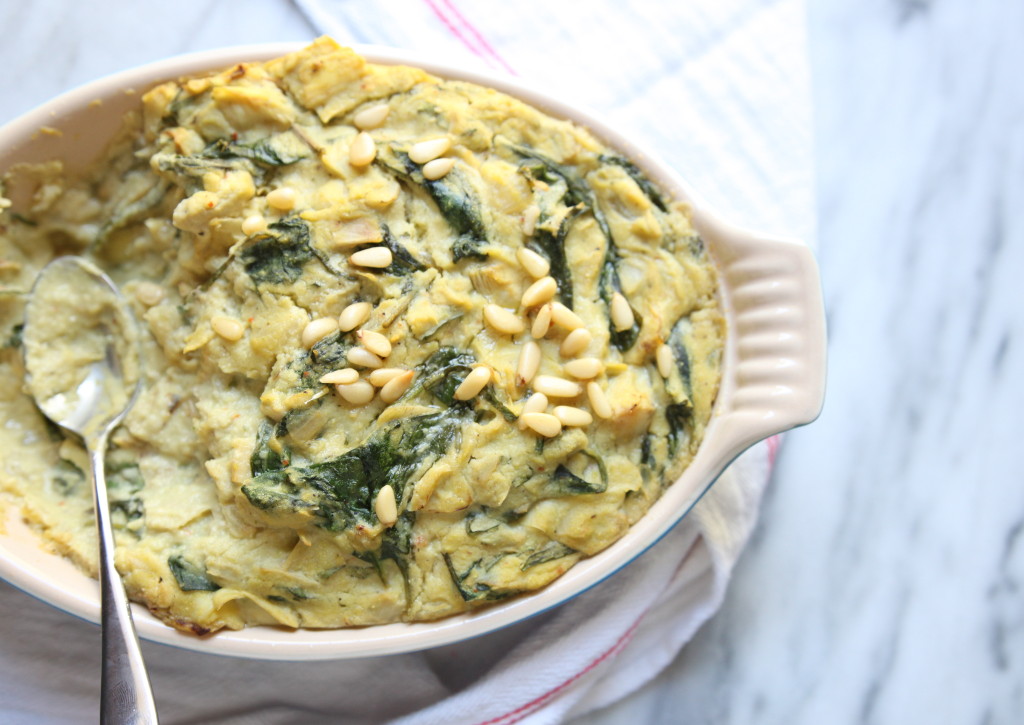
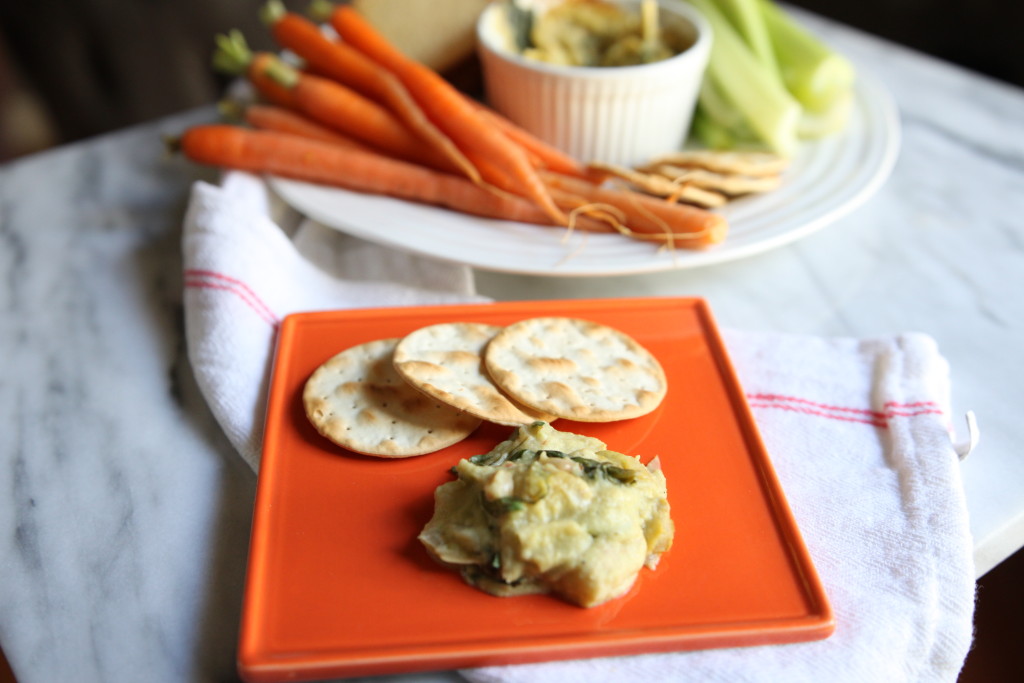
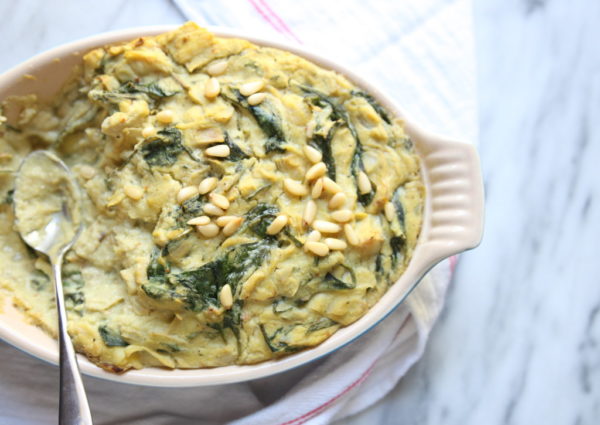
VegenSpinachDip3Today I had the pleasure of cooking with the wonderful Stephanie Hoban from Ripe Cuisine. We had such an awesome time sharing stories and bonding over cooking together. She shared her super delicious vegan & gluten free dip with me which is perfect for any party. Since the holidays are so close, it’s a perfect starter or even meal (I pretty much ate the whole thing when she left). There’s hardly any fat so it’s completely guilt-free.

During this time of year, it’s hard to find a healthy crowd pleasing dish. My friends, this is it. Move over queso and hello healthy dip! My husband, who is such a meat and potatoes kind of guy admitted that it’s great! Trust me, it’s creamy, decadent and filling, what’s not to like?

Those of you who don’t know Stephanie, she’s so impressive! She took my dream path. (If only I had known at a younger age nutrition and food was my thing.) She’s a Houston native who studied nutrition at NYU then went off to culinary school. After, she moved back to Houston, had a few jobs then opened her own vegan food truck, Ripe Cuisine. Everything on her truck is homemade, even the ketchup! If you’re in the Houston area, trying her food is a must!

VegenSpinachDip6


VegenSpinachDip5
Print Recipe
Vegan Creamy Artichoke Dip
Creamy Artichoke Dip with Spinach, Basil and Pinenuts by Stephanie Hoban, Ripe Cuisine
Prep Time 10 minutes
Cook Time 20 minutes
Passive Time 10 minutes
Servings
Ingredients
Prep Time 10 minutes
Cook Time 20 minutes
Passive Time 10 minutes
Servings
Ingredients
Instructions
  1. Heat oven to 375 F
  2. Peel zucchini and dice. Add to the bowl of a food processor fitted with the steel blade along with drained and rinsed white beans, Vegenaise, nutritional yeast, non-dairy milk, lemon juice, salt, red chili flake, and black pepper. Process until very smooth.
  3. In a large sauté pan heat oil and sauté onions and garlic until soft, about 5 minutes. Add in spinach and sauté on low until wilted. Strain spinach, pressing out as much water as possible, and set aside. In the same pan, sauté roughly chopped artichokes with lemon juice in the pan juices until soft and edges brown. Add back spinach and sauté 1 minute longer.
  4. With the motor of the food processor running, add in potato flour 1 teaspoon at a time. {The mixture should thicken considerably]. Add the pureed zucchini and beans to the pan with artichokes and spinach. Remove from heat and stir in chopped basil.
  5. Transfer dip to an oven safe casserole pan, drizzle with garlic oil, if using, and sprinkle on pinenuts. Bake for 20 minutes, and broil for 1 – 2 minutes to achieve a golden top. Allow to sit and firm up for at least 10 minutes before serving.
Recipe Notes

Ripe Tip: By substituting the canned beans and zucchini in place of cheese you save a load of calories, fat and cholesterol in favor of protein, fiber, vitamins and minerals. Serve with your favorite crackers, corn chips, or pita.


The Best Latkes

TheFoodieChefLatke3

I always look forward to this time of year. The weather is cold (sometimes in Houston) and we get to eat yummy fried potato cakes, latkes. My whole family gets together and we throw a Hanukkah party with presents, gelt (chocolate coins), dreidels and best of all, latkes!

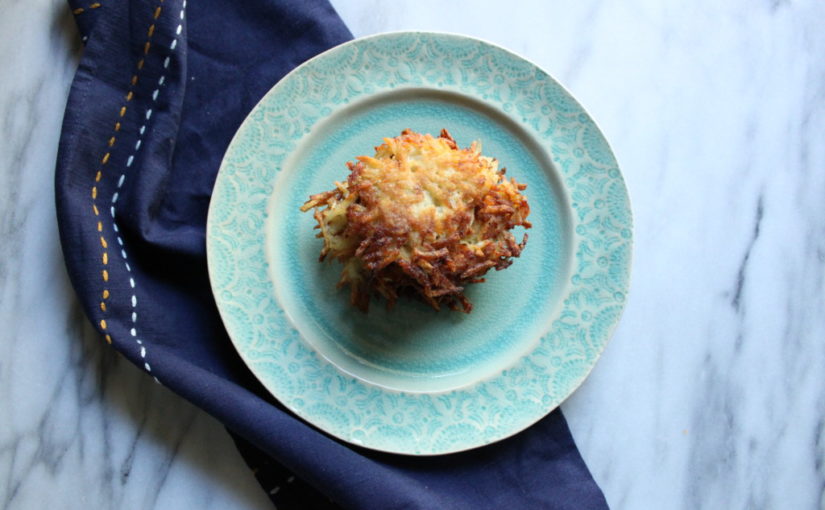
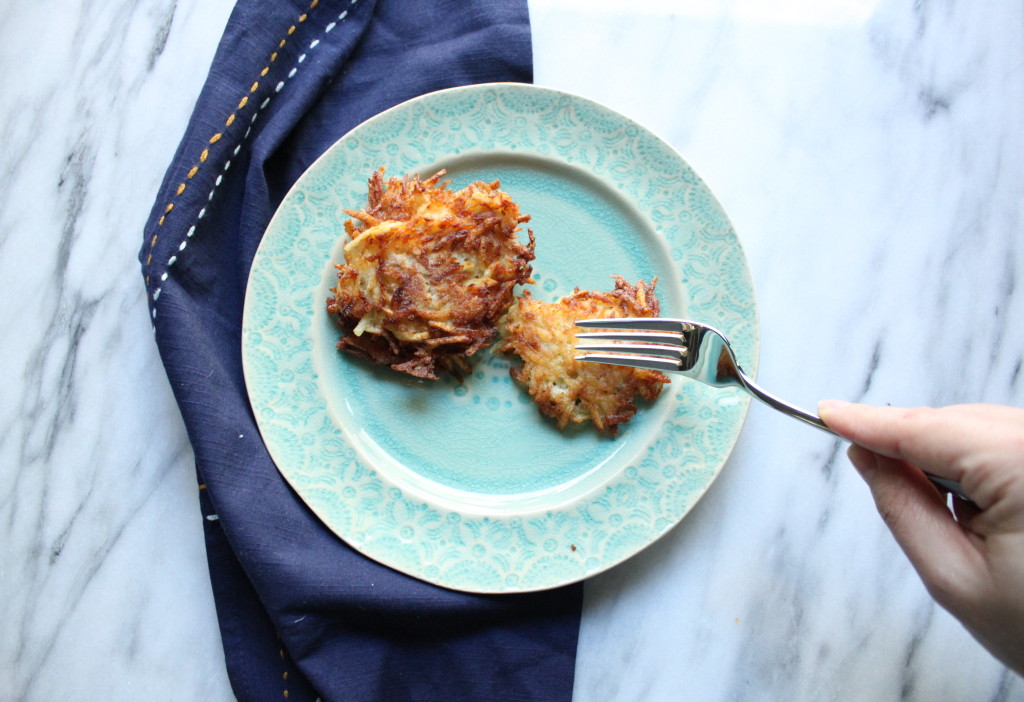
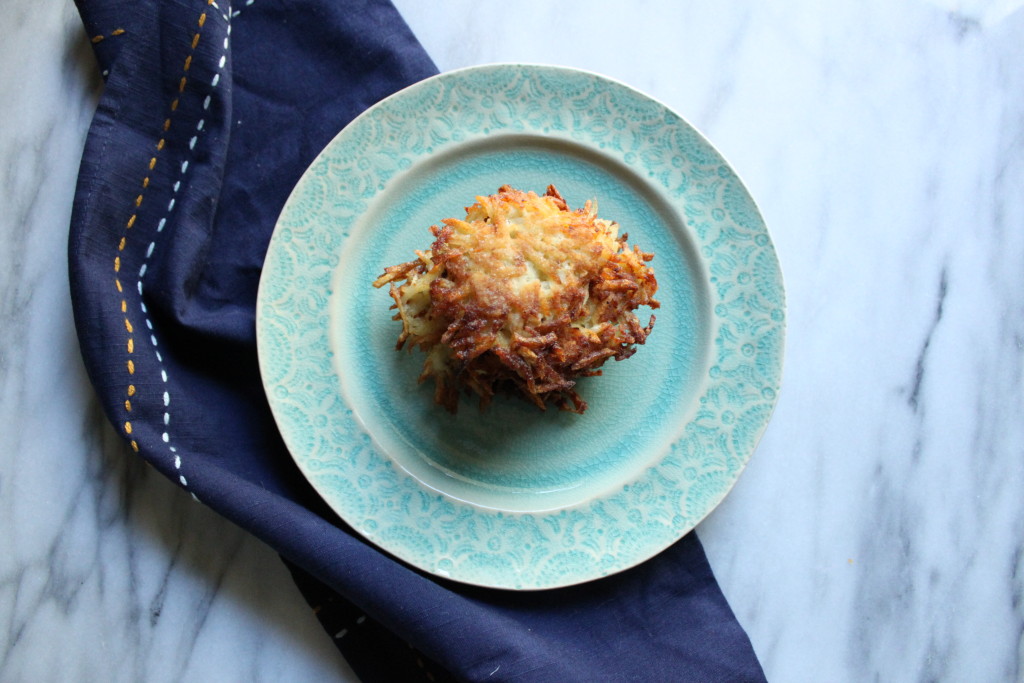
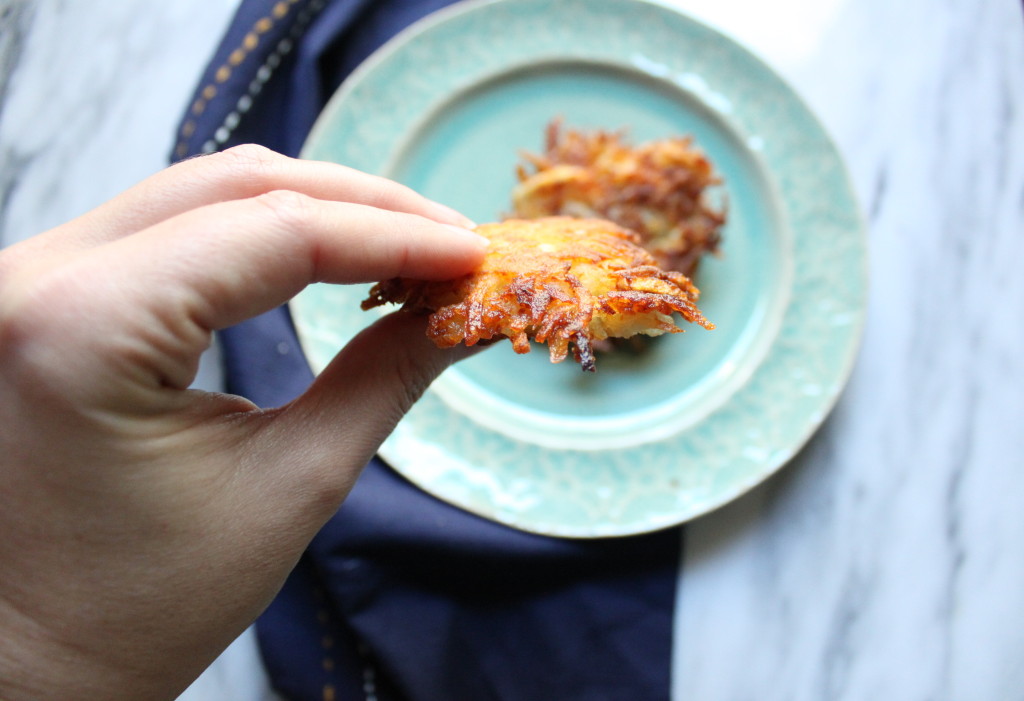
I have a confession: I’ve never made them before yesterday. My mom was always the chef and man does she make good latkes. This year, per my job, it’s my turn to make them. I had a minor freak out in trying a recipe but I was able to add a few things to make it better. Combining recipes in the thick of things usually works for me. Thankfully, it all worked out and I came up with the best recipe. They’re crunchy on the outside and hashbrown like in the middle. All they need are some applesauce and sour cream!

It is important to follow the recipe step by step because they really are a labor of love. If you miss a step, they aren’t going to turn out right.

TheFoodieChefLatke1

I have 2 major tips that will make a world of a difference:

  1. Squeeze out the shredded potato onion mixture 2 times in a towel.
  2. After scooping the mixture and dropping it into the oil, gently flatten with a spatula.

TheFoodieChefLatke4


Print Recipe
The Best Latkes
Prep Time 10 minutes
Cook Time 8 minutes
Servings
Ingredients
Prep Time 10 minutes
Cook Time 8 minutes
Servings
Ingredients
Instructions
  1. In a food processor fitted with the blade attachment, blend the garlic, shallots and onion.
  2. Change the blade attachment to the shredder. Peel, wash and shred the potatoes. After, empty the mixture into a kitchen towel and squeeze out all of the liquid. Open the towel, fluff the mixture and squeeze 1 more time. You may have to do this in 2 segments, as there will be a lot of the potato mixture.
  3. Empty the drained potato mixture into a large bowl. Add salt, pepper, flour, eggs, and baking powder and mix by hand.
  4. In a large skillet, pour vegetable oil ¼” from the bottom. Heat to medium and test with a small piece of potato- the mixture should sizzle.
  5. Using a 1 ½ Tablespoon scoop, scoop and drop the mixture into the oil. Flatten them out with a spatula to ensure an even distribution. Cook on each side about 4 minutes depending on the heat level. The bottom should be a nice golden brown color.
  6. Once the latke is done cooking, transfer to a cookie sheet lined with foil and 2 paper towels on top. Sprinkle a little salt on top while it’s still hot. Serve immediately.
  7. You can keep them warm in a 300 degree oven until you serve them.
  8. Freezer friendly: put the latkes in a freezer bag and freeze for up to 3 weeks. Place them on a cookie sheet and into a 350 degree oven for 15-20 minutes to re-crisp.
Recipe Notes

I have 2 major tips that will make a world of a difference:

  1. Squeeze out the shredded potato onion mixture 2 times in a towel.
  2. After scooping the mixture and dropping it into the oil, gently flatten with a spatula.